

Caution regarding driving camper cars
Since camper cars are equipped with many features, in addition to the usual pre-operation inspection, please also check the following items:
-
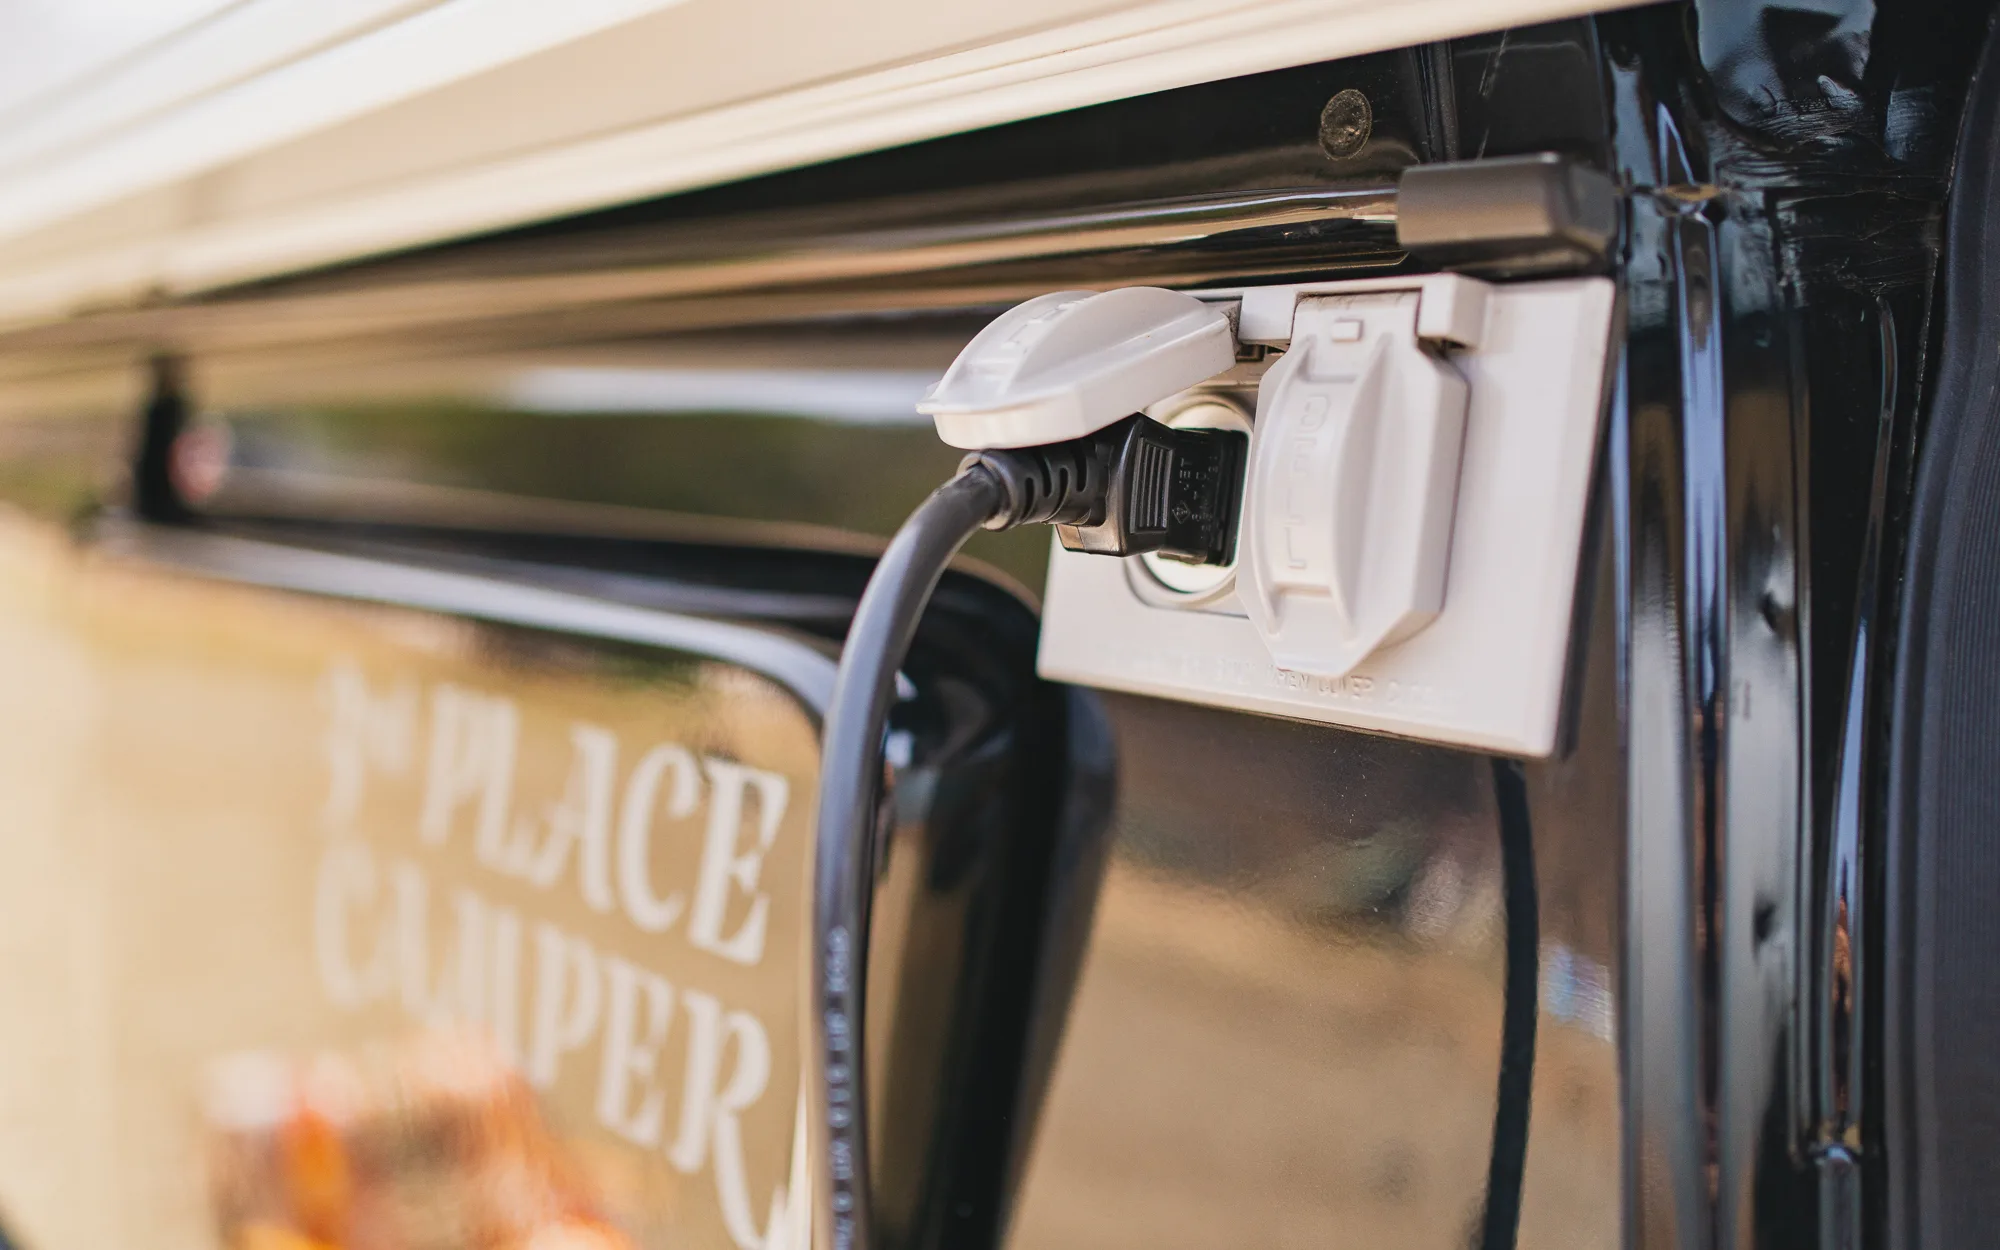
Have you unplugged the 100V external rear plug and stored the cord?
-
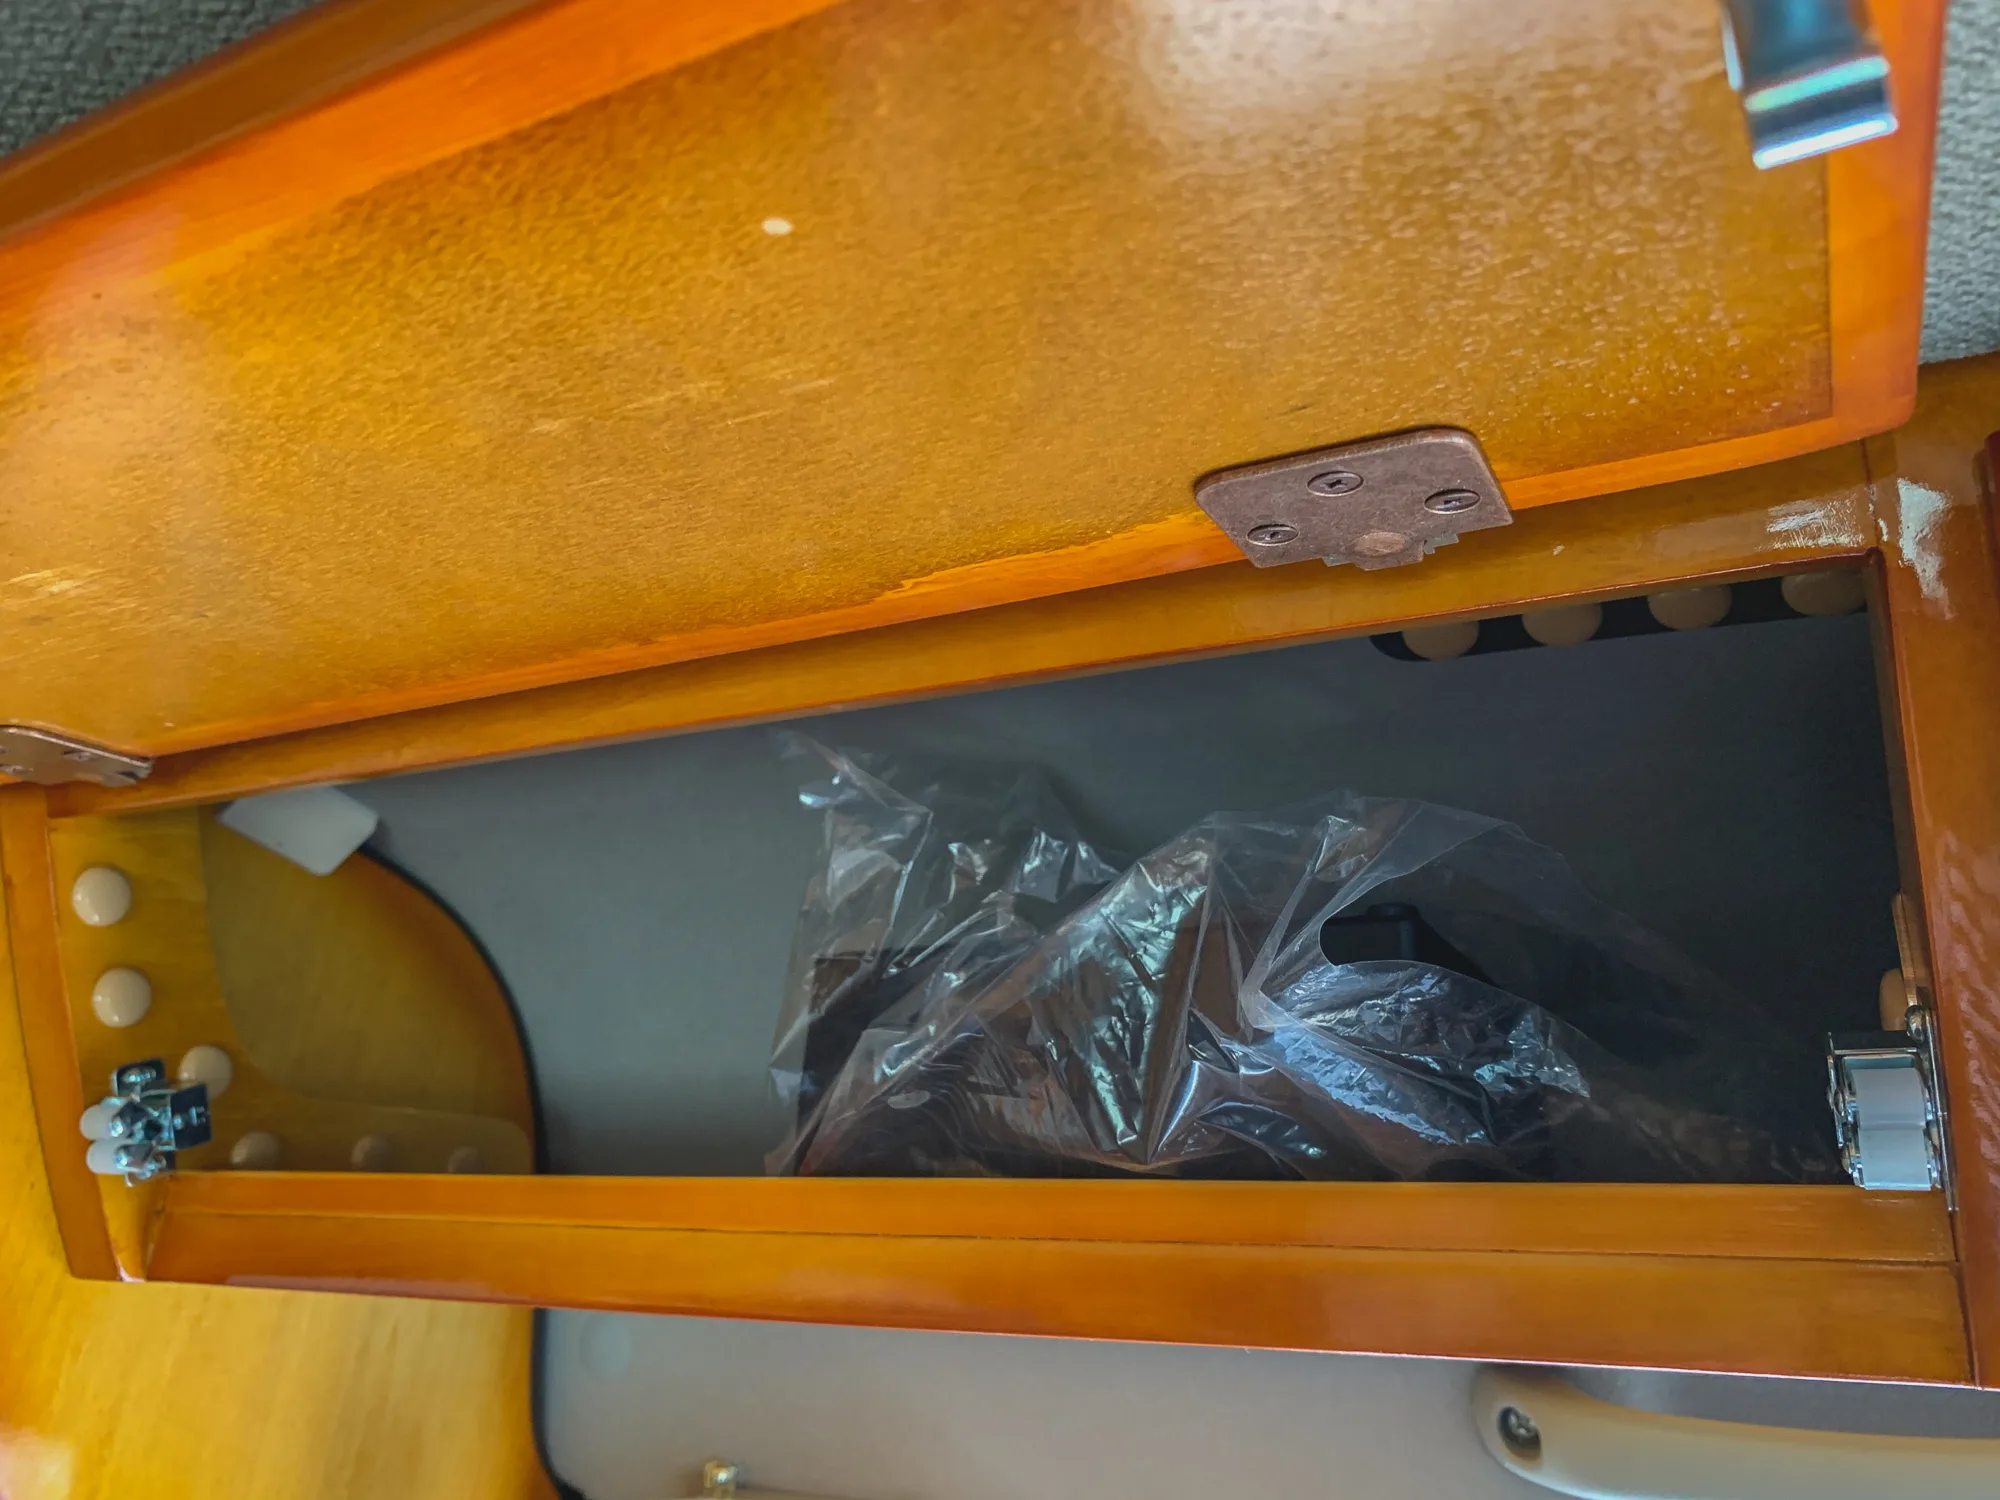
Have you closed and locked each storage compartment?
-
Is all luggage securely fastened?
-
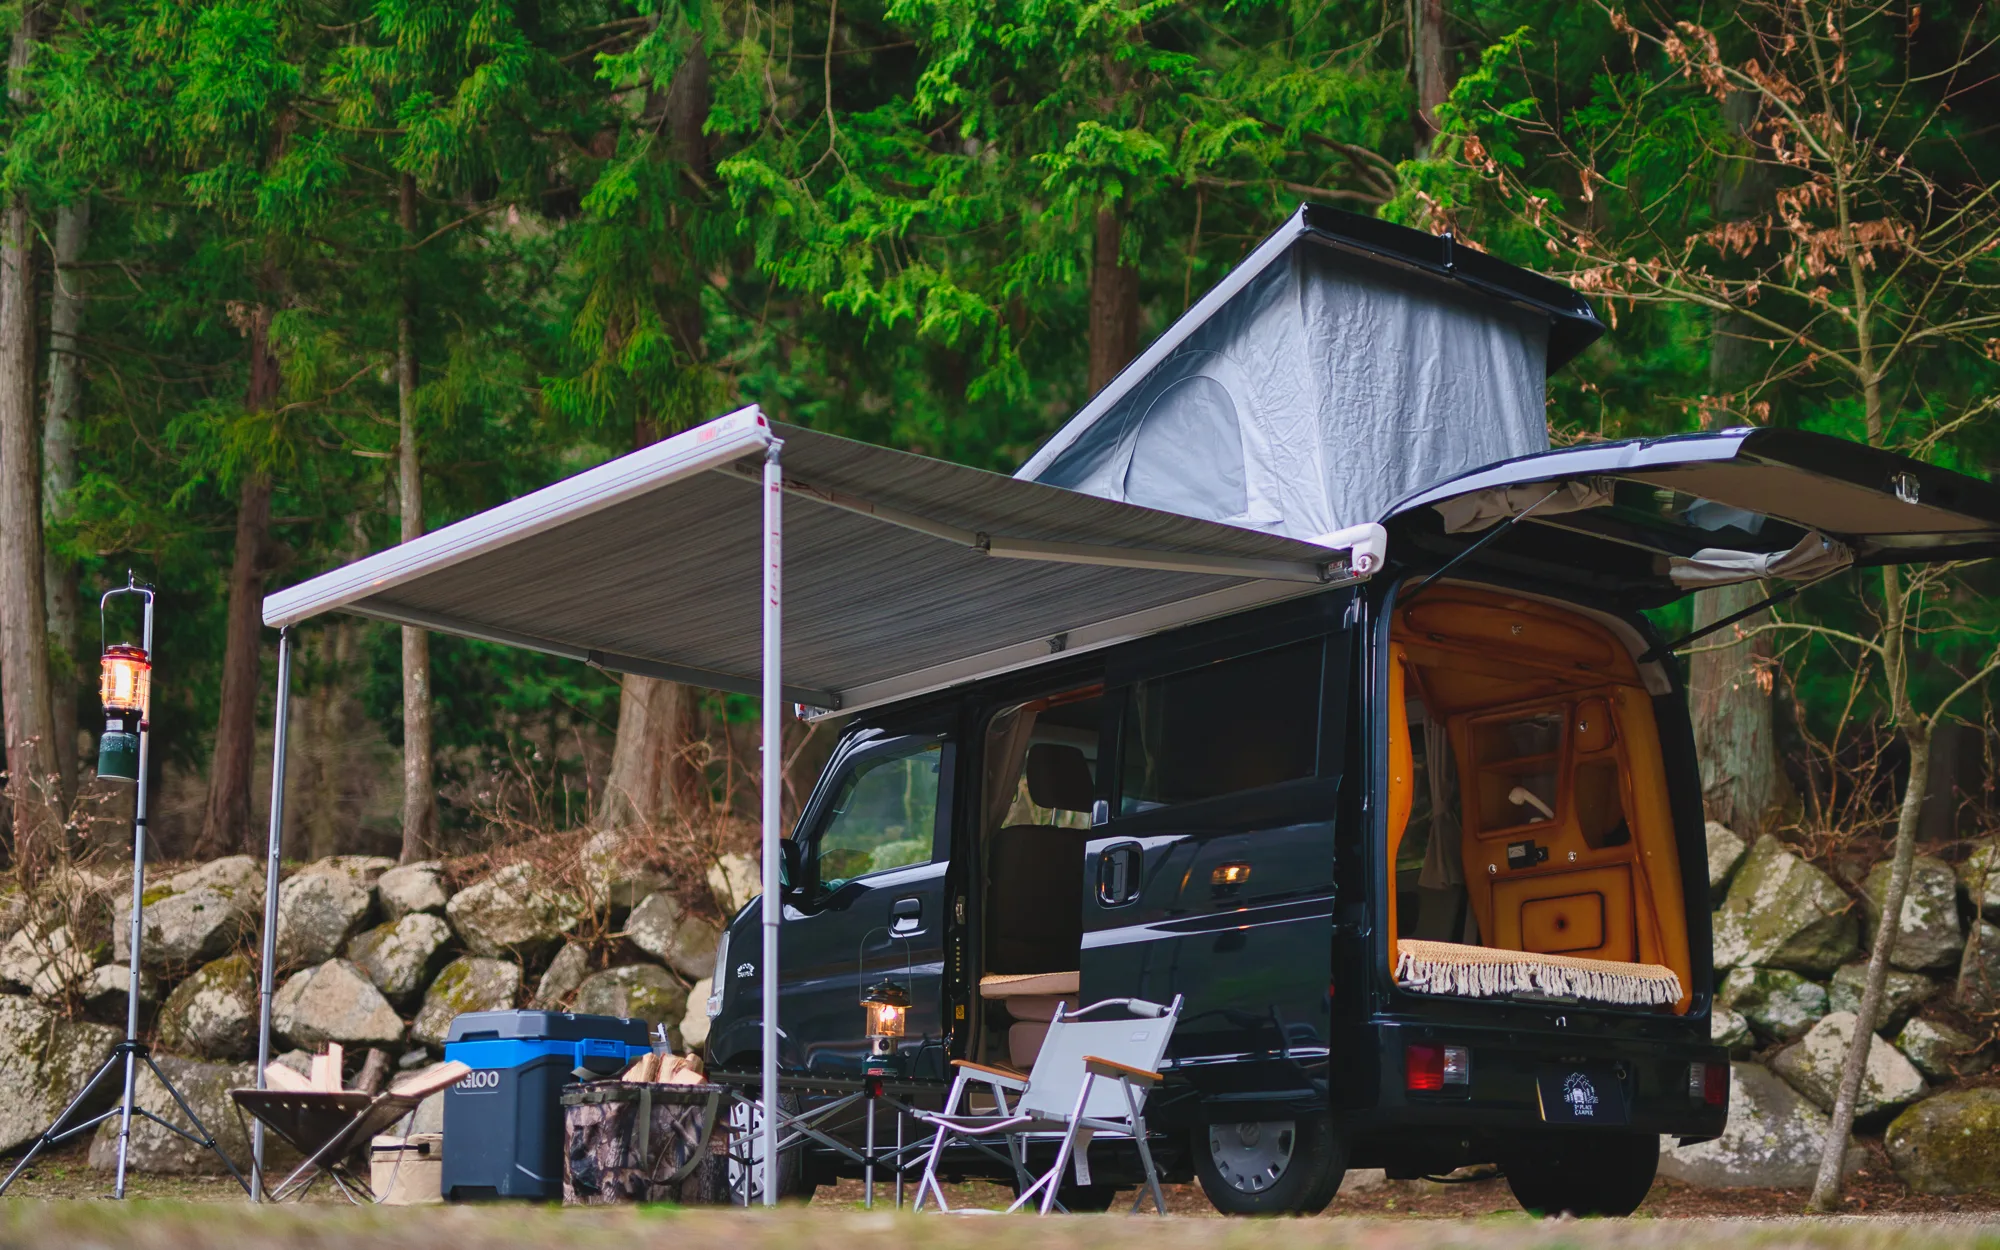
Is the side awning properly stowed?
Compared to regular passenger vehicles, camper vans have a higher center of gravity, which results in greater rolling (side-to-side motion) and pitching (front-to-back motion) while driving. They are also more susceptible to crosswinds, so please drive especially carefully on highways and prioritize safety.
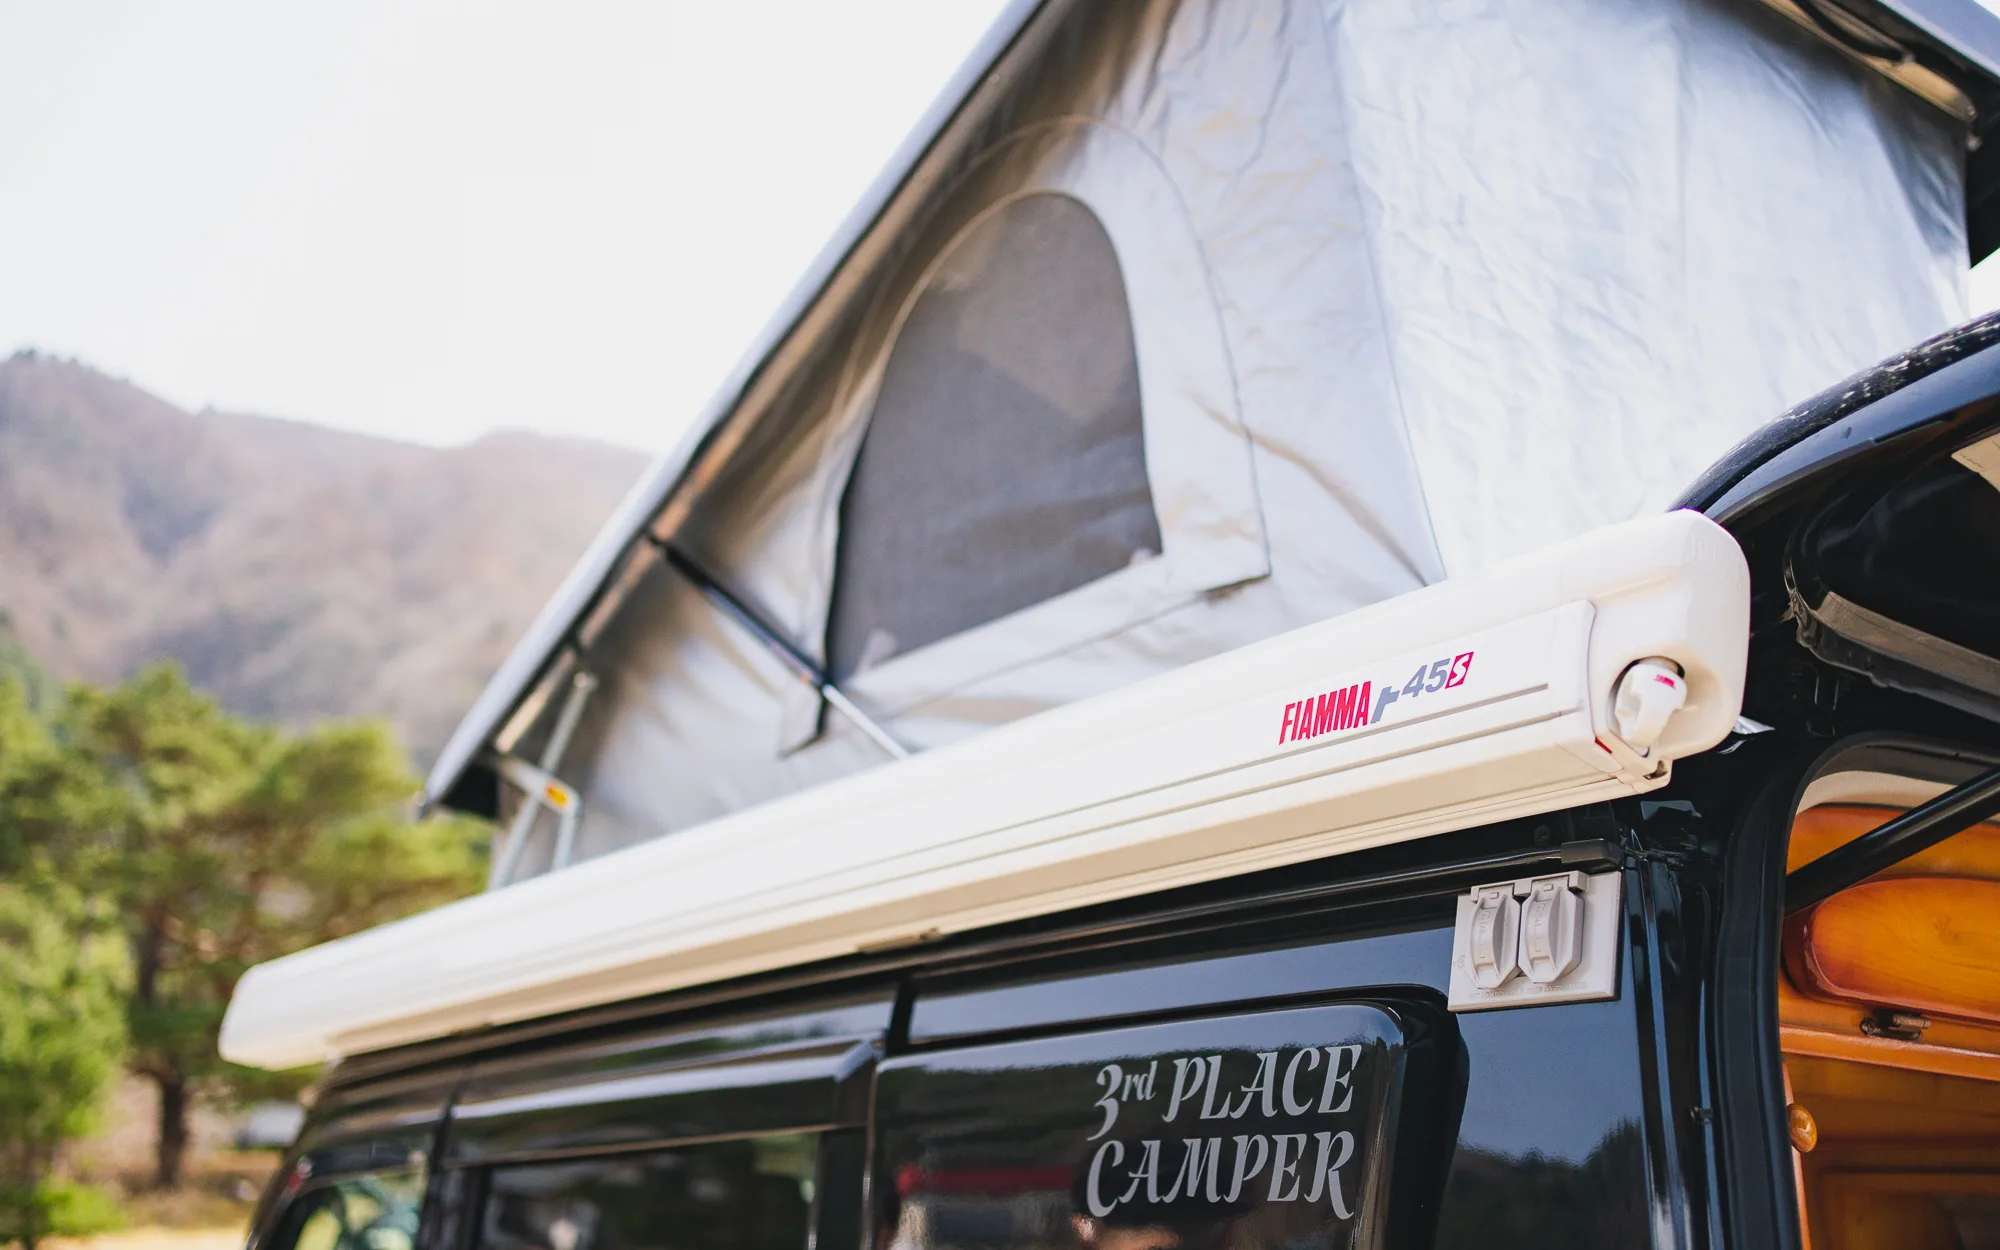
Side Awning
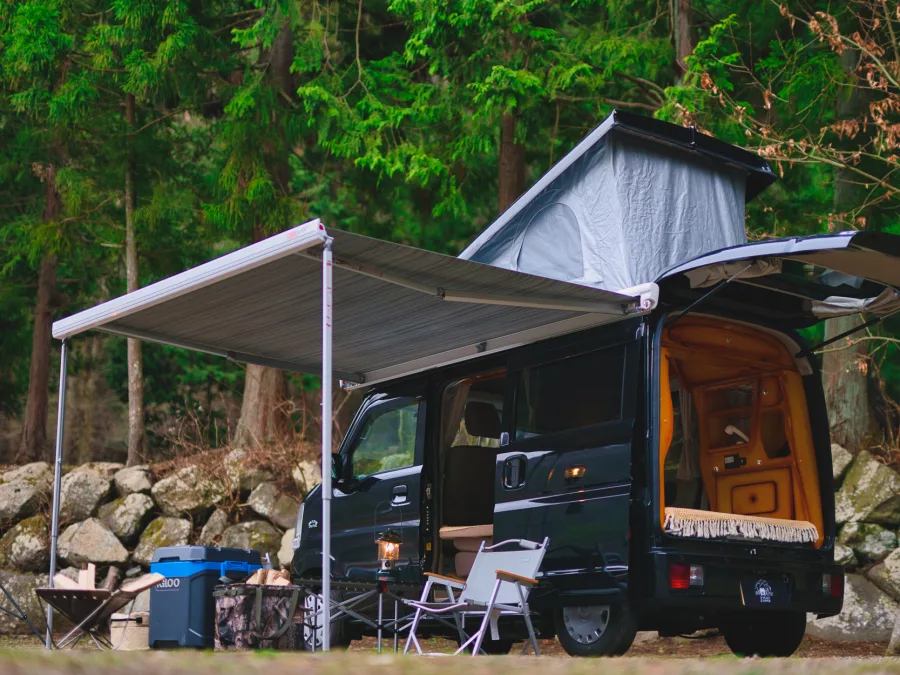
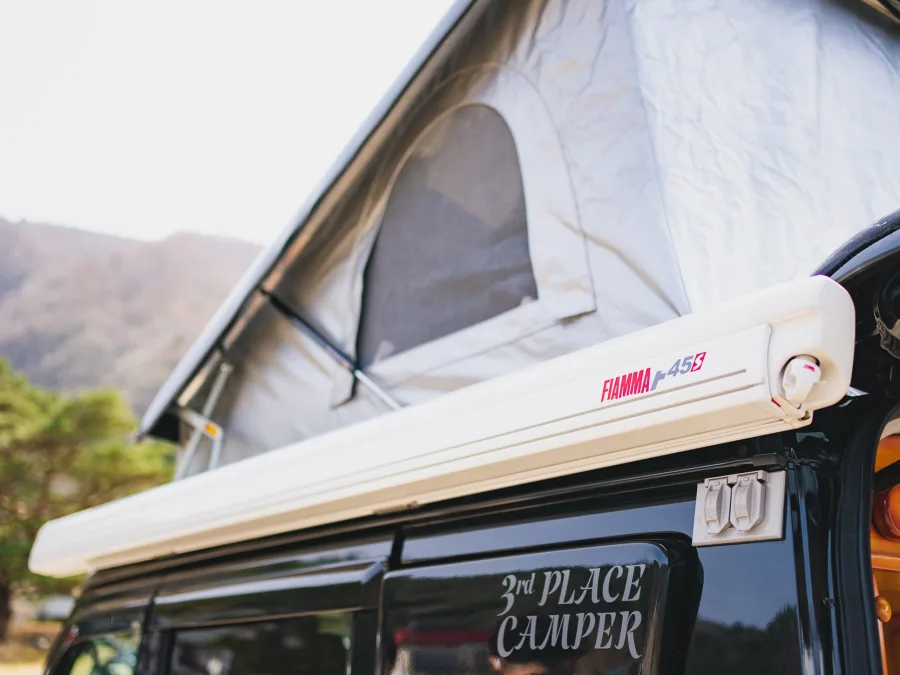


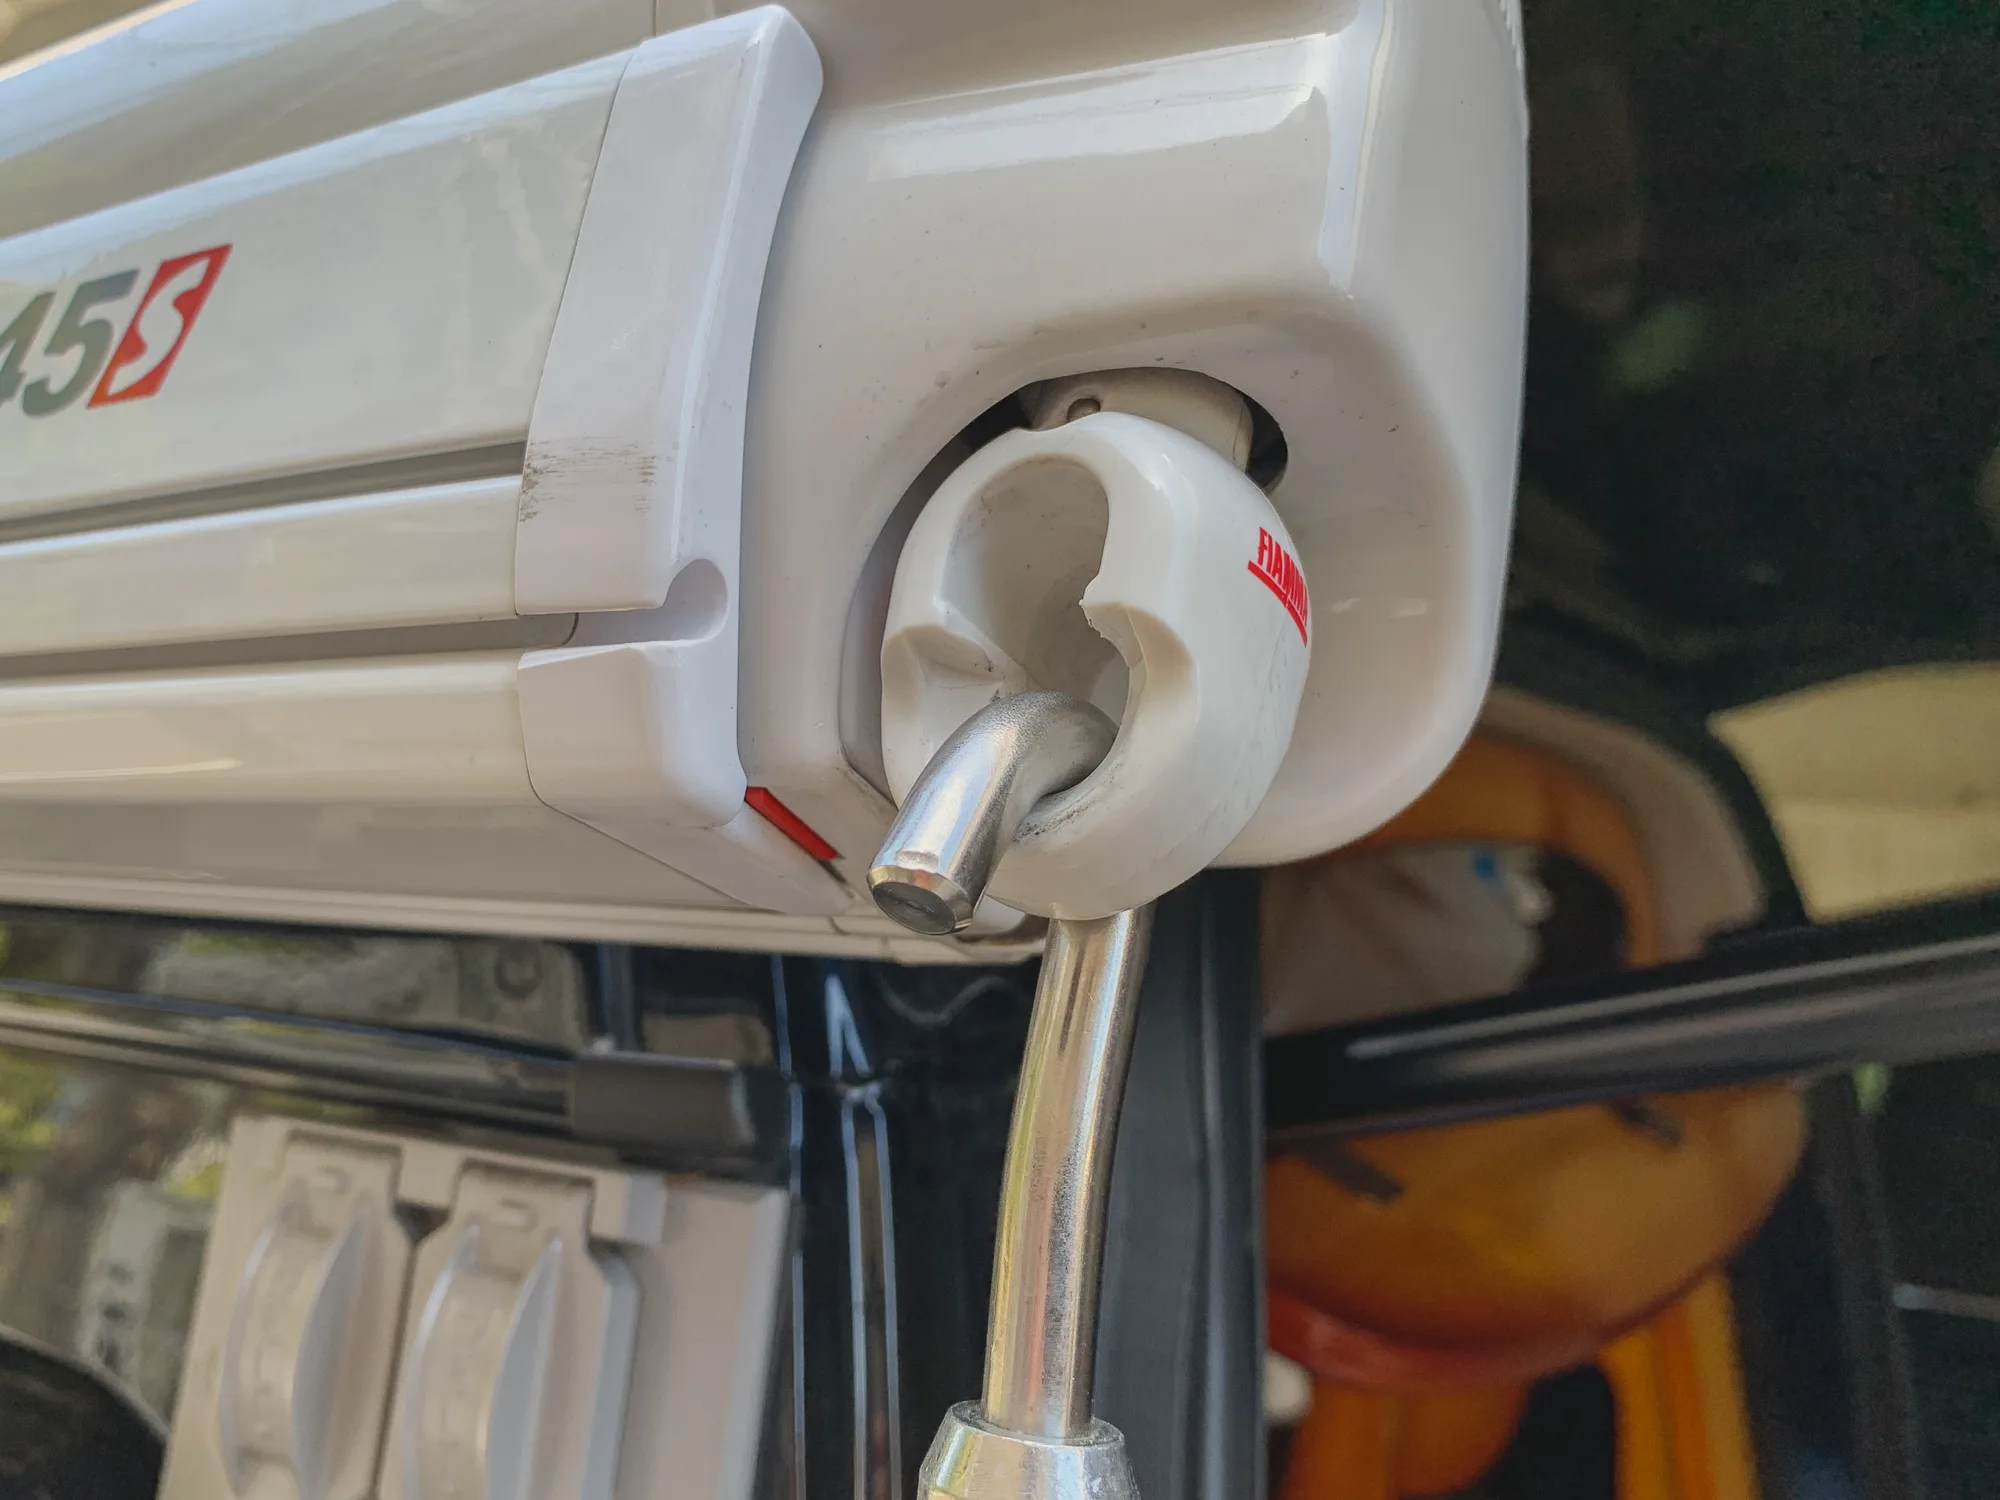
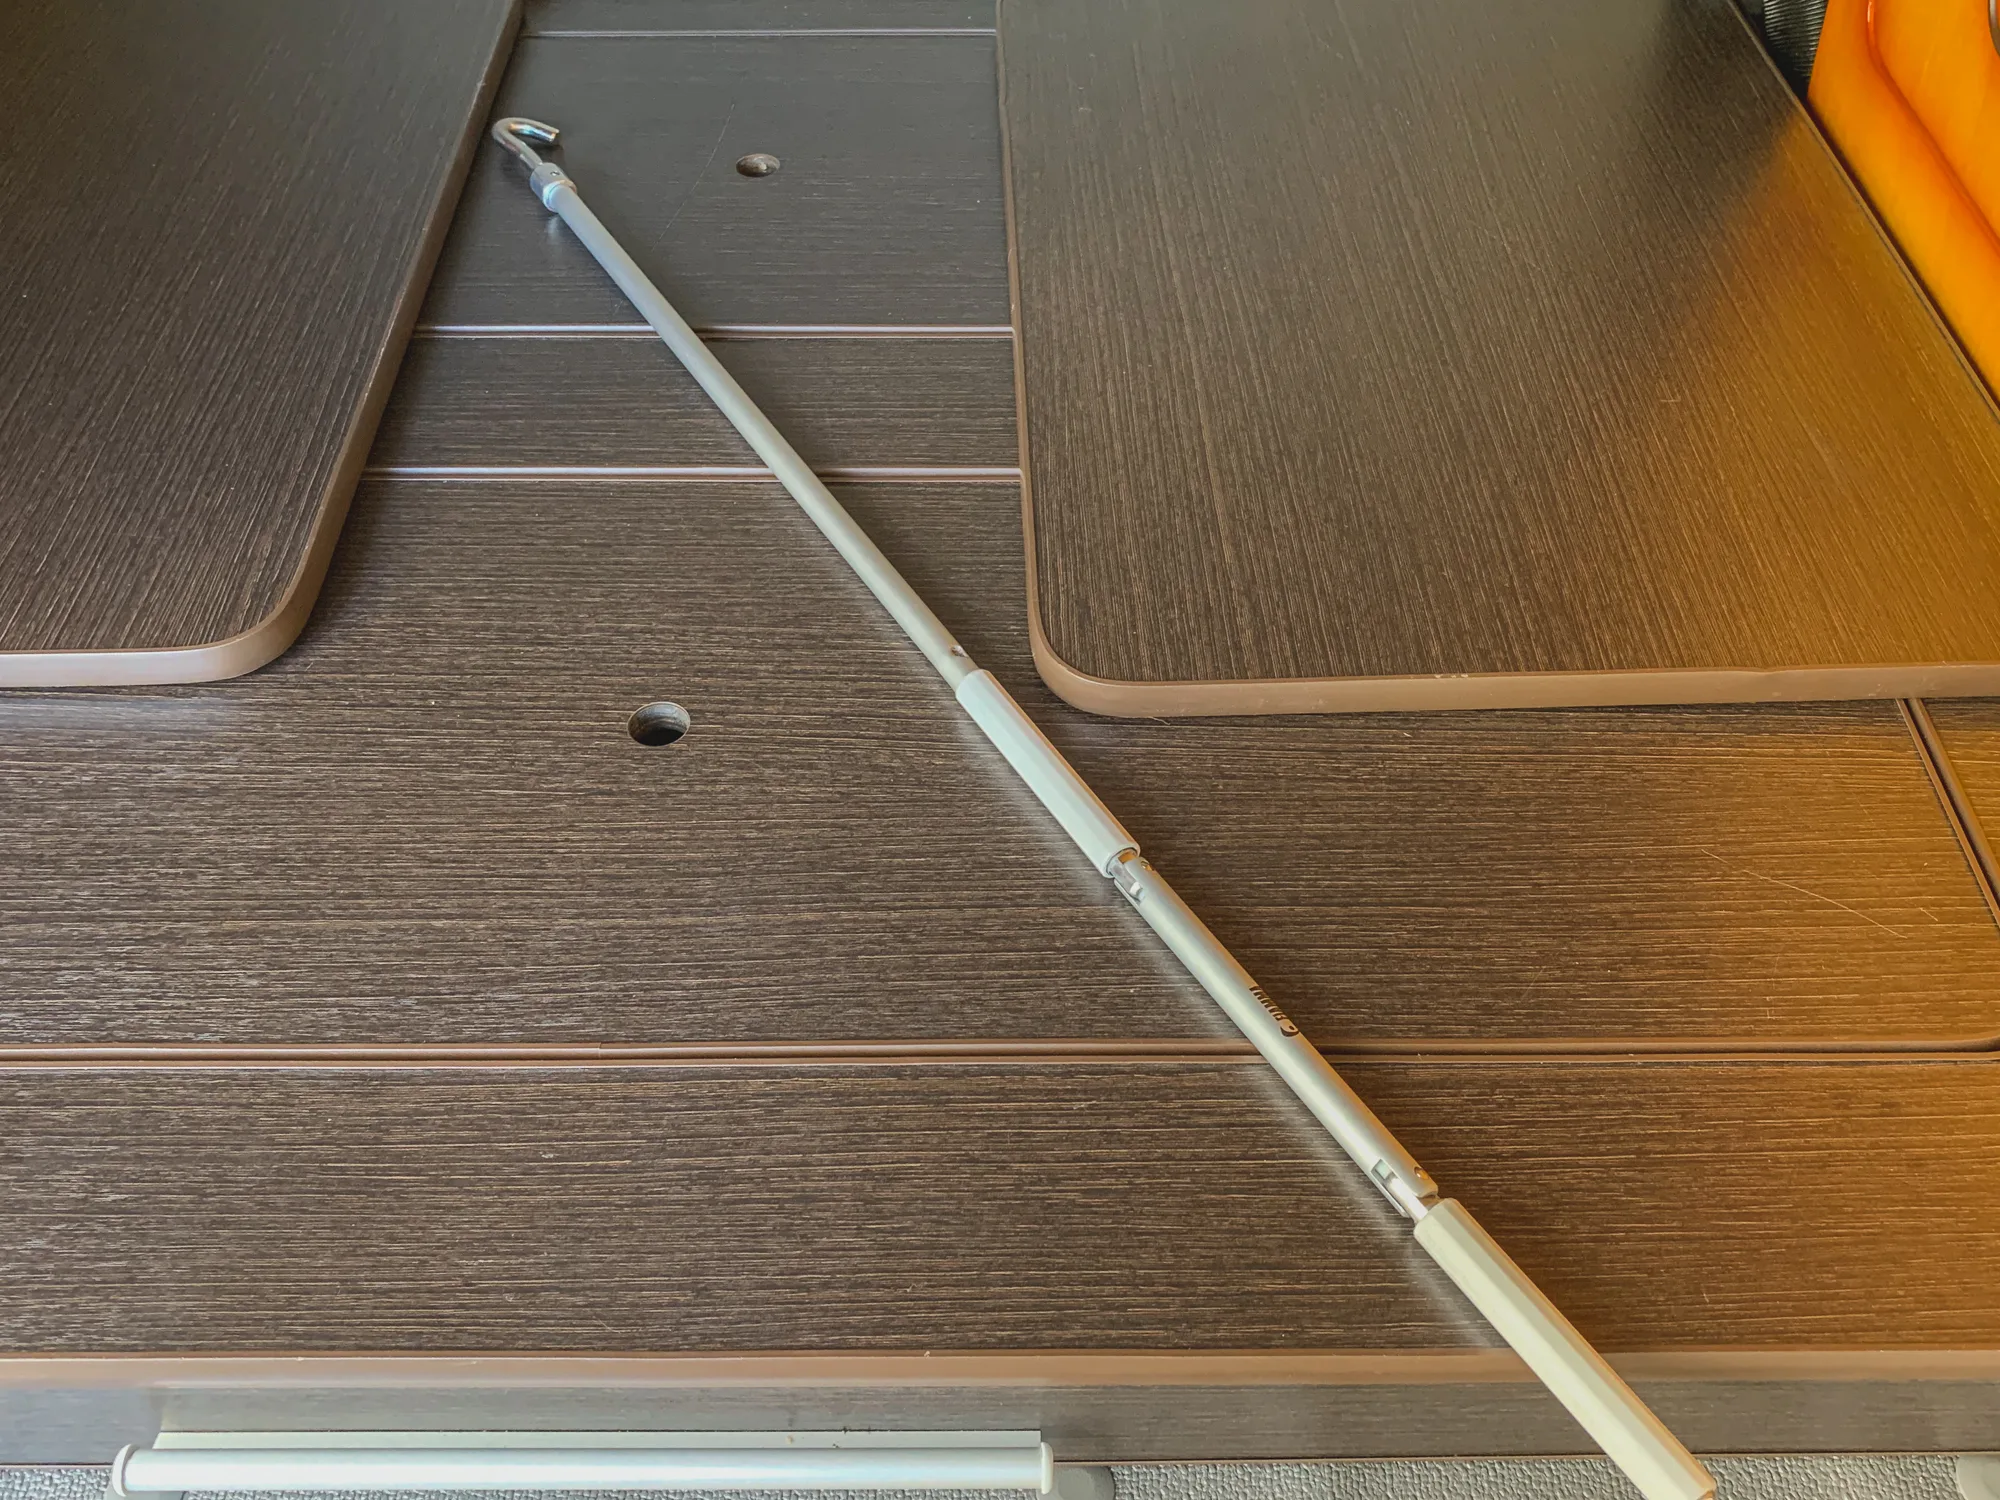
Take out the awning crank handle stored inside the vehicle and hook it onto the pull hook located on the right side of the awning.
Turn it counterclockwise and extend the awning about 50 cm, then pull out the support legs before continuing to extend the awning.
Be careful not to extend the awning without first deploying the legs, as this may cause the support arms to bend or break.
If the ground is soil, please secure the legs with the included pegs.
Do not use the awning in strong winds or rainy weather. Also, while in use, do not hang objects such as wet laundry from the awning.
When closing the awning, turn the crank clockwise and reverse the steps used to open it. Close it to about 50 cm before folding the legs.
Finally, ensure that the closing plate is fully retracted and the awning is properly closed.
Before driving, always check that all bolts and joints are tight and secure.
Be sure to close the awning during rainy or windy weather, while sleeping, or when leaving the vehicle for an extended period.
Handle the awning with great care.
Even if you have subscribed to CDW (Collision Damage Waiver), damage caused by not following the instructions above will result in you being invoiced for the repairs costs. Some equipment is not covered by vehicle insurance at all (a post-incident inspection will be conducted.)
Depending on weather and environmental conditions, there are situations where it is best not to use certain equipment.
Please operate with full awareness and carefully review the instructions before use.
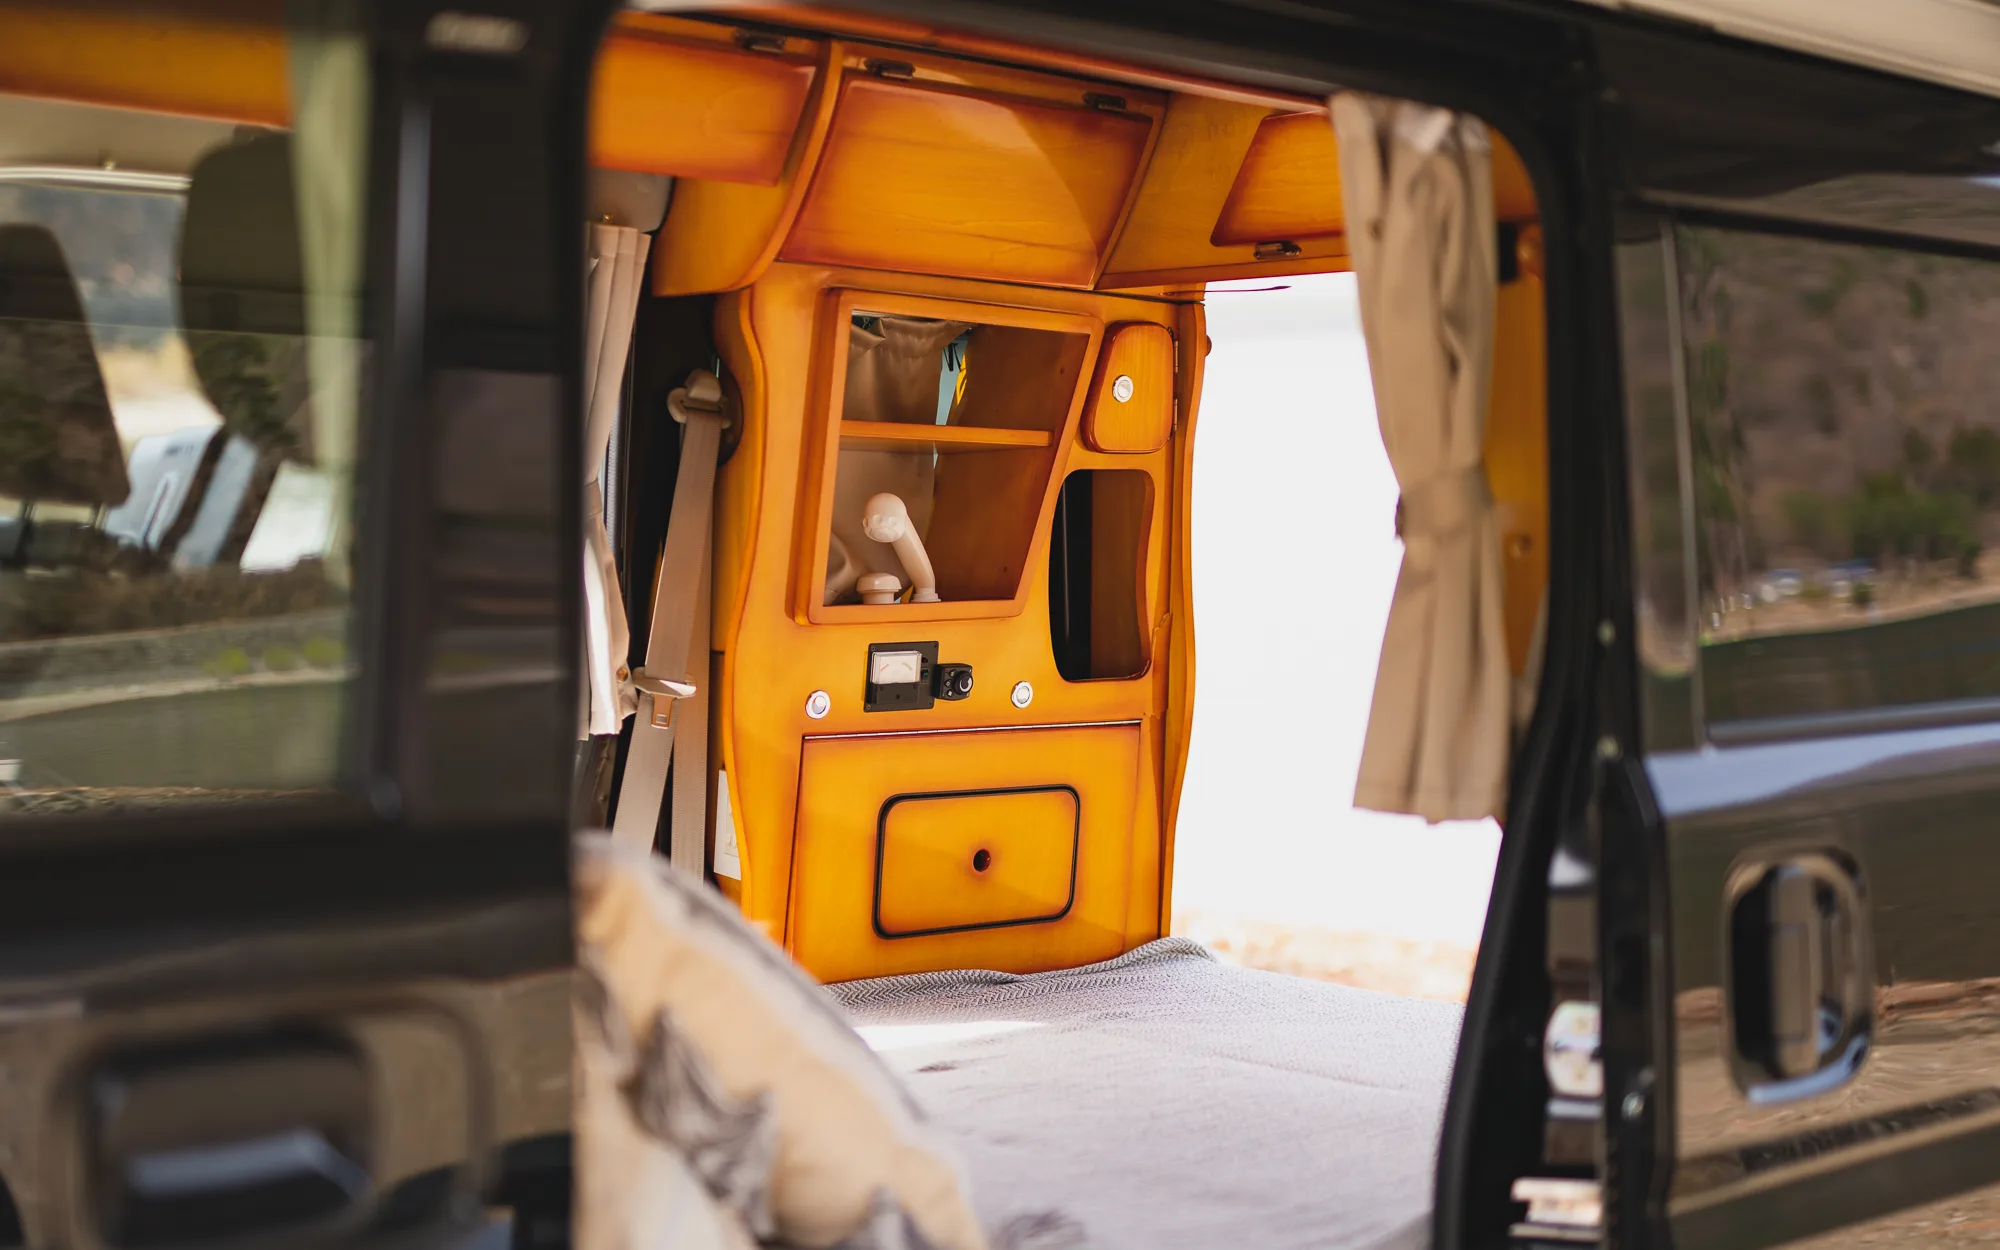
Sub-Battery System


The sub-battery is stored in a battery case located beneath the floor (no direct access to the battery is required. The battery should only be accessed directly by trained professionals)
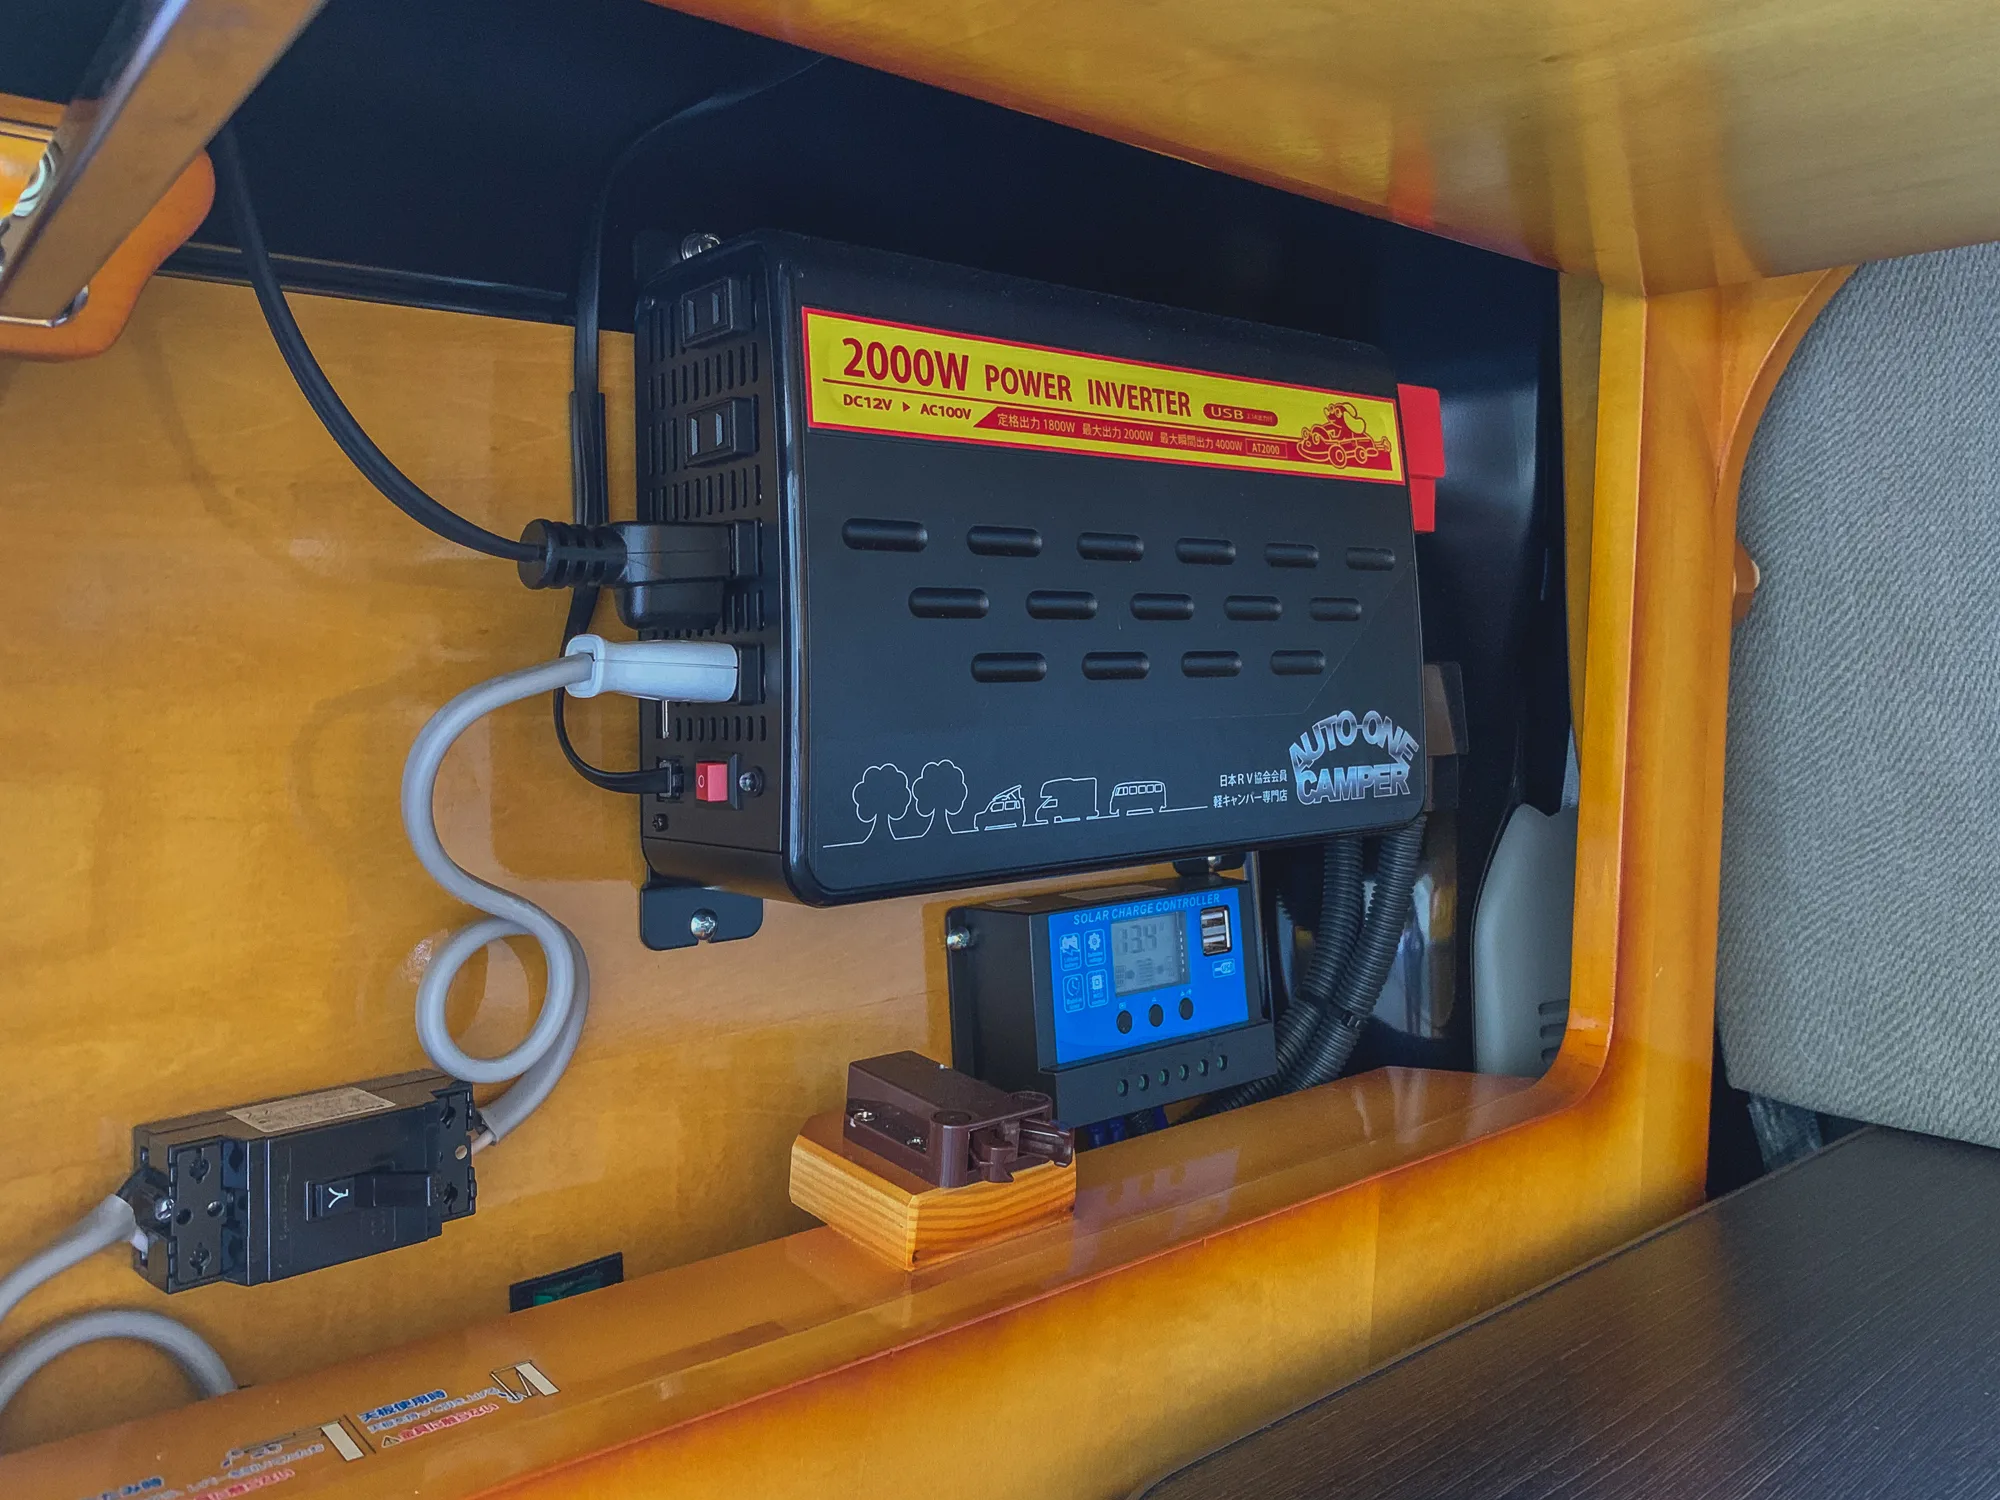
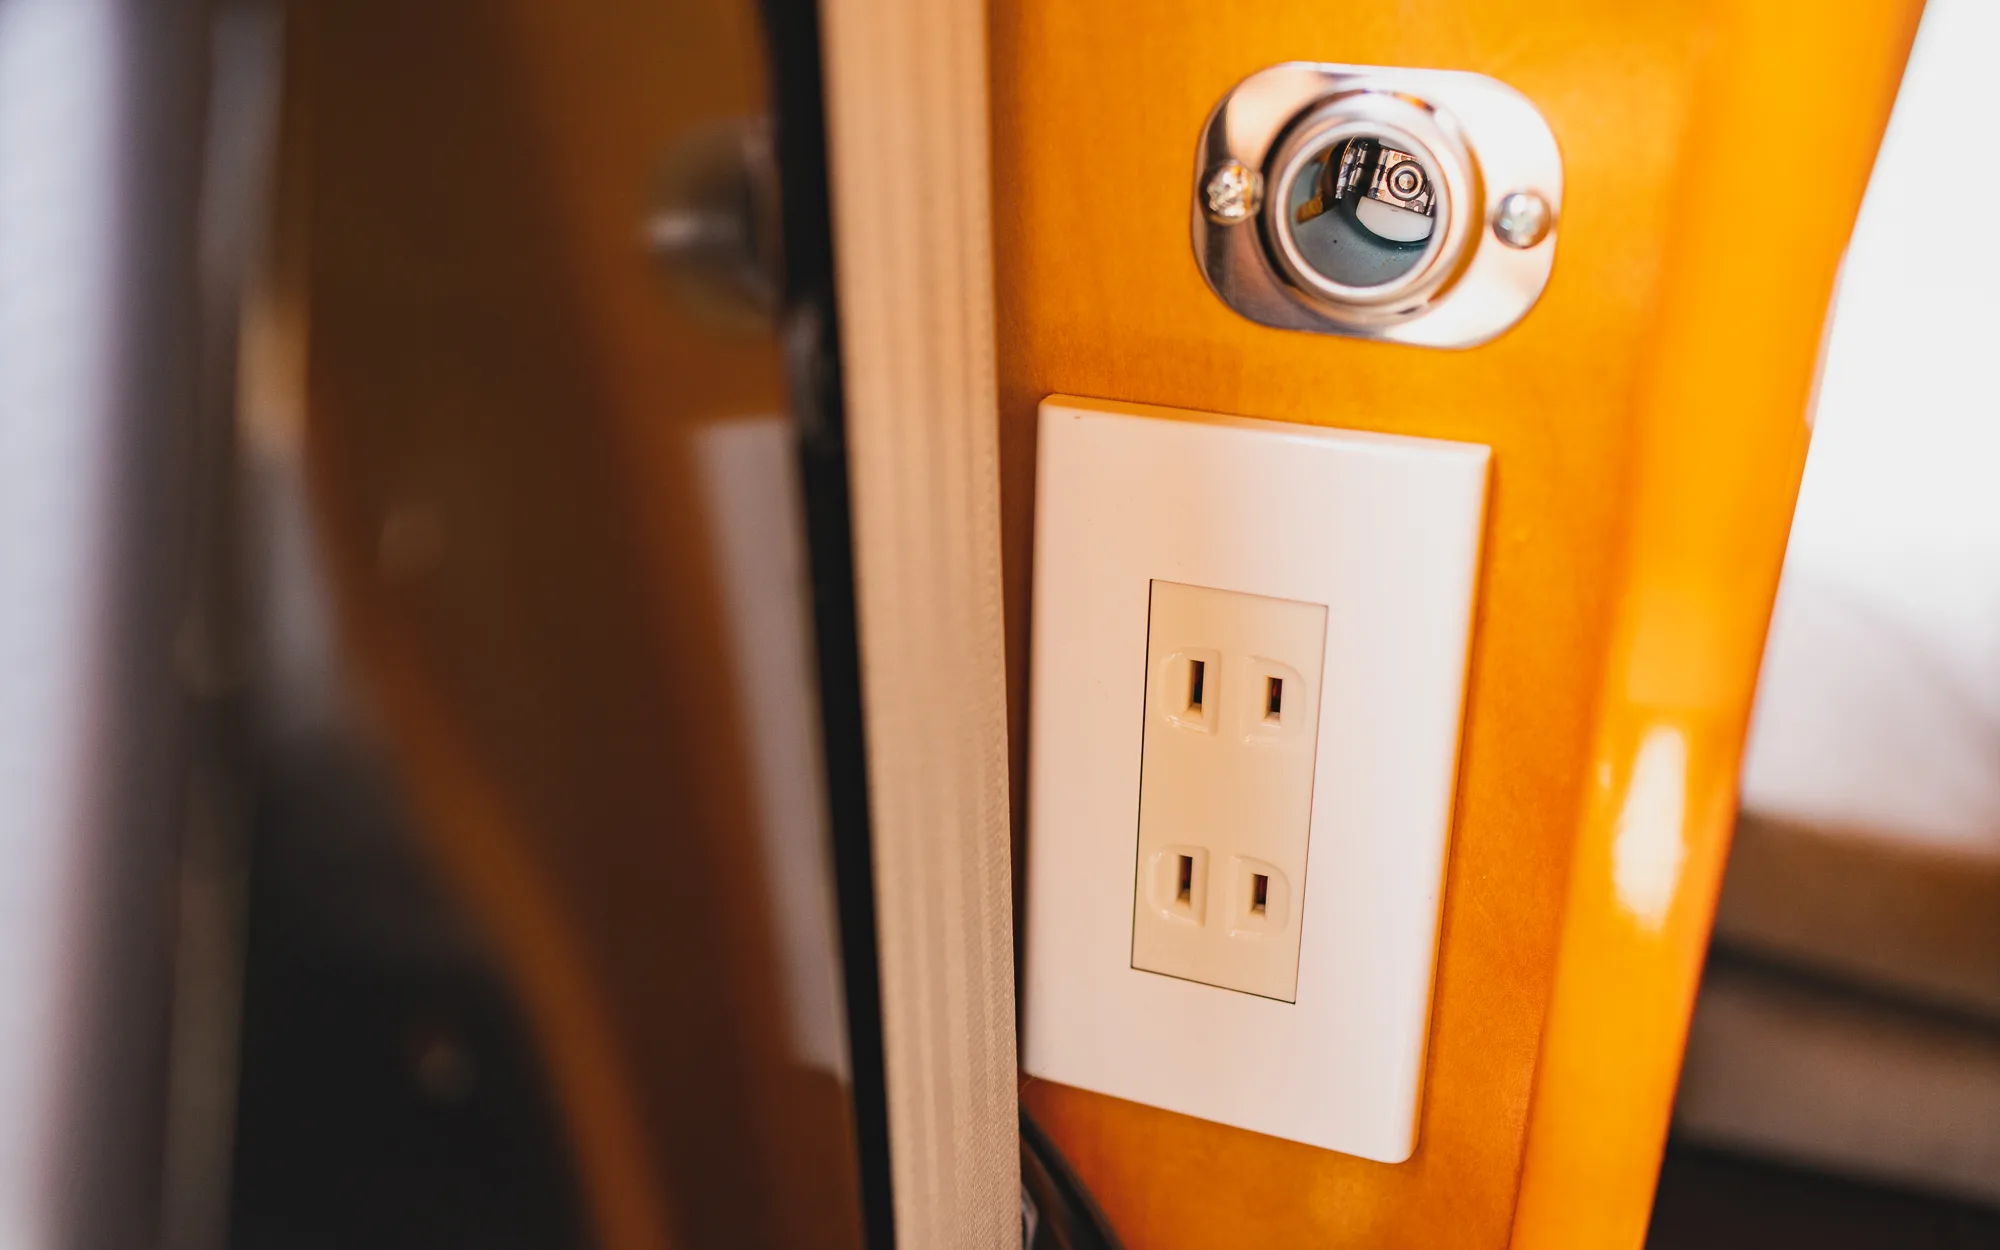
A 12V cigarette socket is installed above the 100V outlet. Since power is supplied from the sub-battery, you can use 12V electrical devices or a DC/AC inverter even when the engine is off.
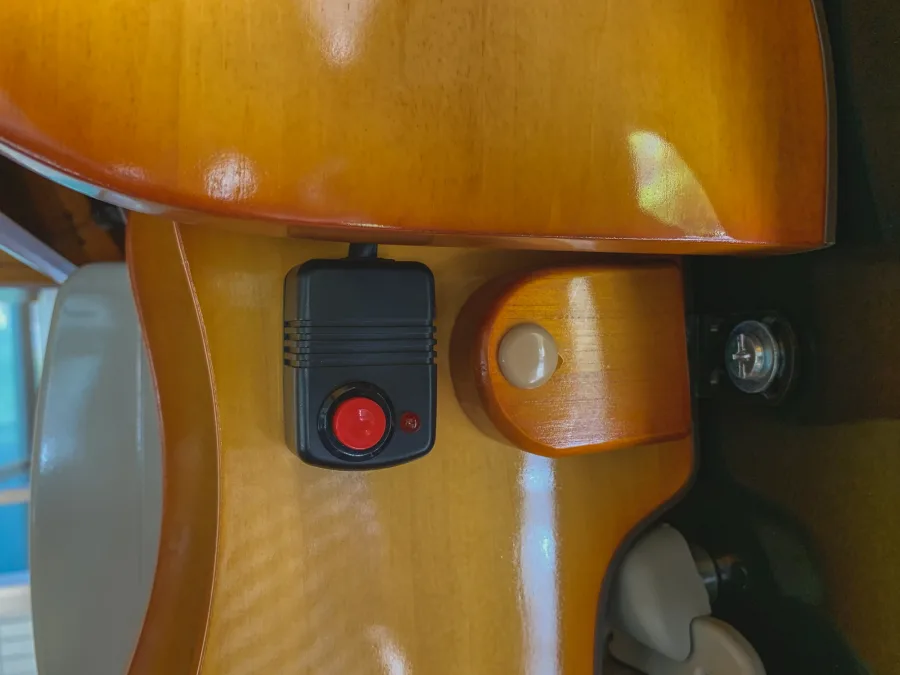
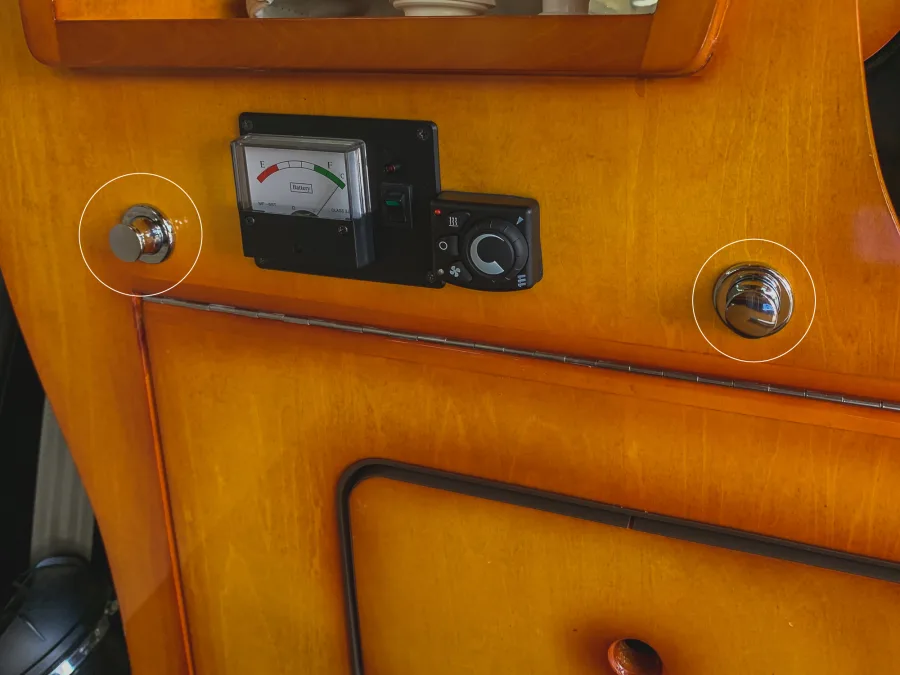
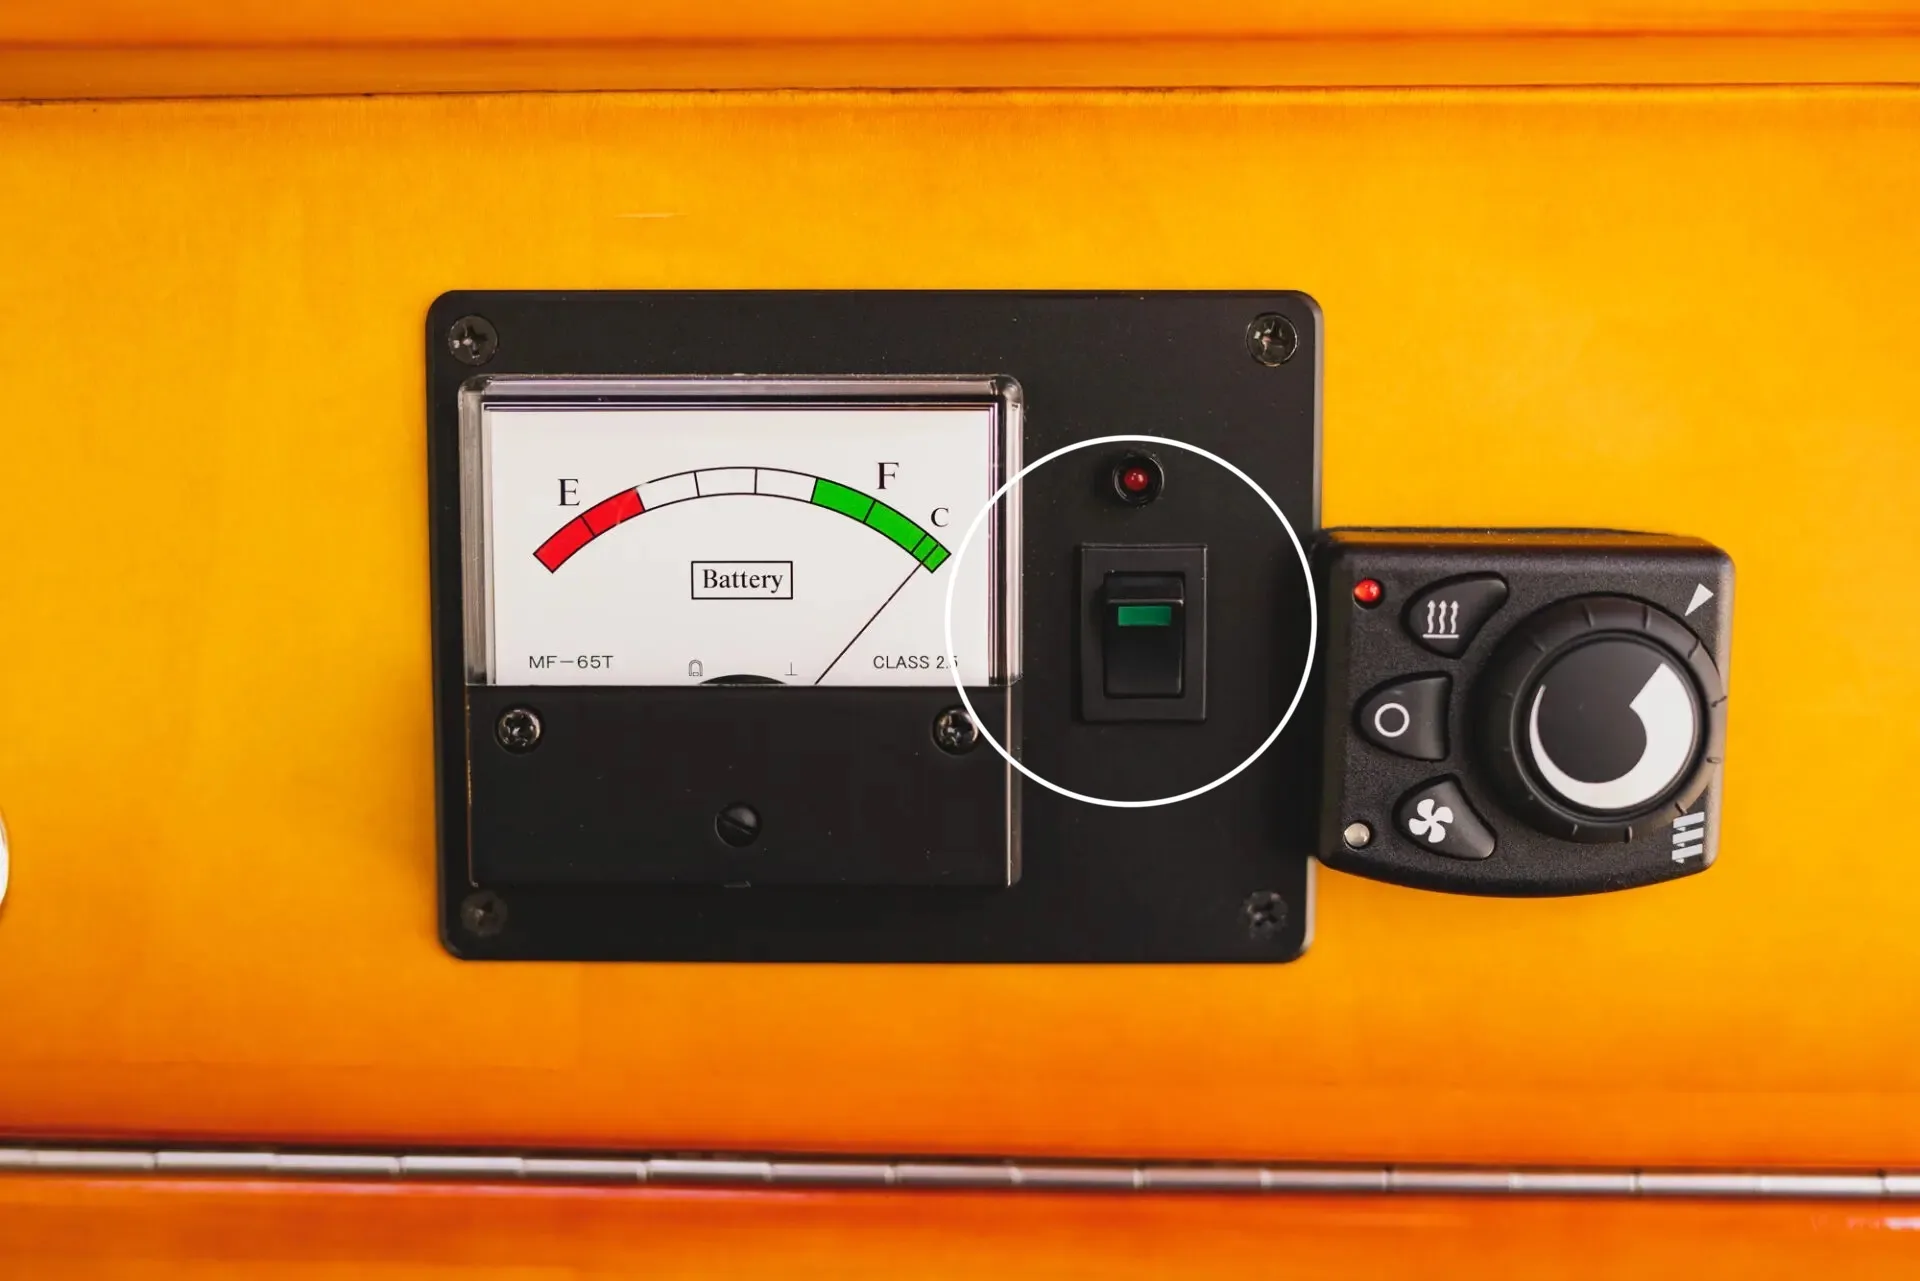
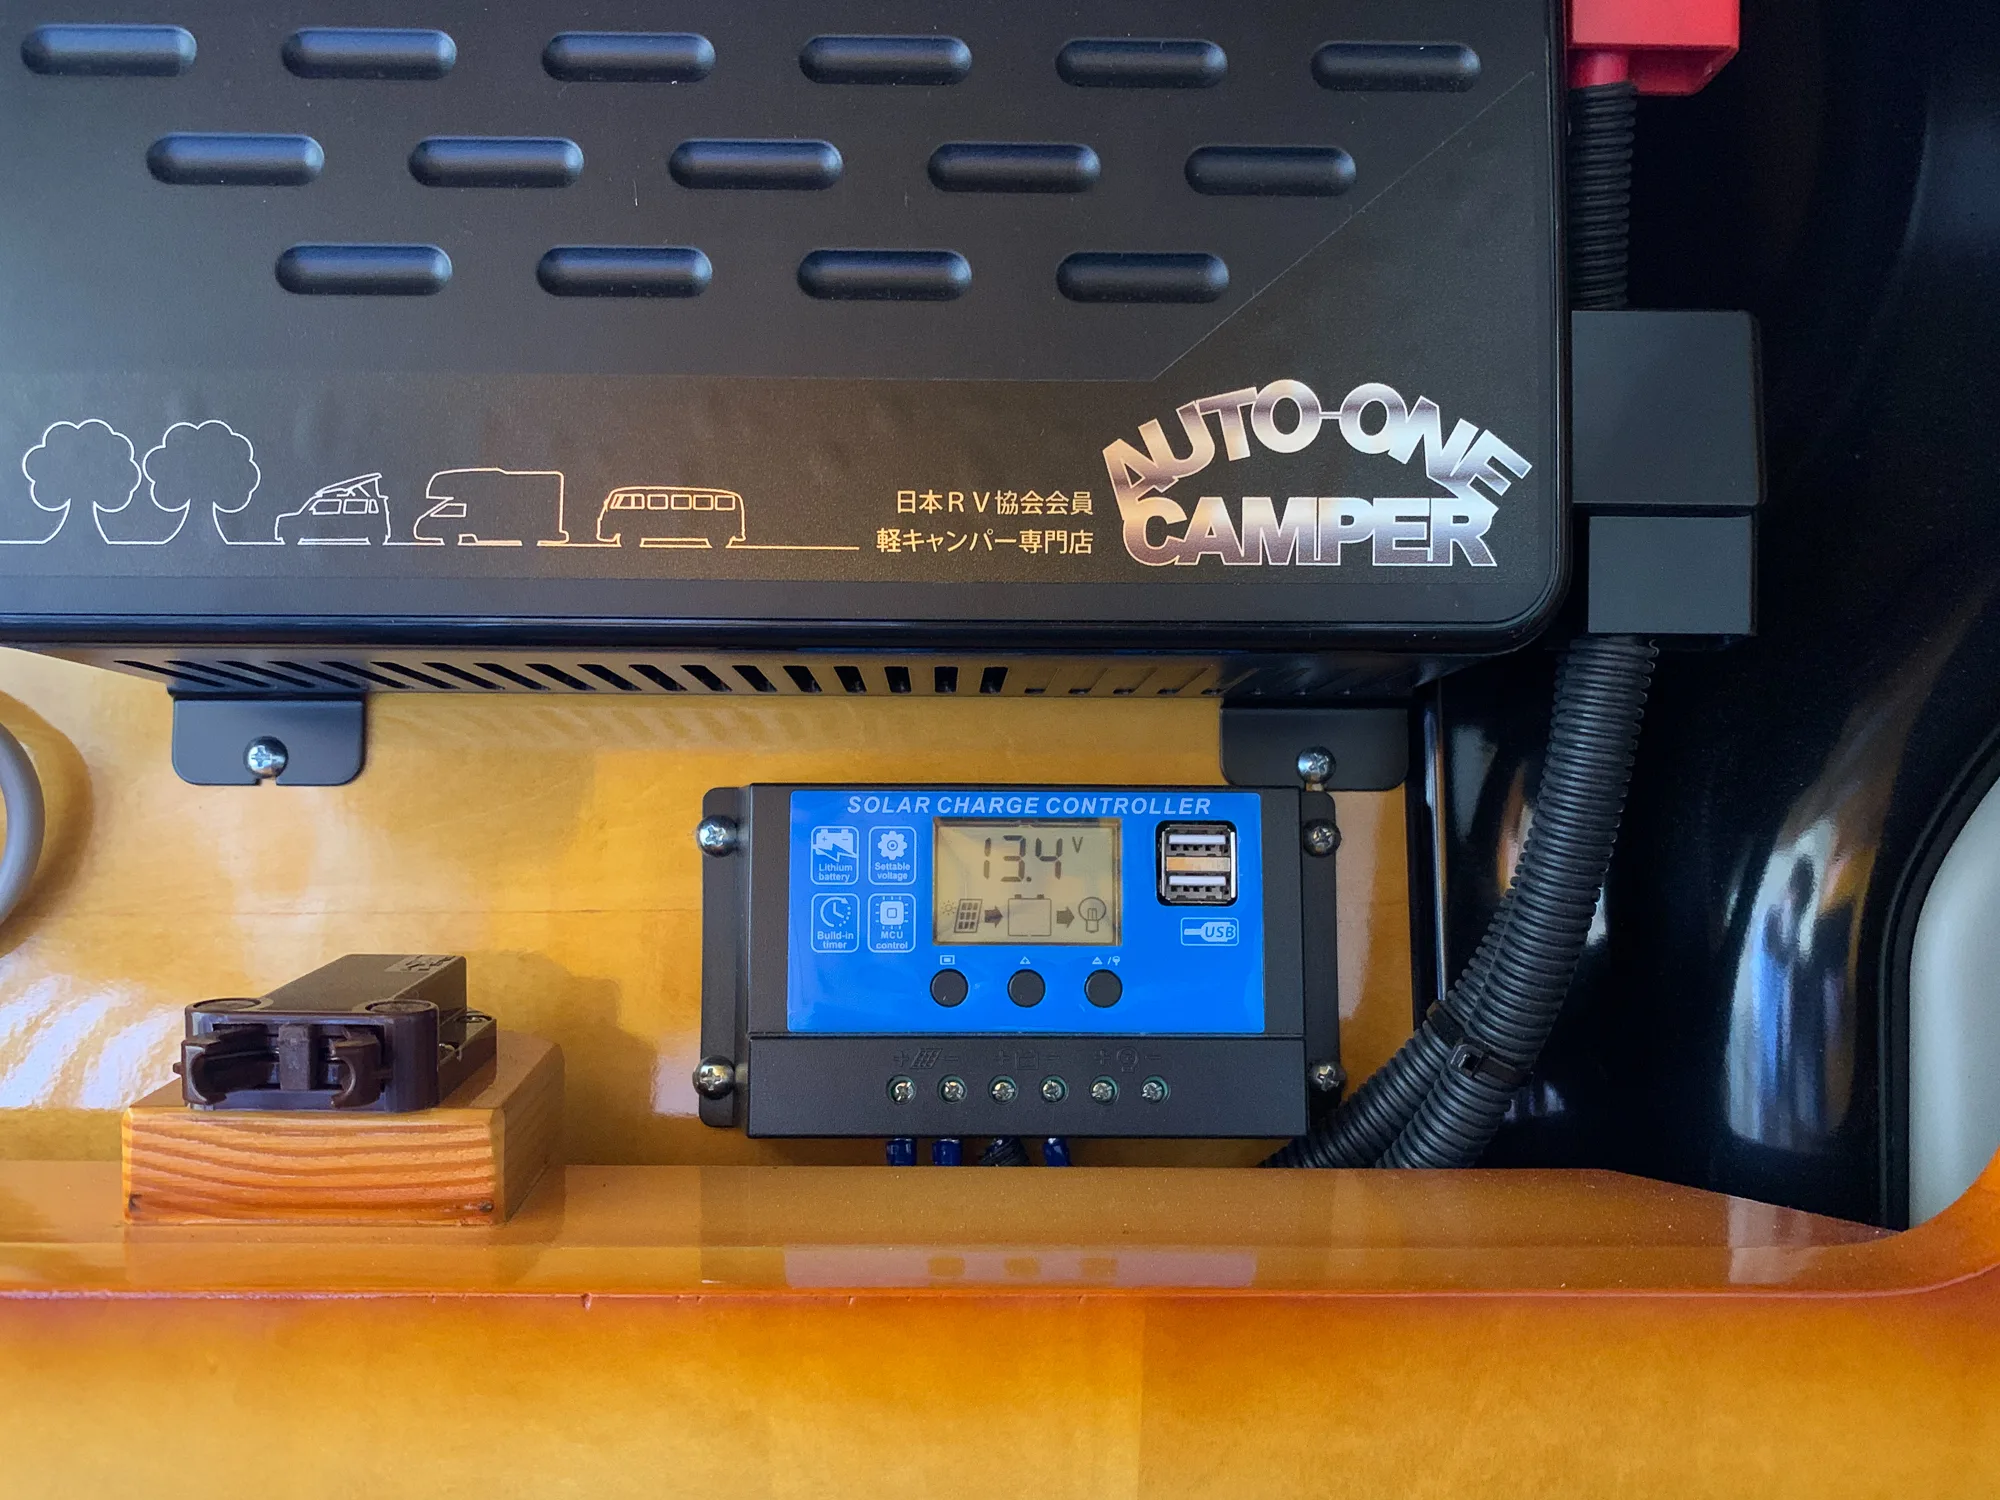
You can check the status of the sub-battery using the battery level gauge located near the retractable galley.
There is a switch next to the gauge that allows you to cut off the power supply from the sub-battery when needed.
Important:
If you have used the sub-battery for an extended period, do not turn off the engine immediately after starting it. A large current will flow from the main battery to the sub-battery, and turning off the engine right away may drain the main battery, making it impossible to restart the engine.
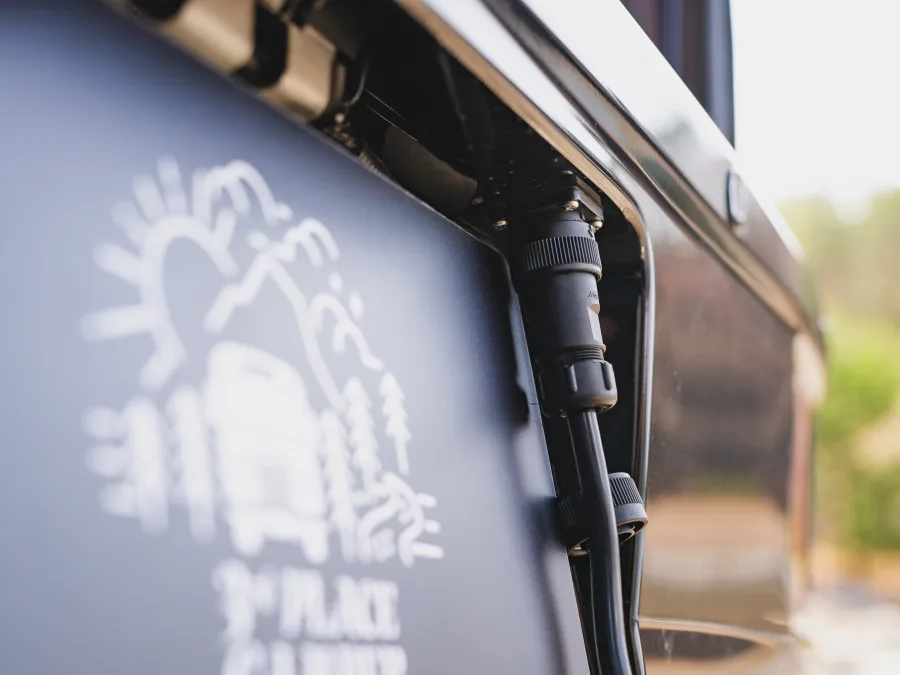
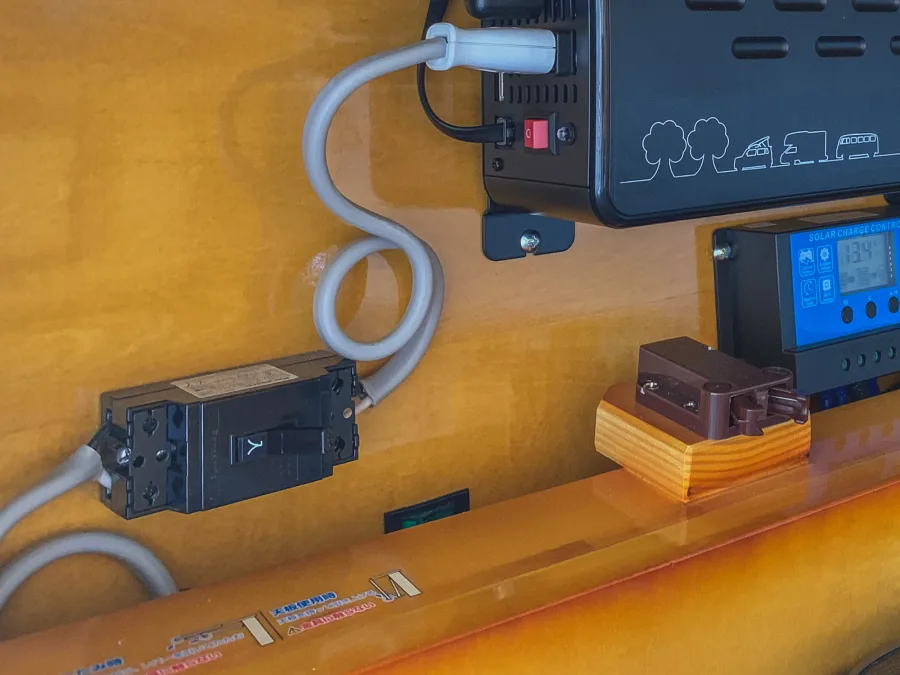
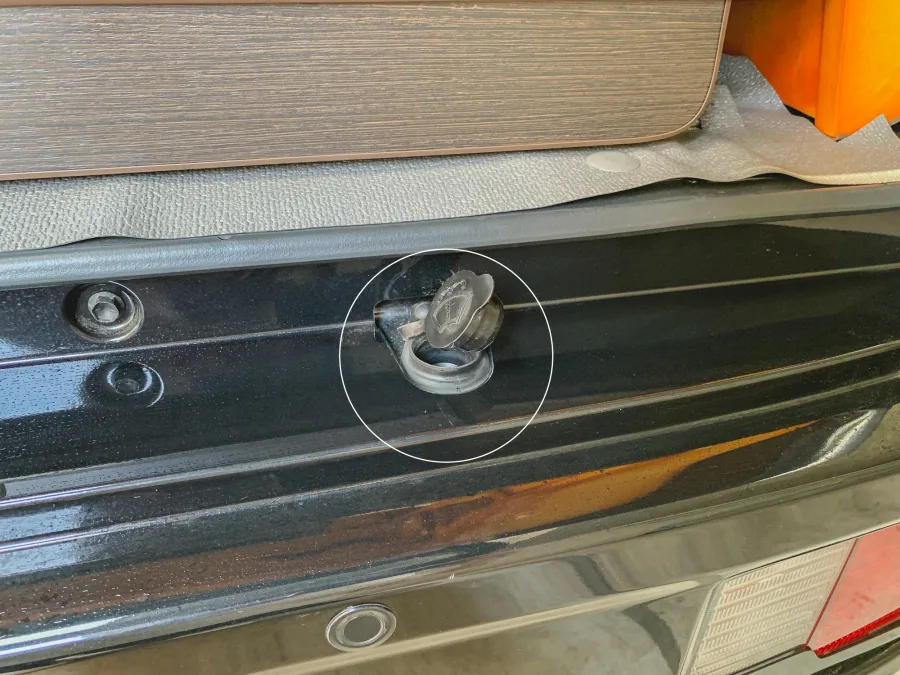
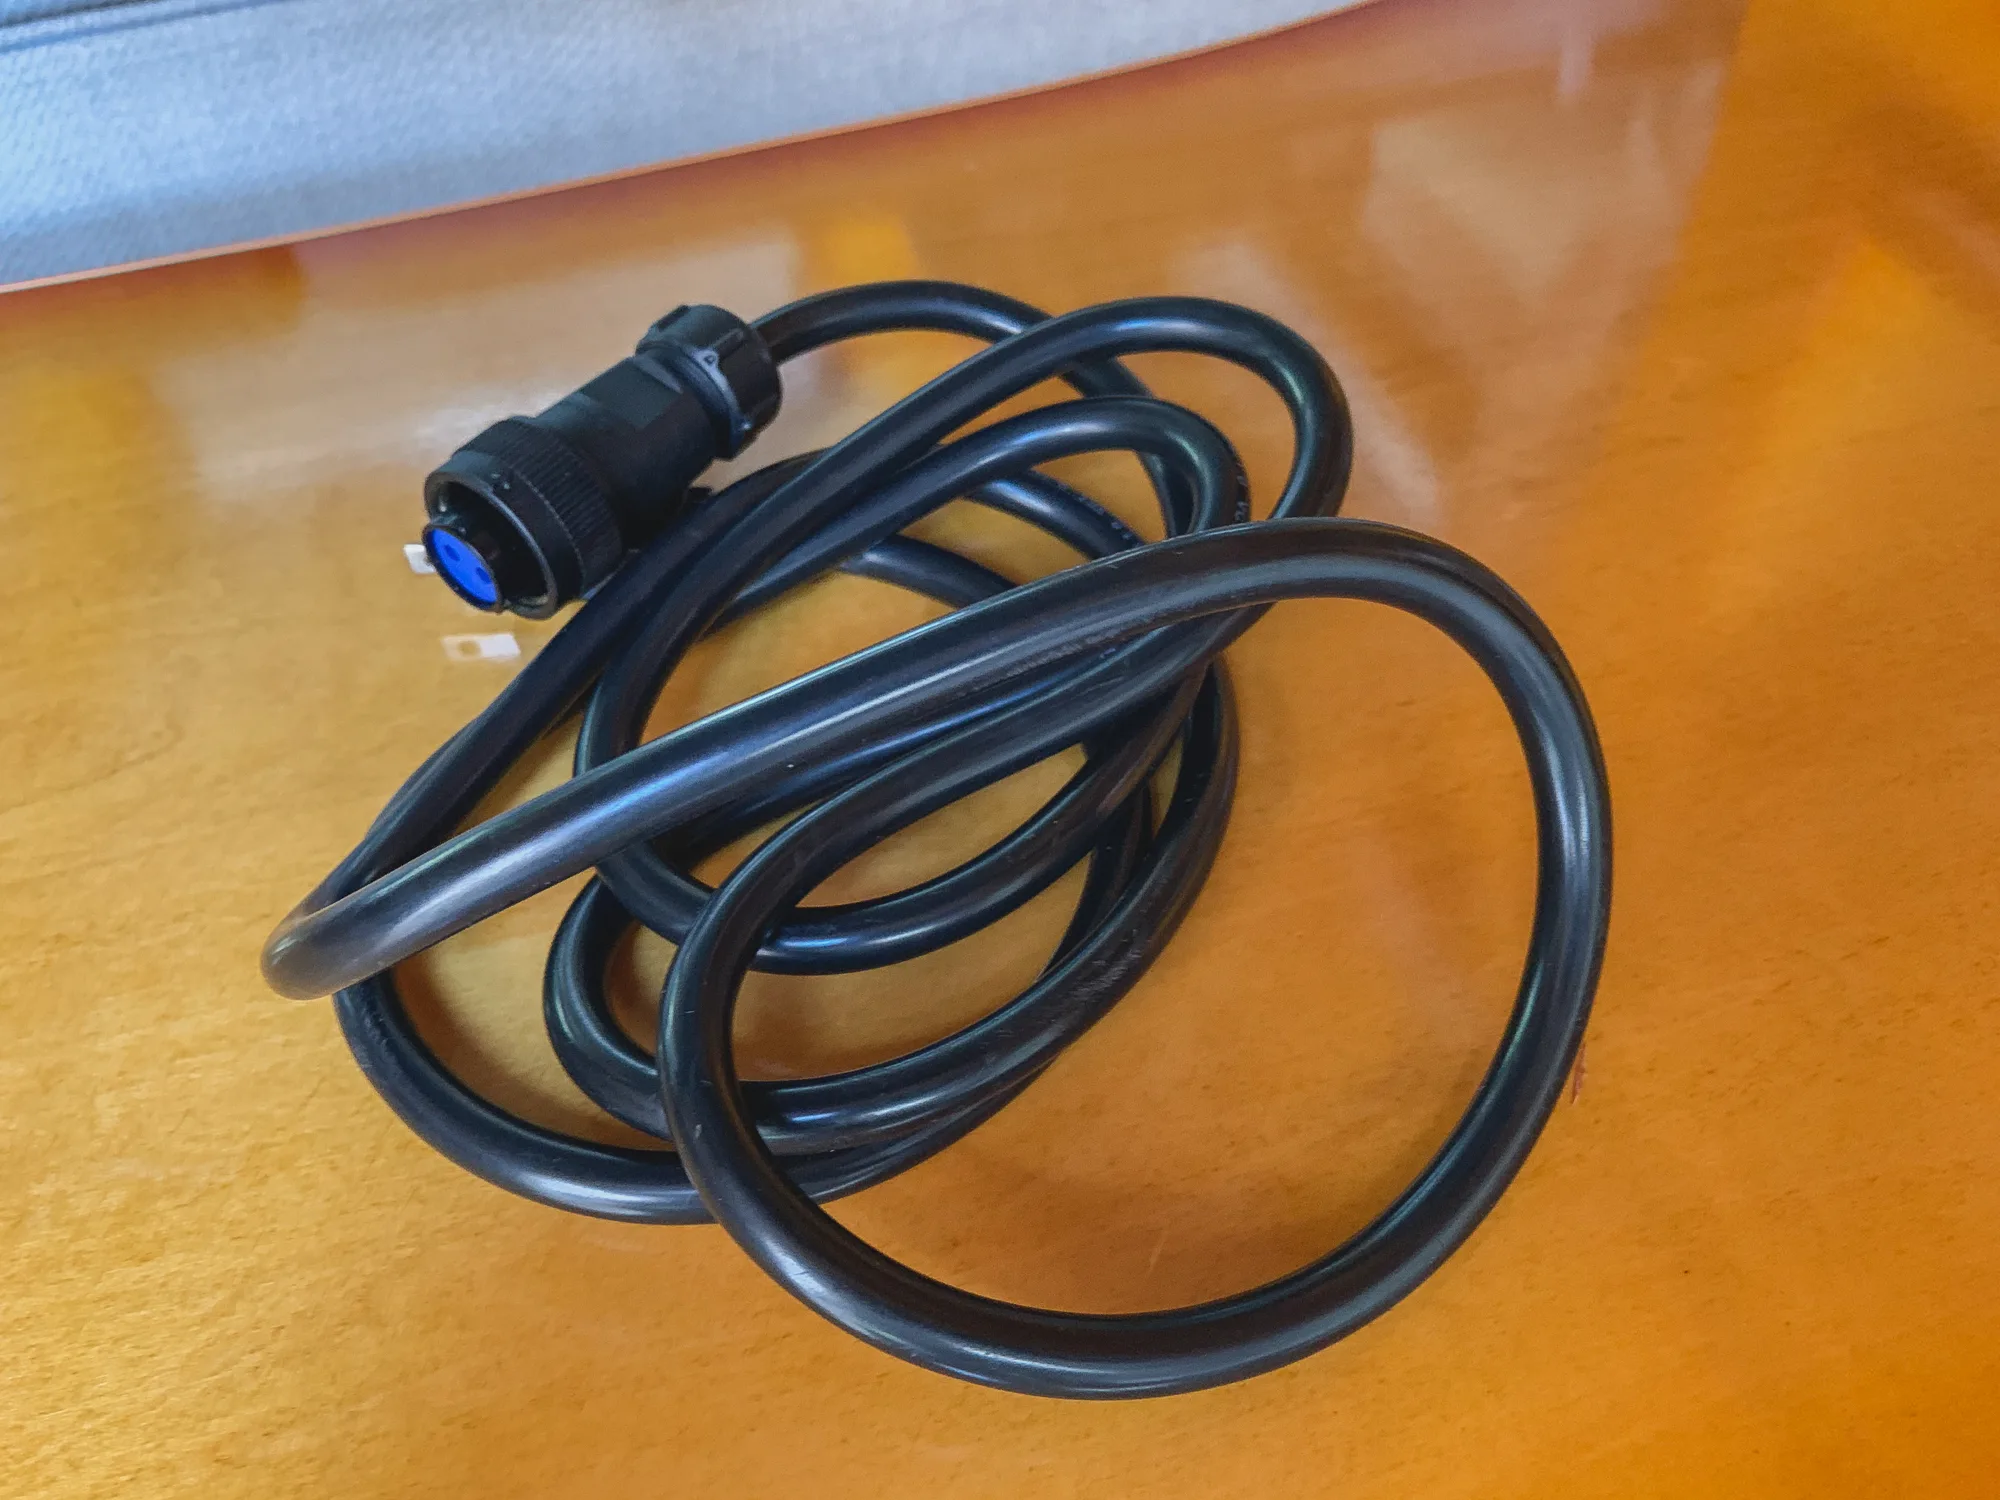
To charge the sub-battery using external power, connect the power cord (stored in the upper rear cabinet) to the external power socket located above the rear license plate on the rear bumper.
Then, activate the system using the breaker switch located inside the retractable galley on the right side.
The charger unit itself is located near the base of the left sliding door, inside the jack storage compartment.
Note:
Allowing the sub-battery to fully discharge will shorten its lifespan.
If the battery doesn’t hold a charge well or if the usage time becomes noticeably shorter even after charging, please replace the battery.
External 100V Power Supply / Internal 100V Power Supply
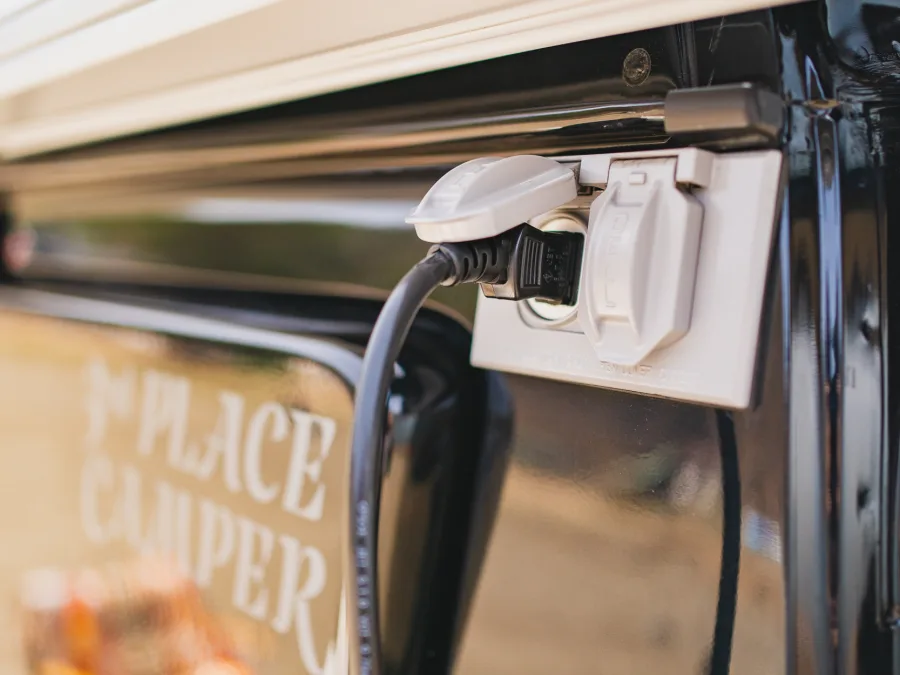

The 100V outlet inside the vehicle is installed on the left side of the retractable galley. It can only be used when the external power cord, which is stored in the upper rear cabinet and connected to the exterior of the vehicle above the rear bumper (above the license plate), is plugged in. For safety, a breaker is installed at the back of the retractable galley. Please make sure the breaker is turned “ON” before use.
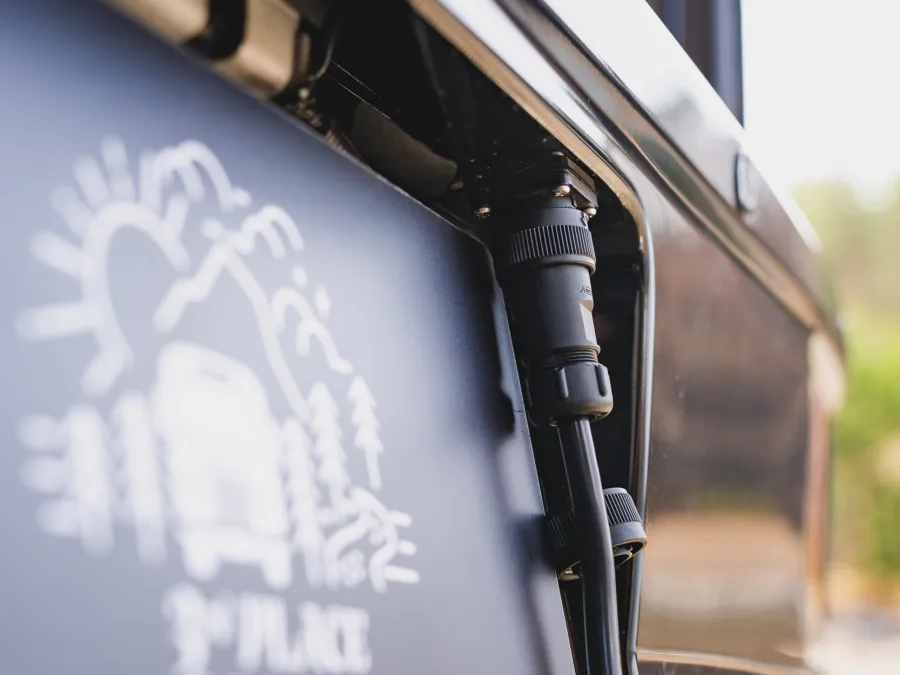
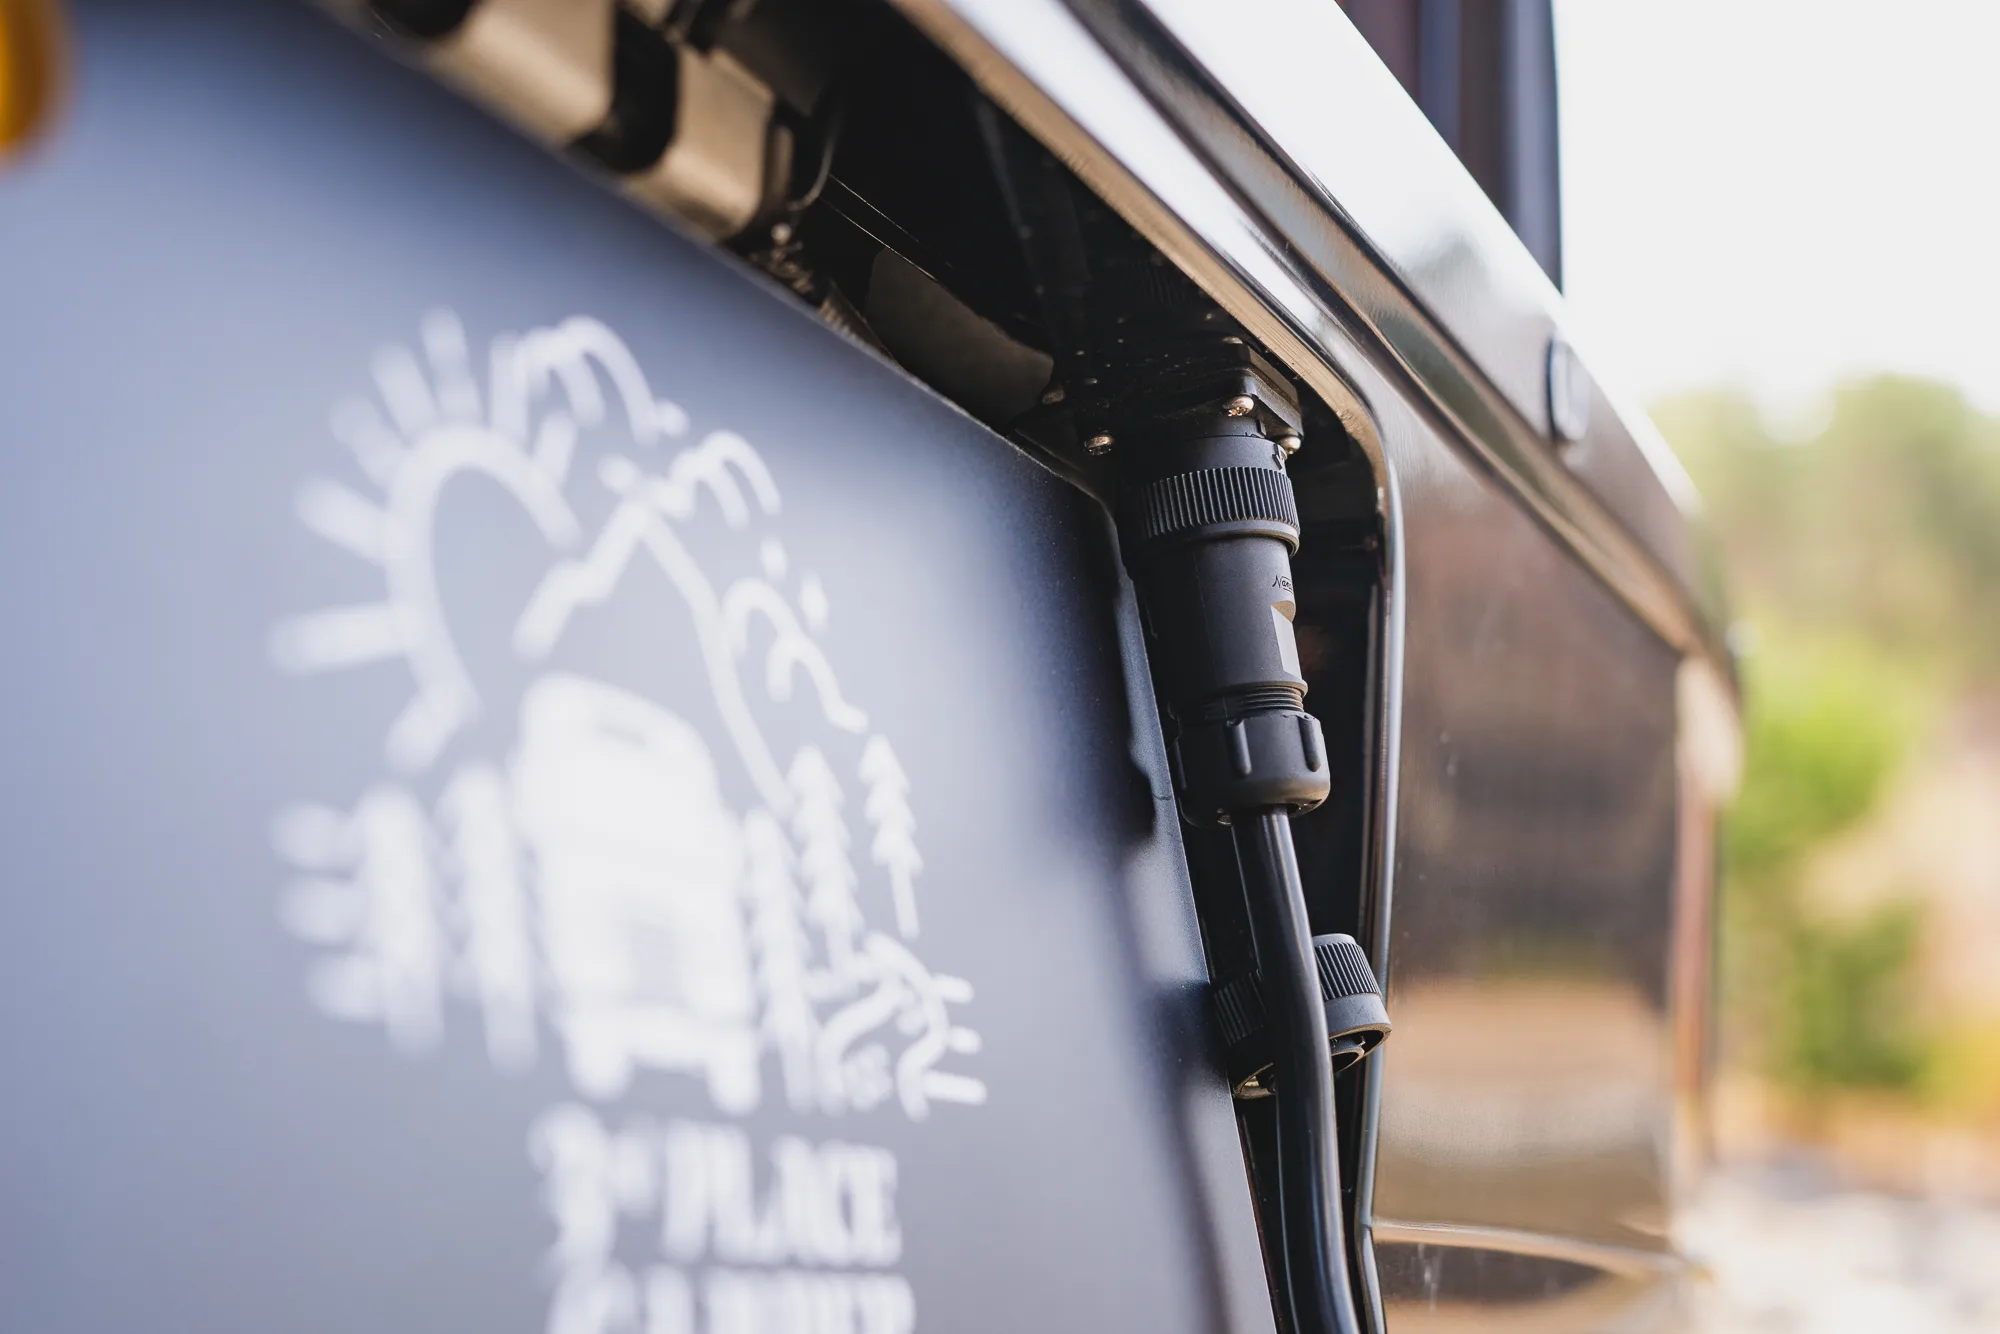
If you need to use household electrical appliances in a location without external power, you can use the external outlet located next to the left rear side window. A DC/AC inverter is installed inside the retractable galley on the rear left side. For safety, a breaker is also installed inside the galley. Please make sure the breaker is turned “ON” before use.
LED Light
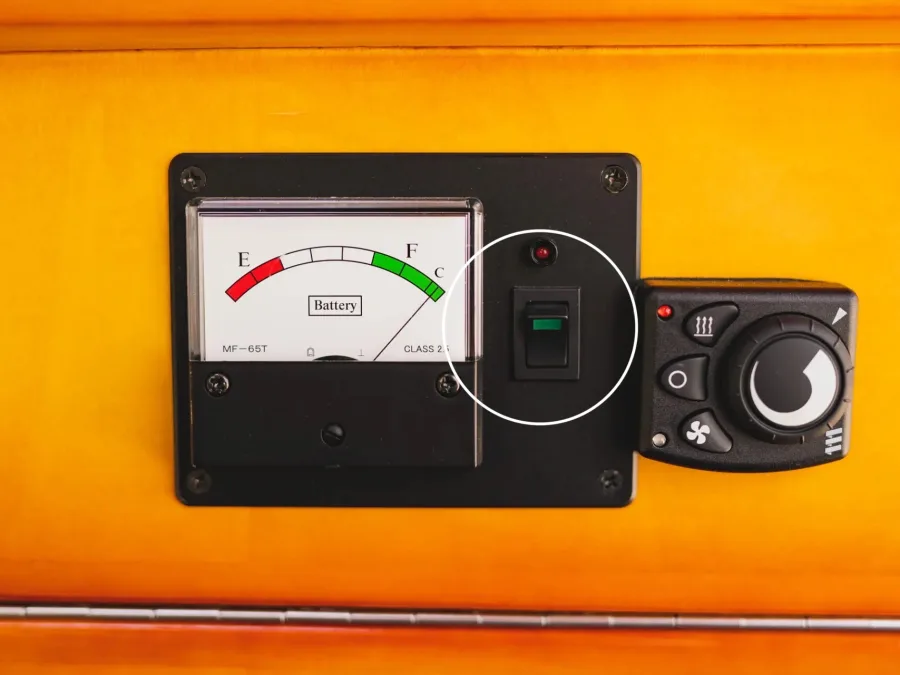
When using the system, first turn on the battery meter switch located above the sink, then operate the light using the switch on the light itself.
The LED light is powered by the auxiliary (sub) battery.
The auxiliary battery is charged through driving (alternator charging) and solar panel charging.
If electrical appliances are used for an extended period, please make sure to fully recharge the battery using the installed “external charger” connected to an external power source before the next use.
Tire Repair Kit


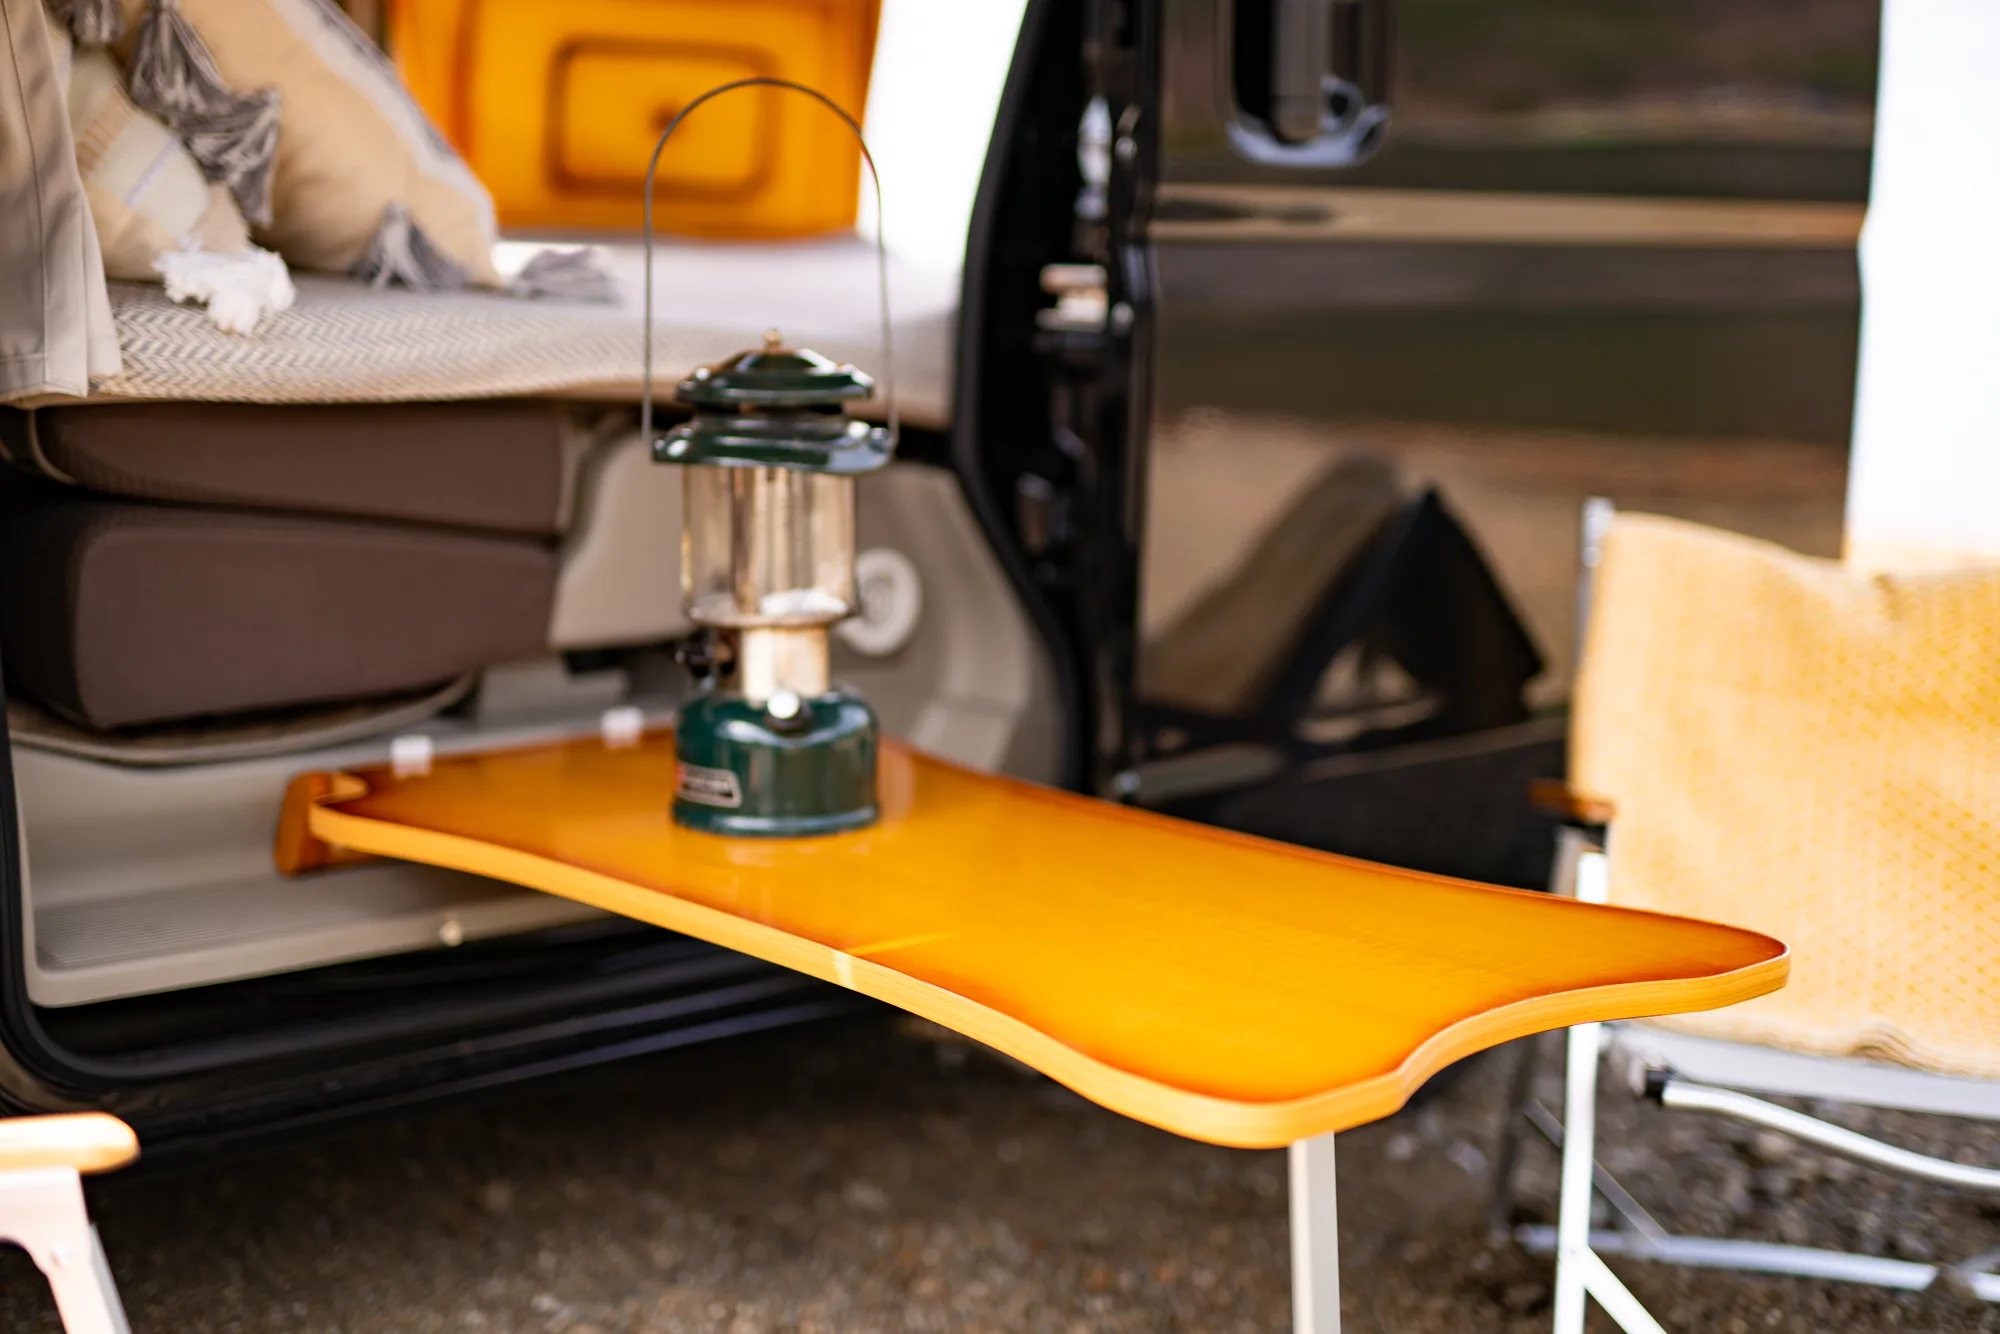
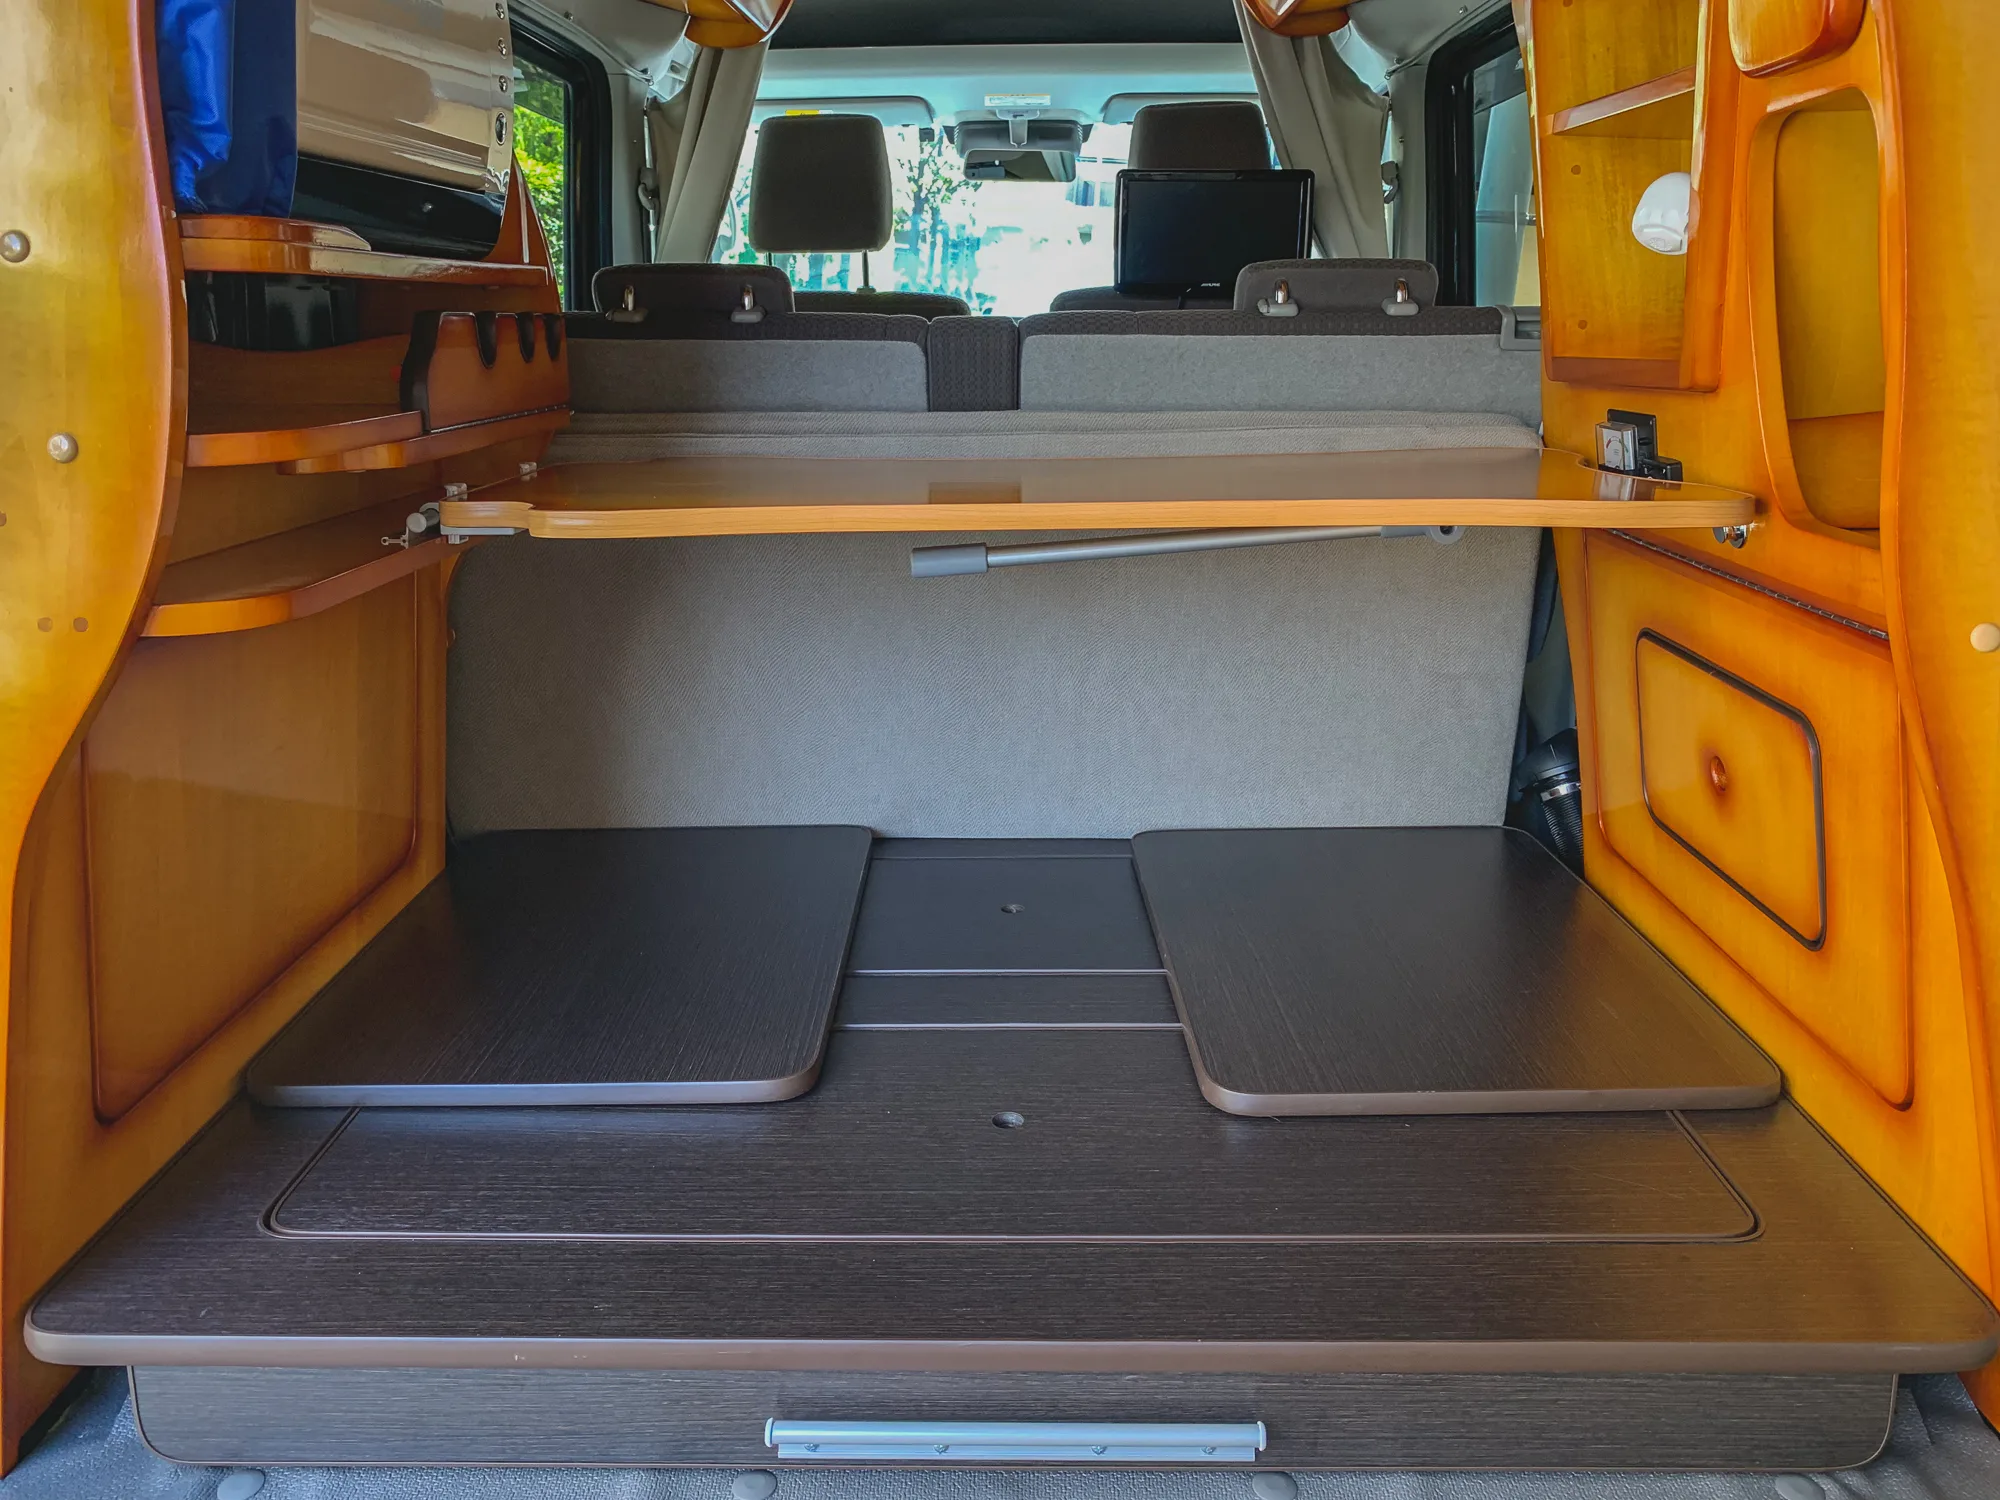
Table
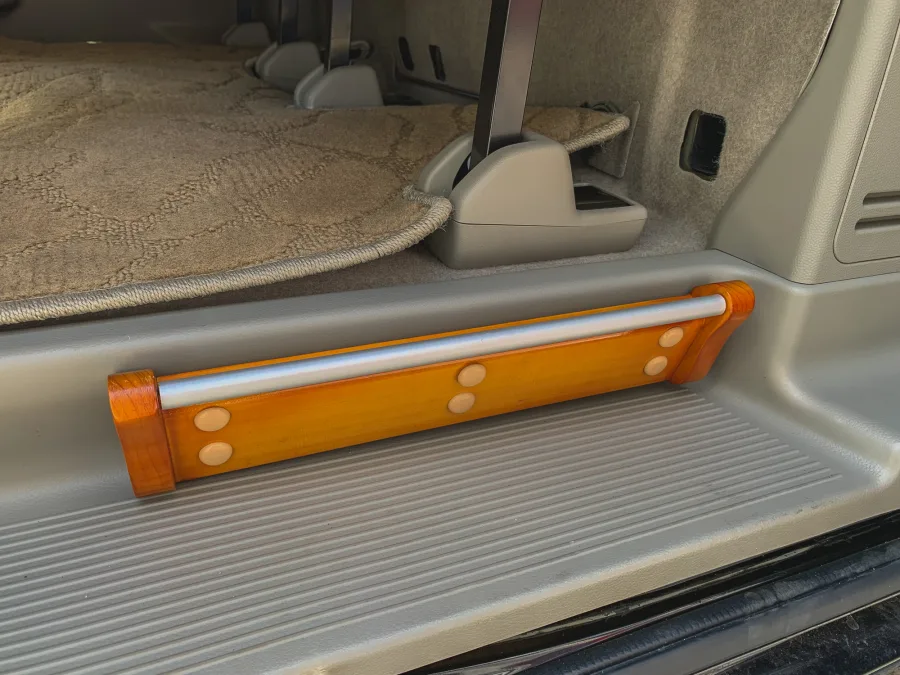


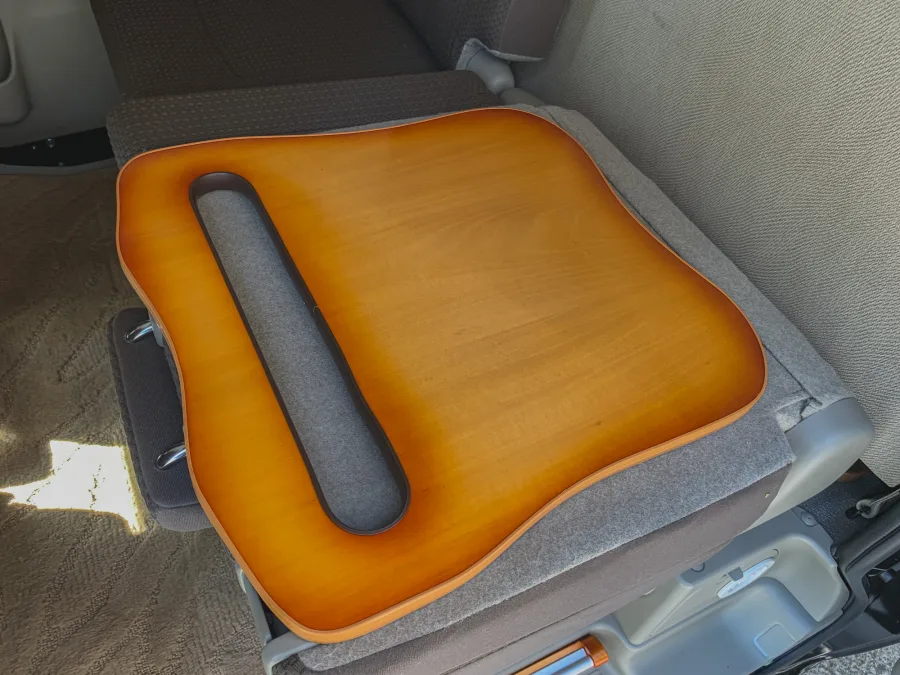

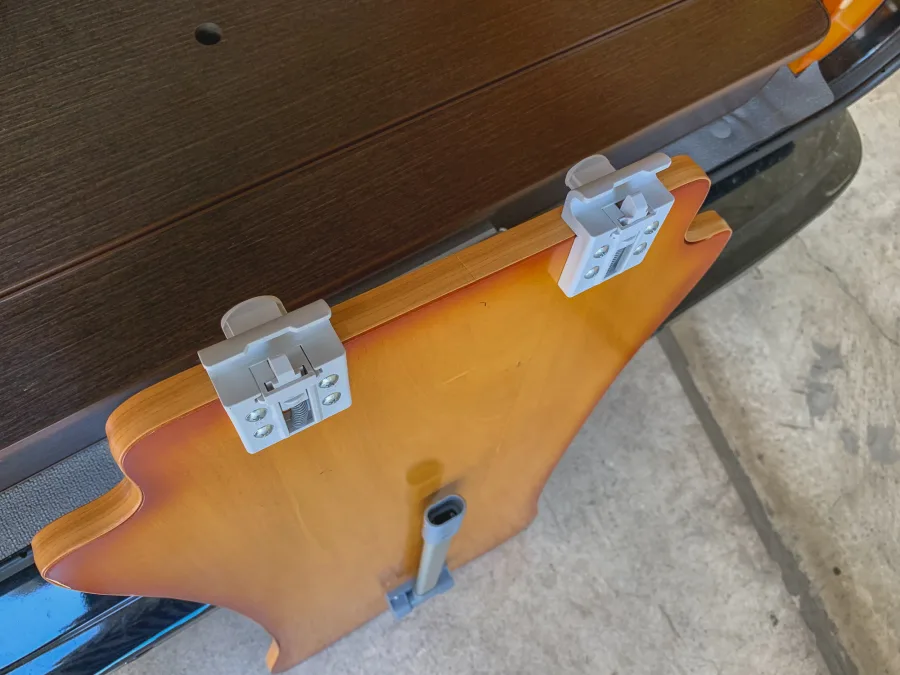

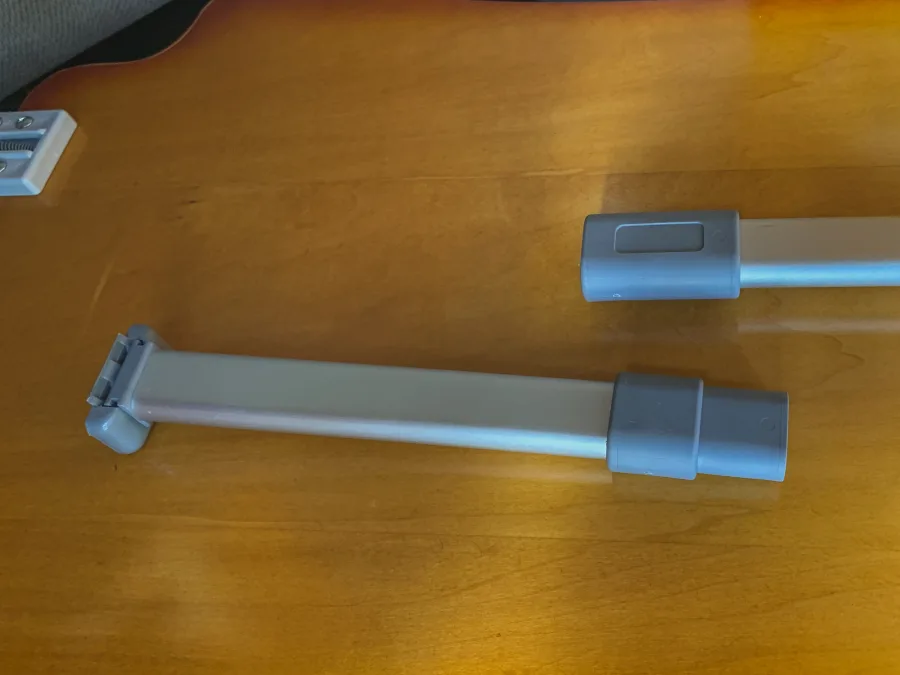
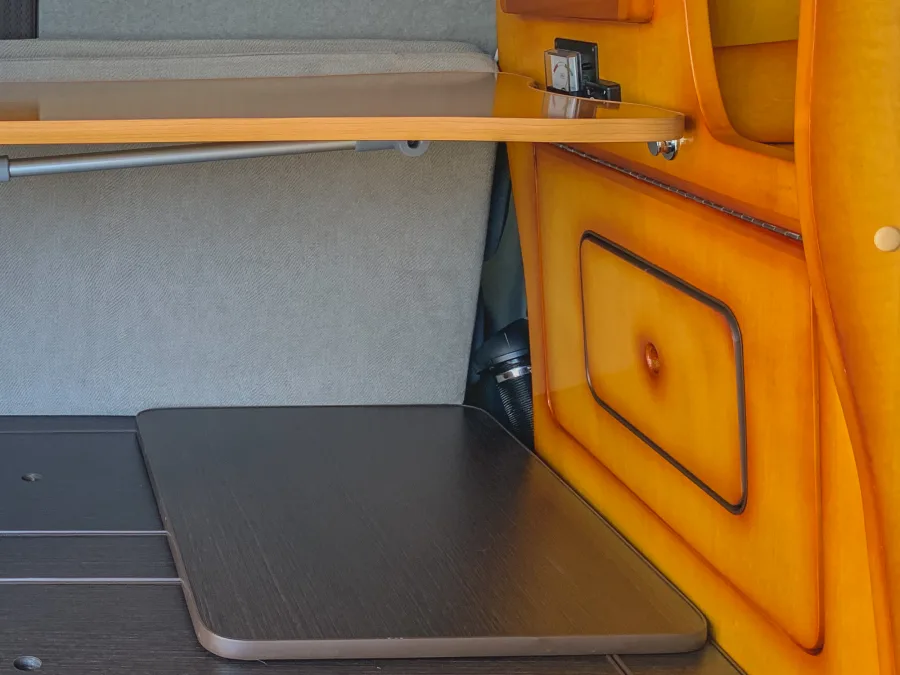
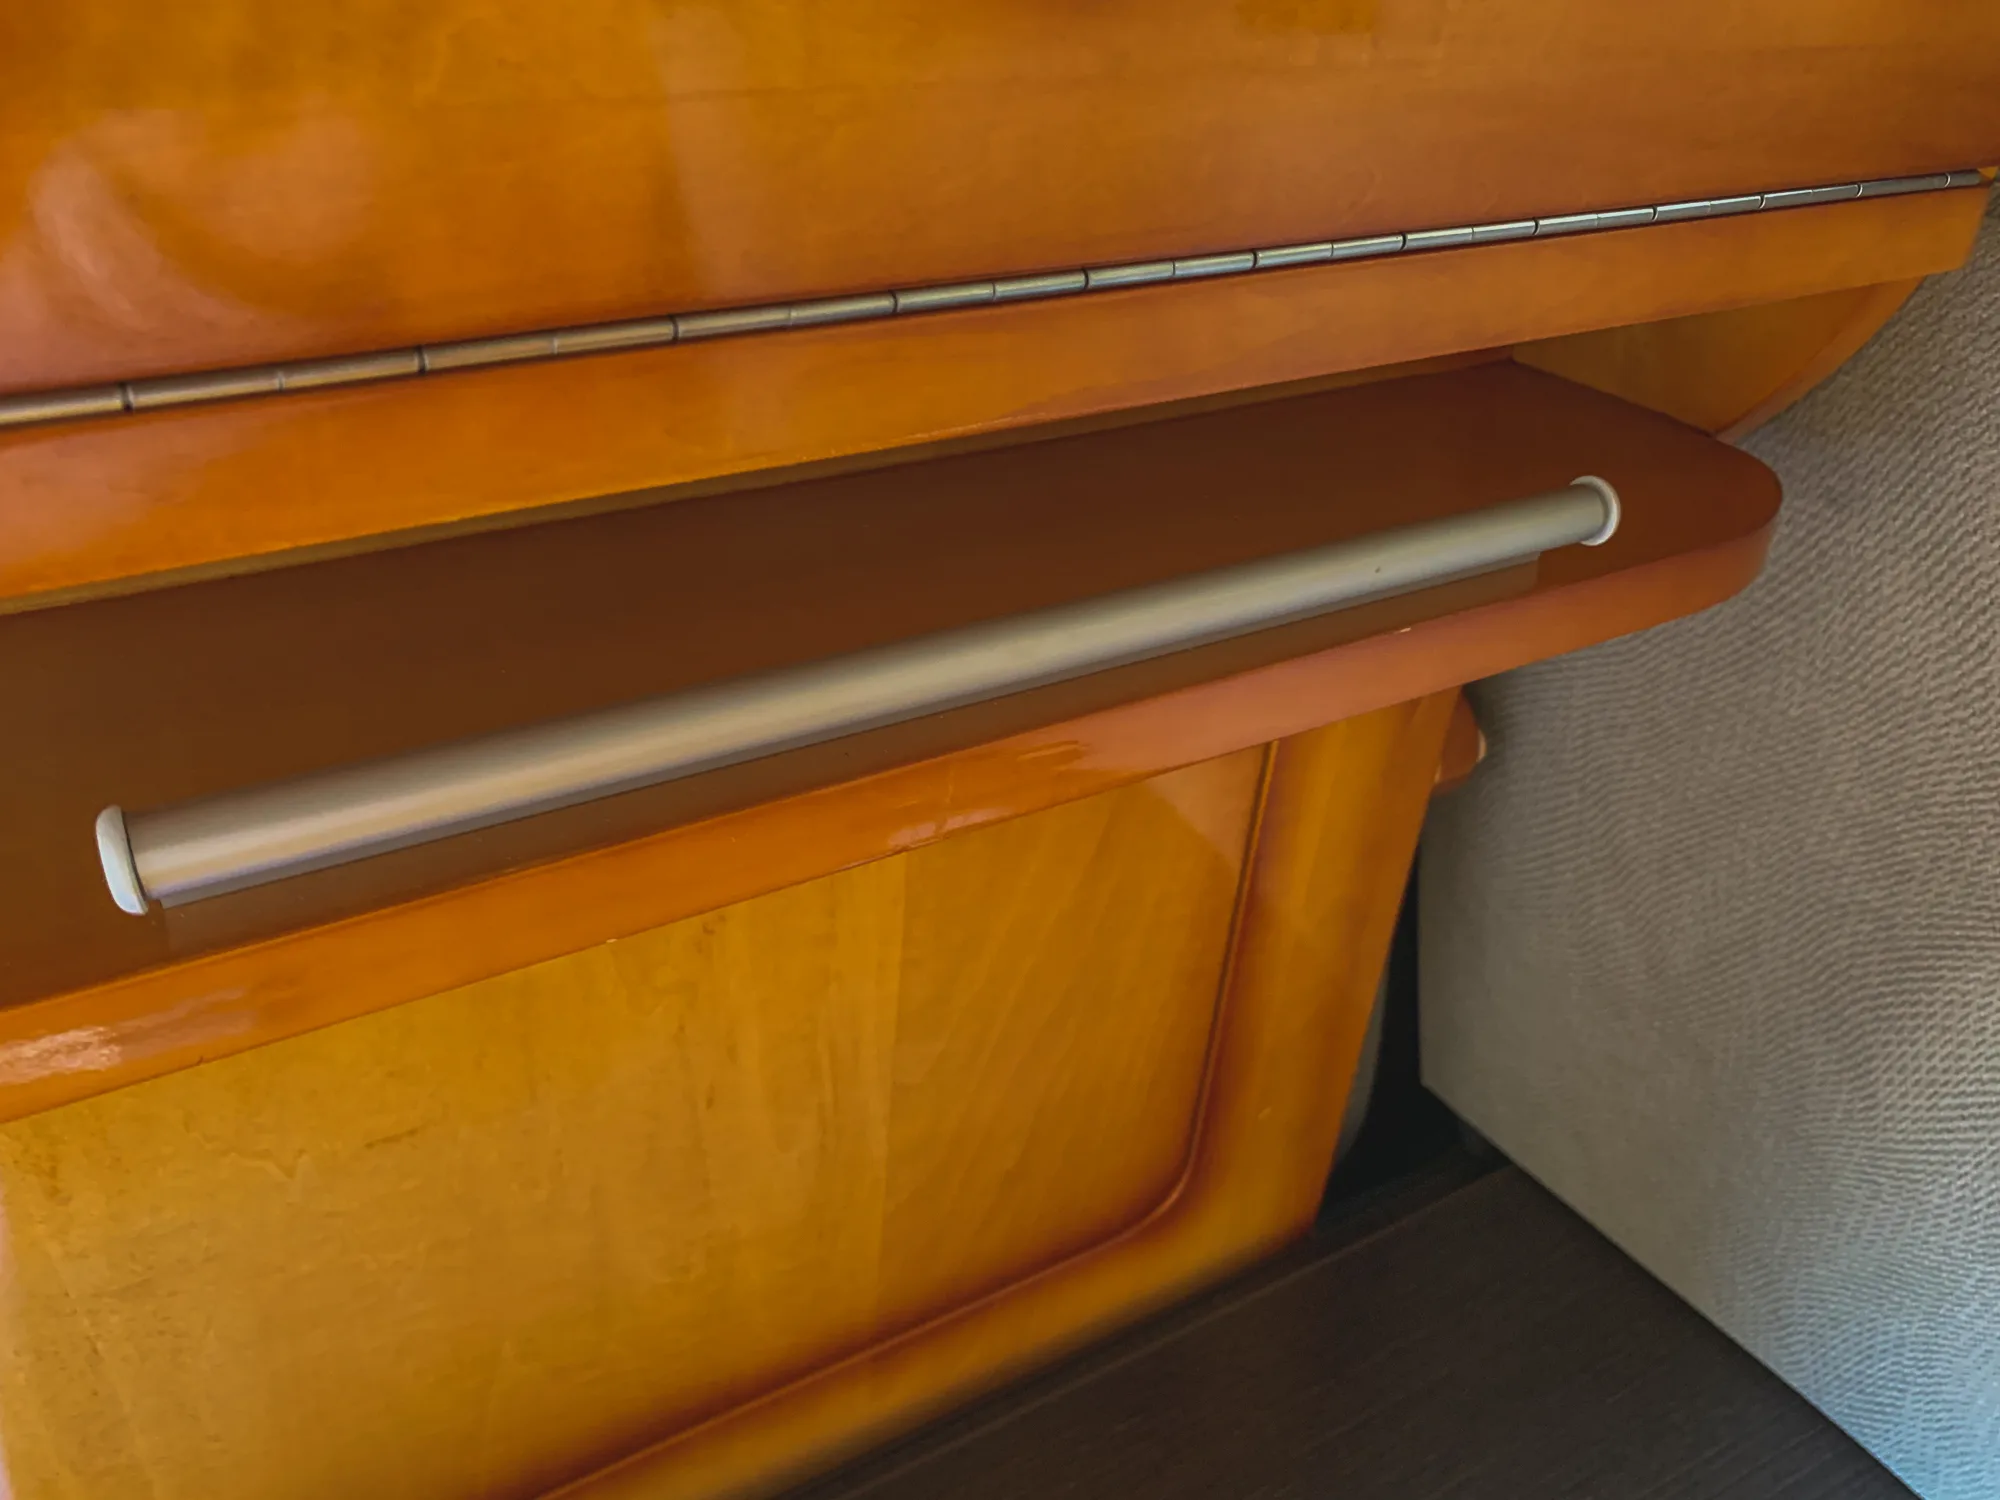
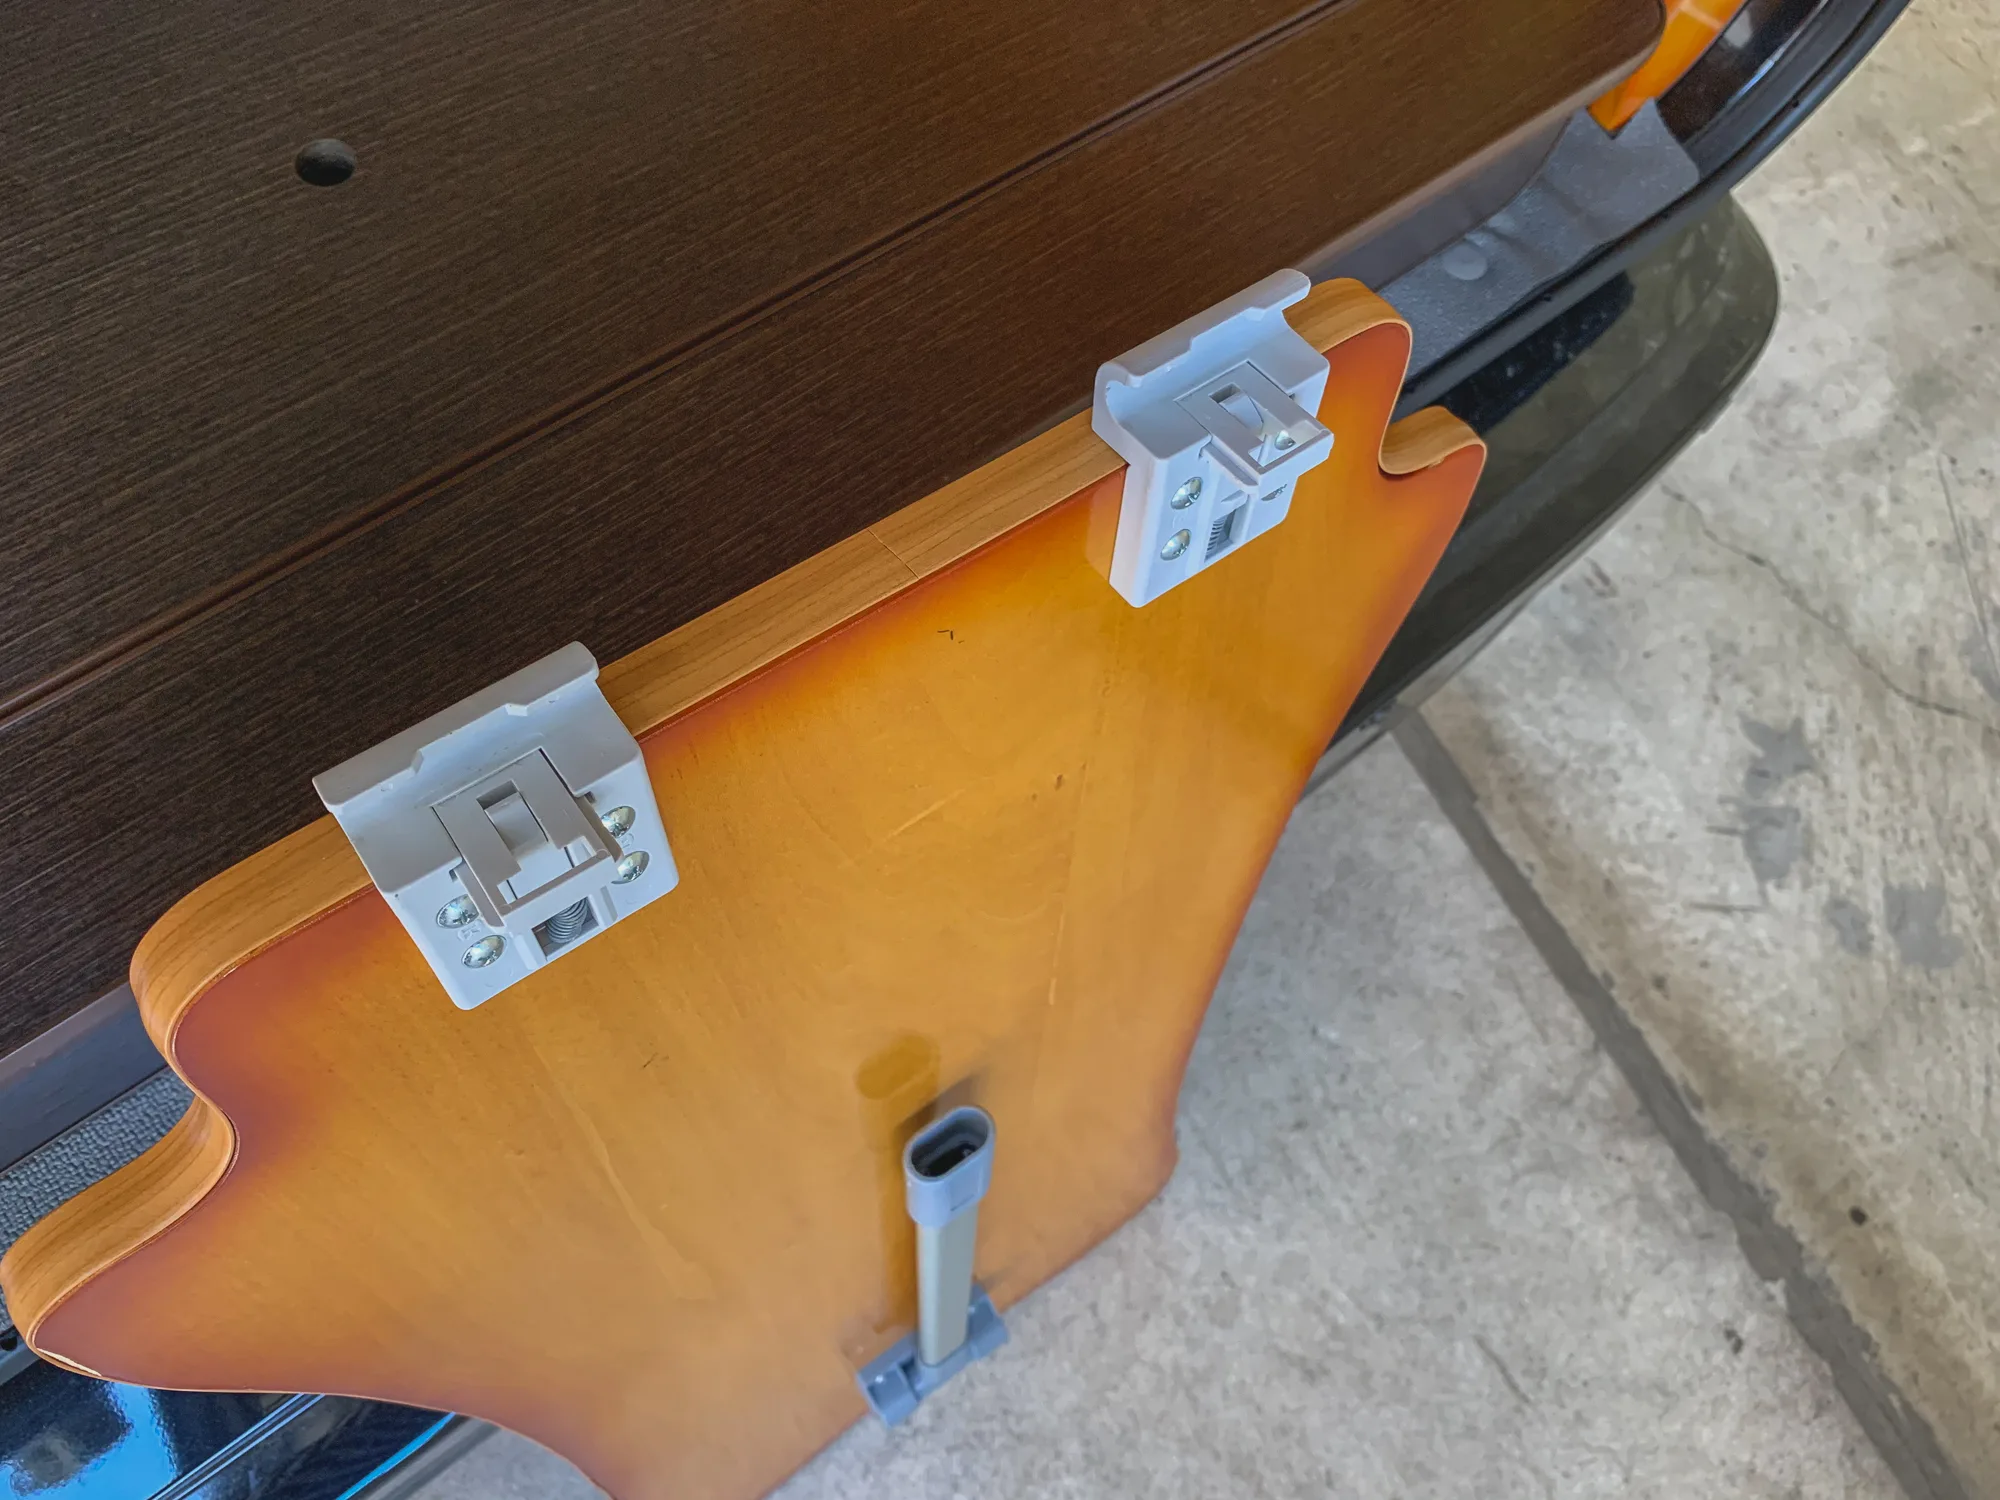
The portable table can be securely stored fixed in the left rear furniture section. When storing, please make sure the upper lock is properly engaged. It is very dangerous if the table falls over while driving or sleeping.
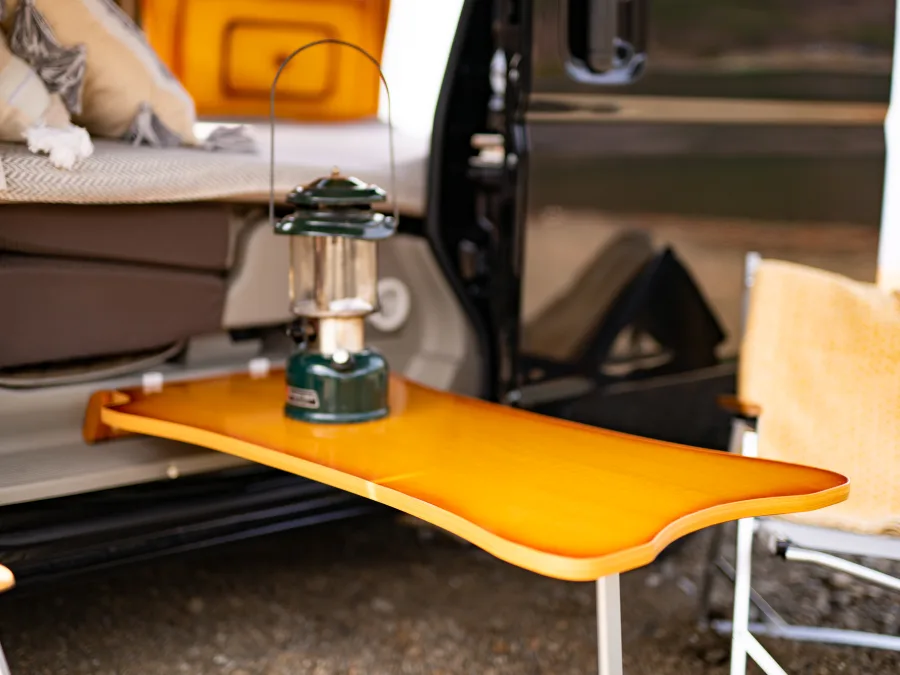
The portable table can be installed and used both at the left sliding door and the rear inside the vehicle. When using it, please ensure the lock on the rail is fixed. Be careful not to place heavy items on the edges, as this can cause imbalance and the table may tip over.
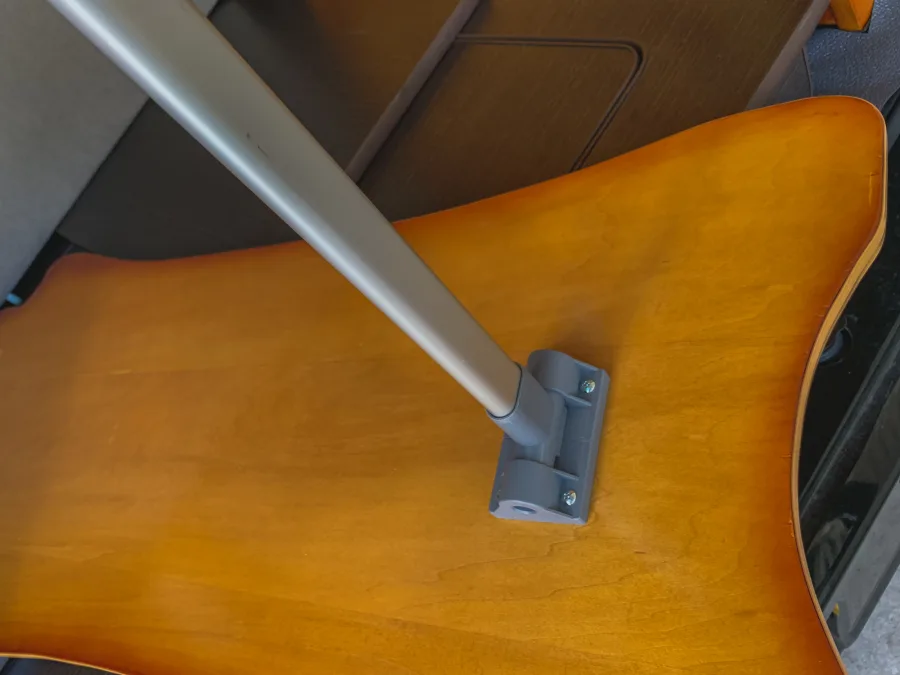
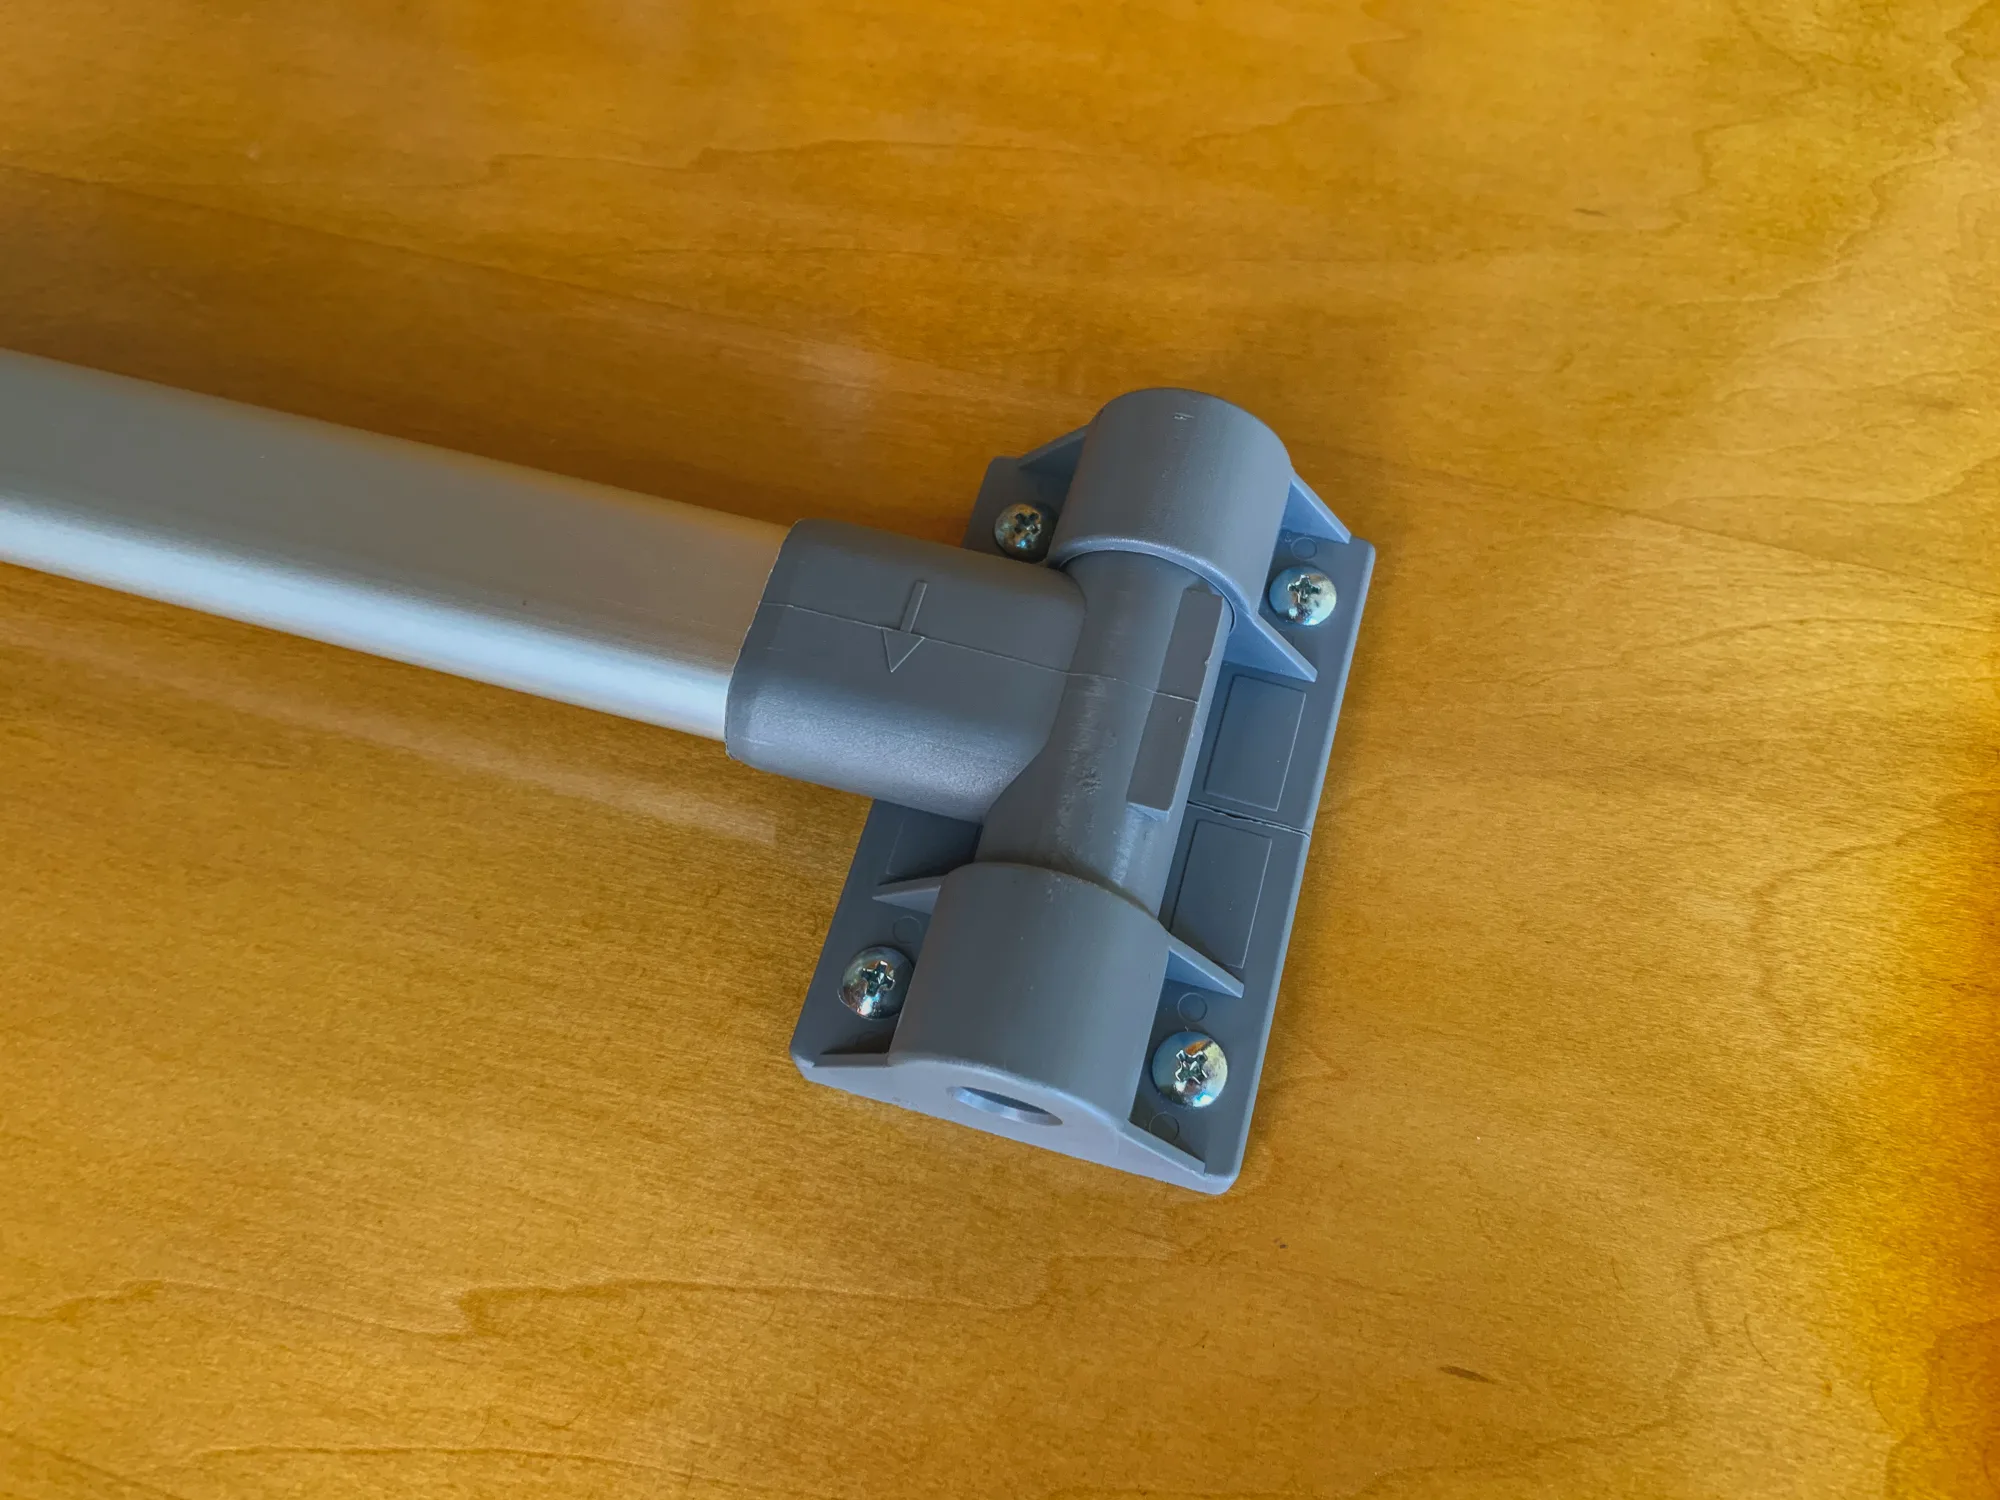
When setting up the table legs, slide the base of the legs in the direction of the arrows to release the lock before raising them.
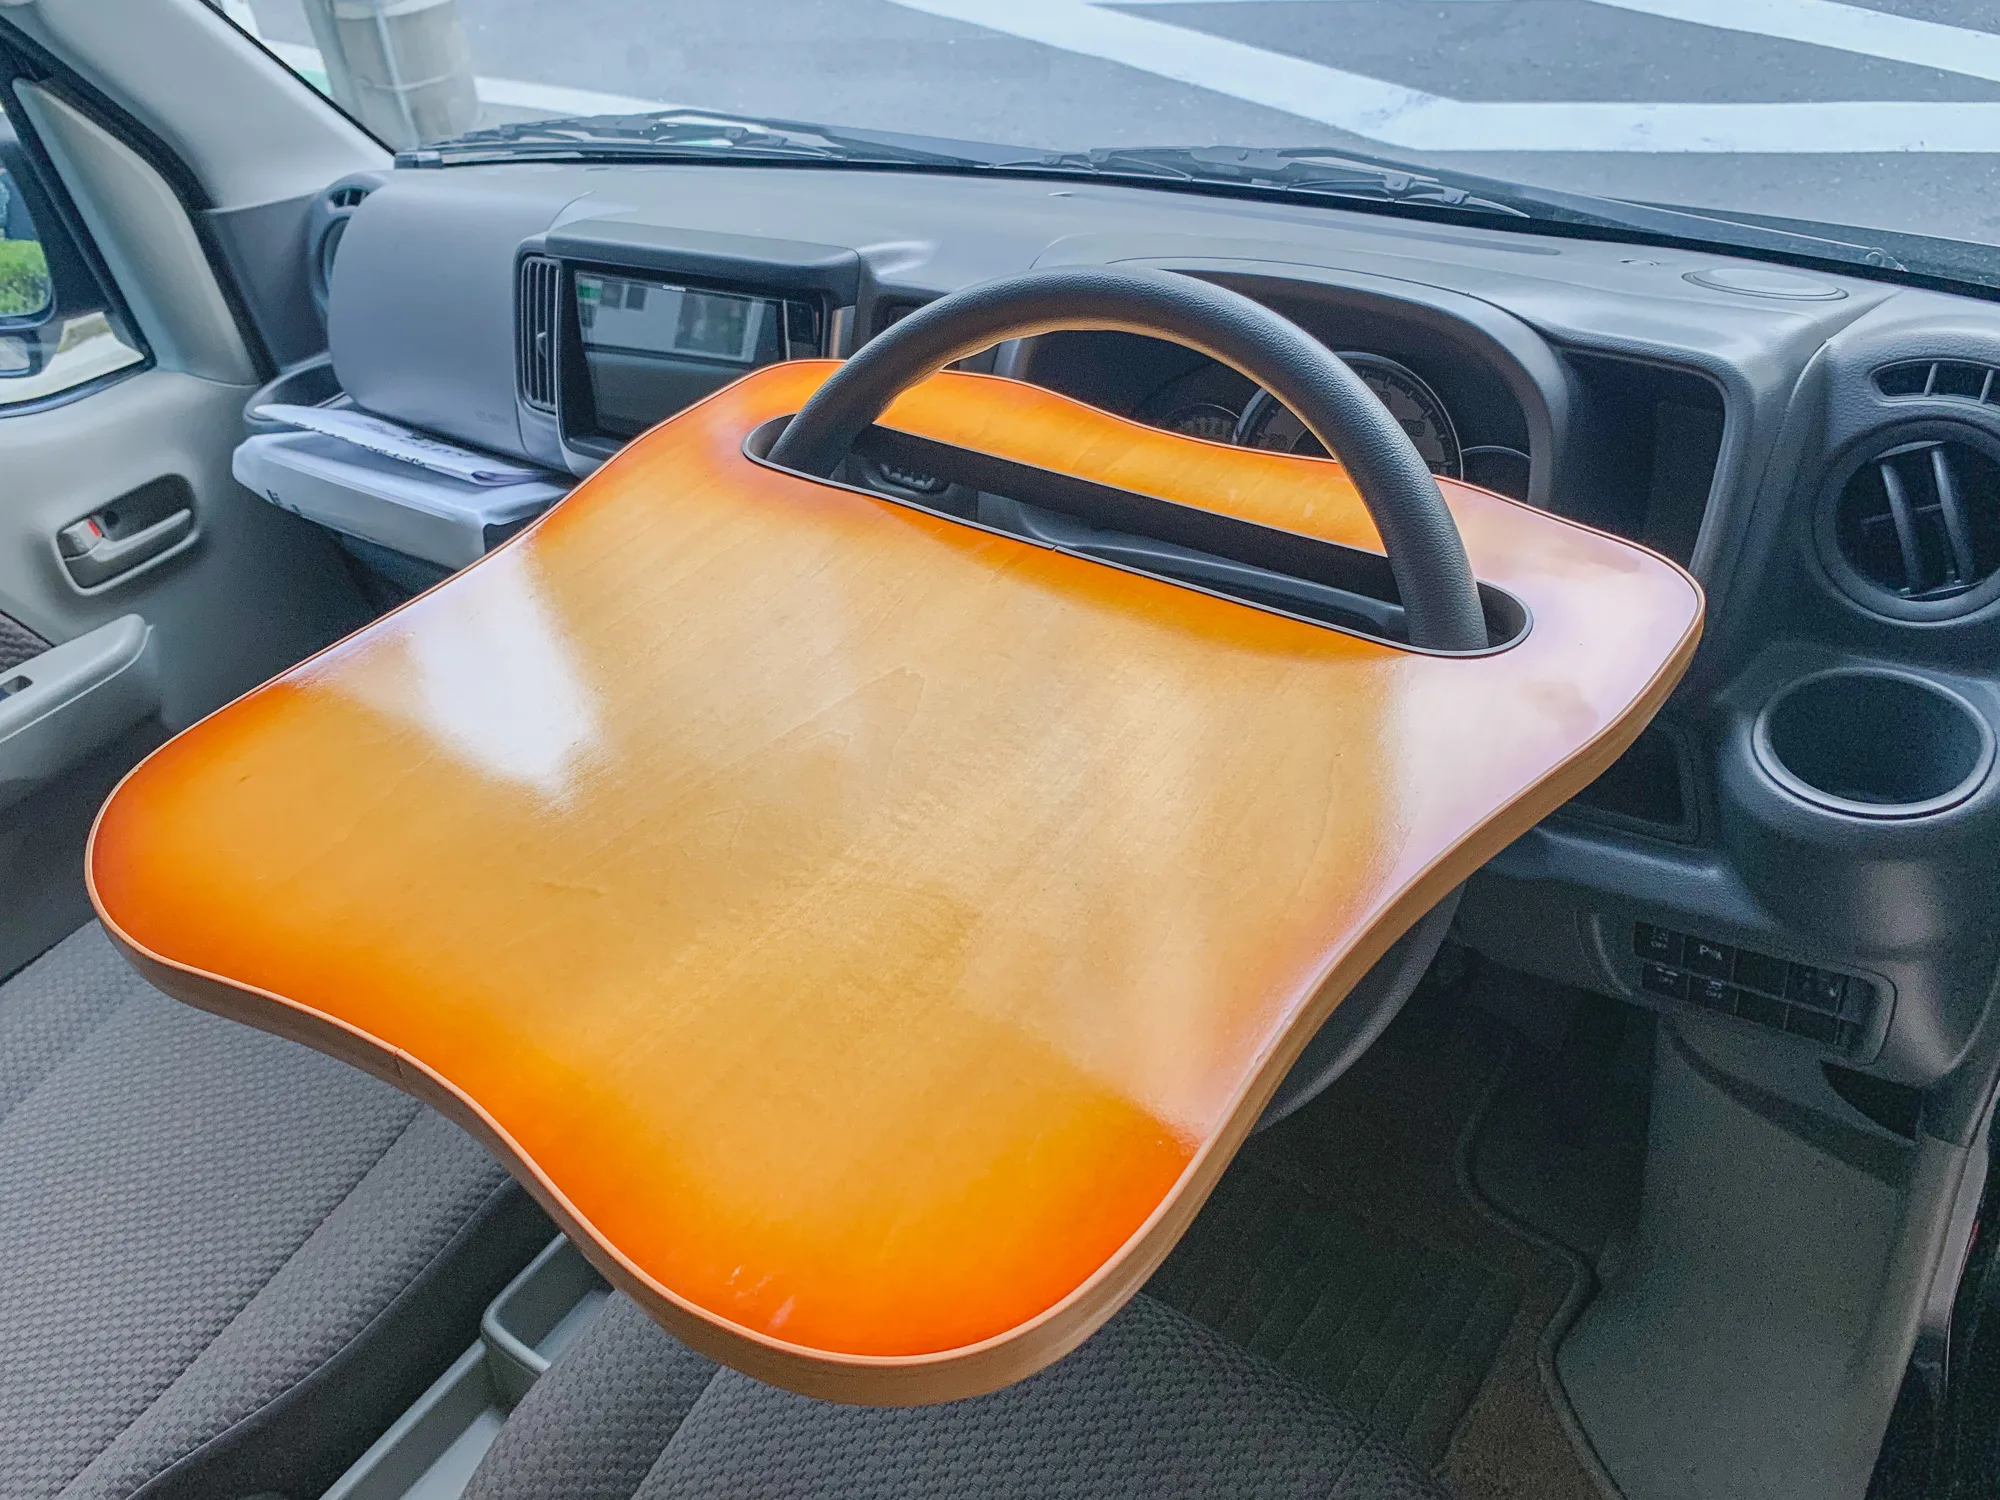
Tables are also installed on the back of the driver’s seat and the second seat. They can be used when the seat backs are folded forward.
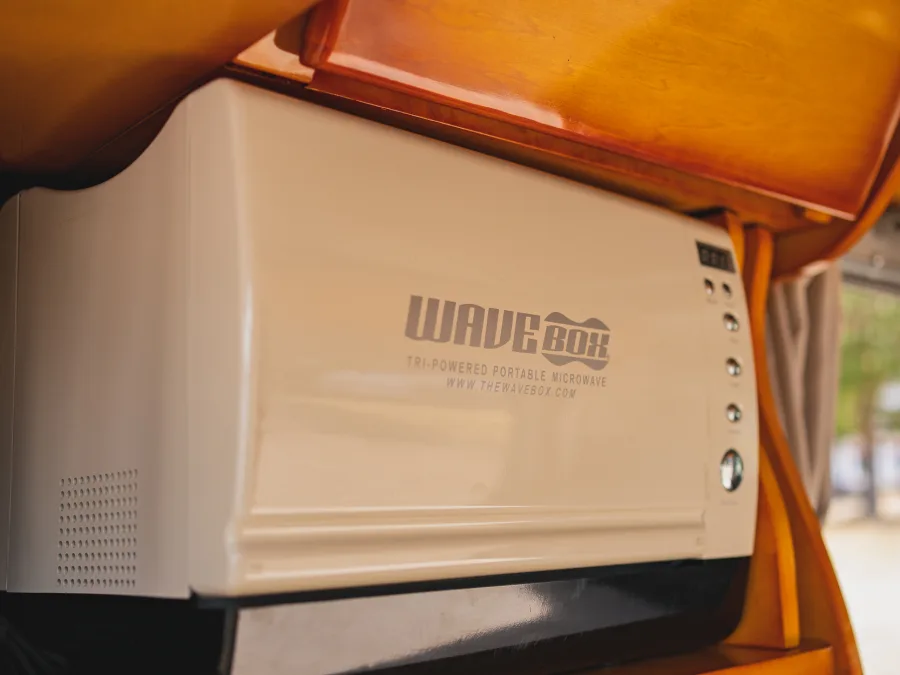
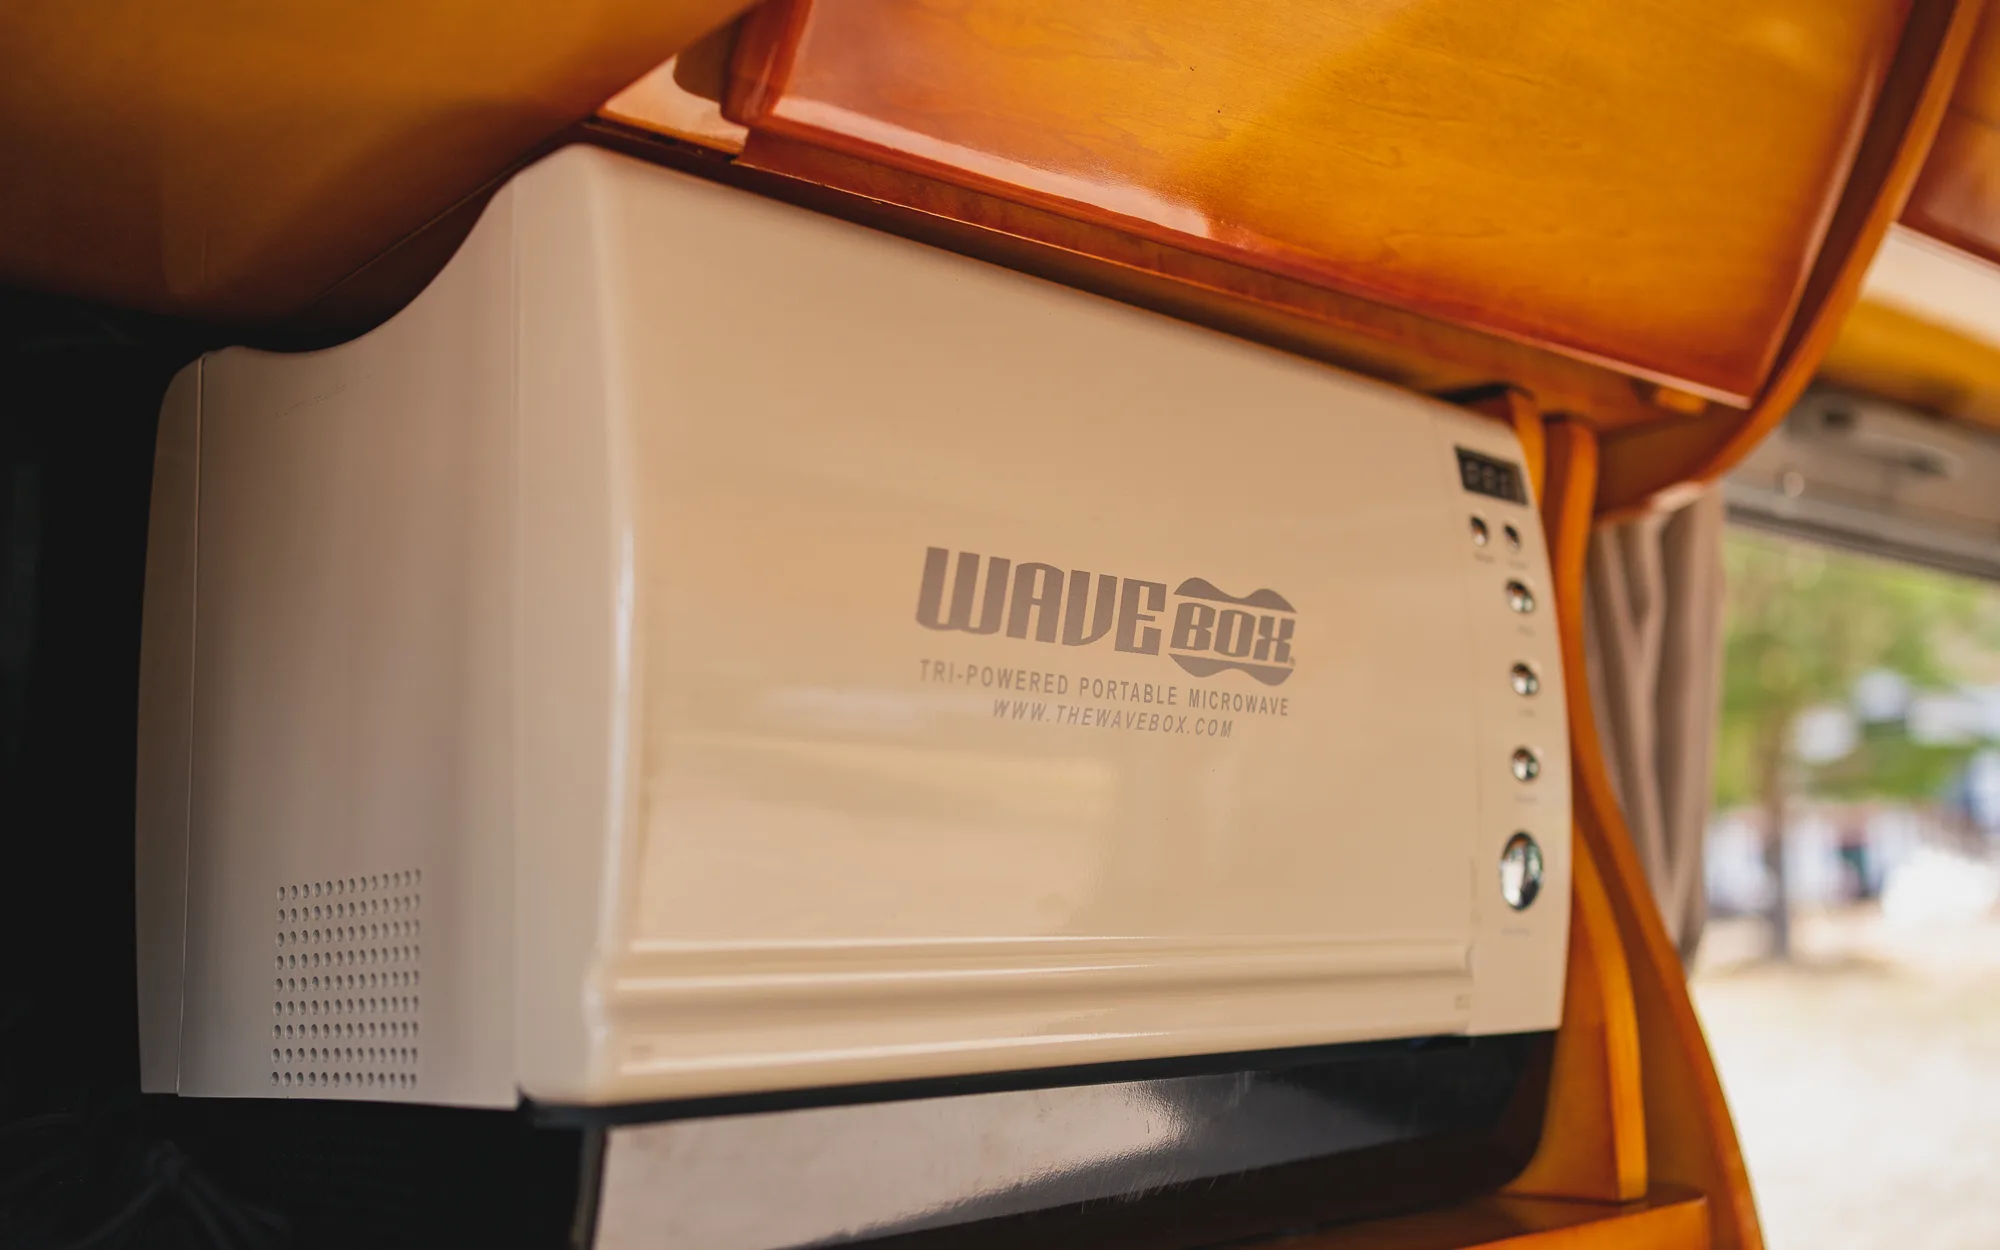
Microwave
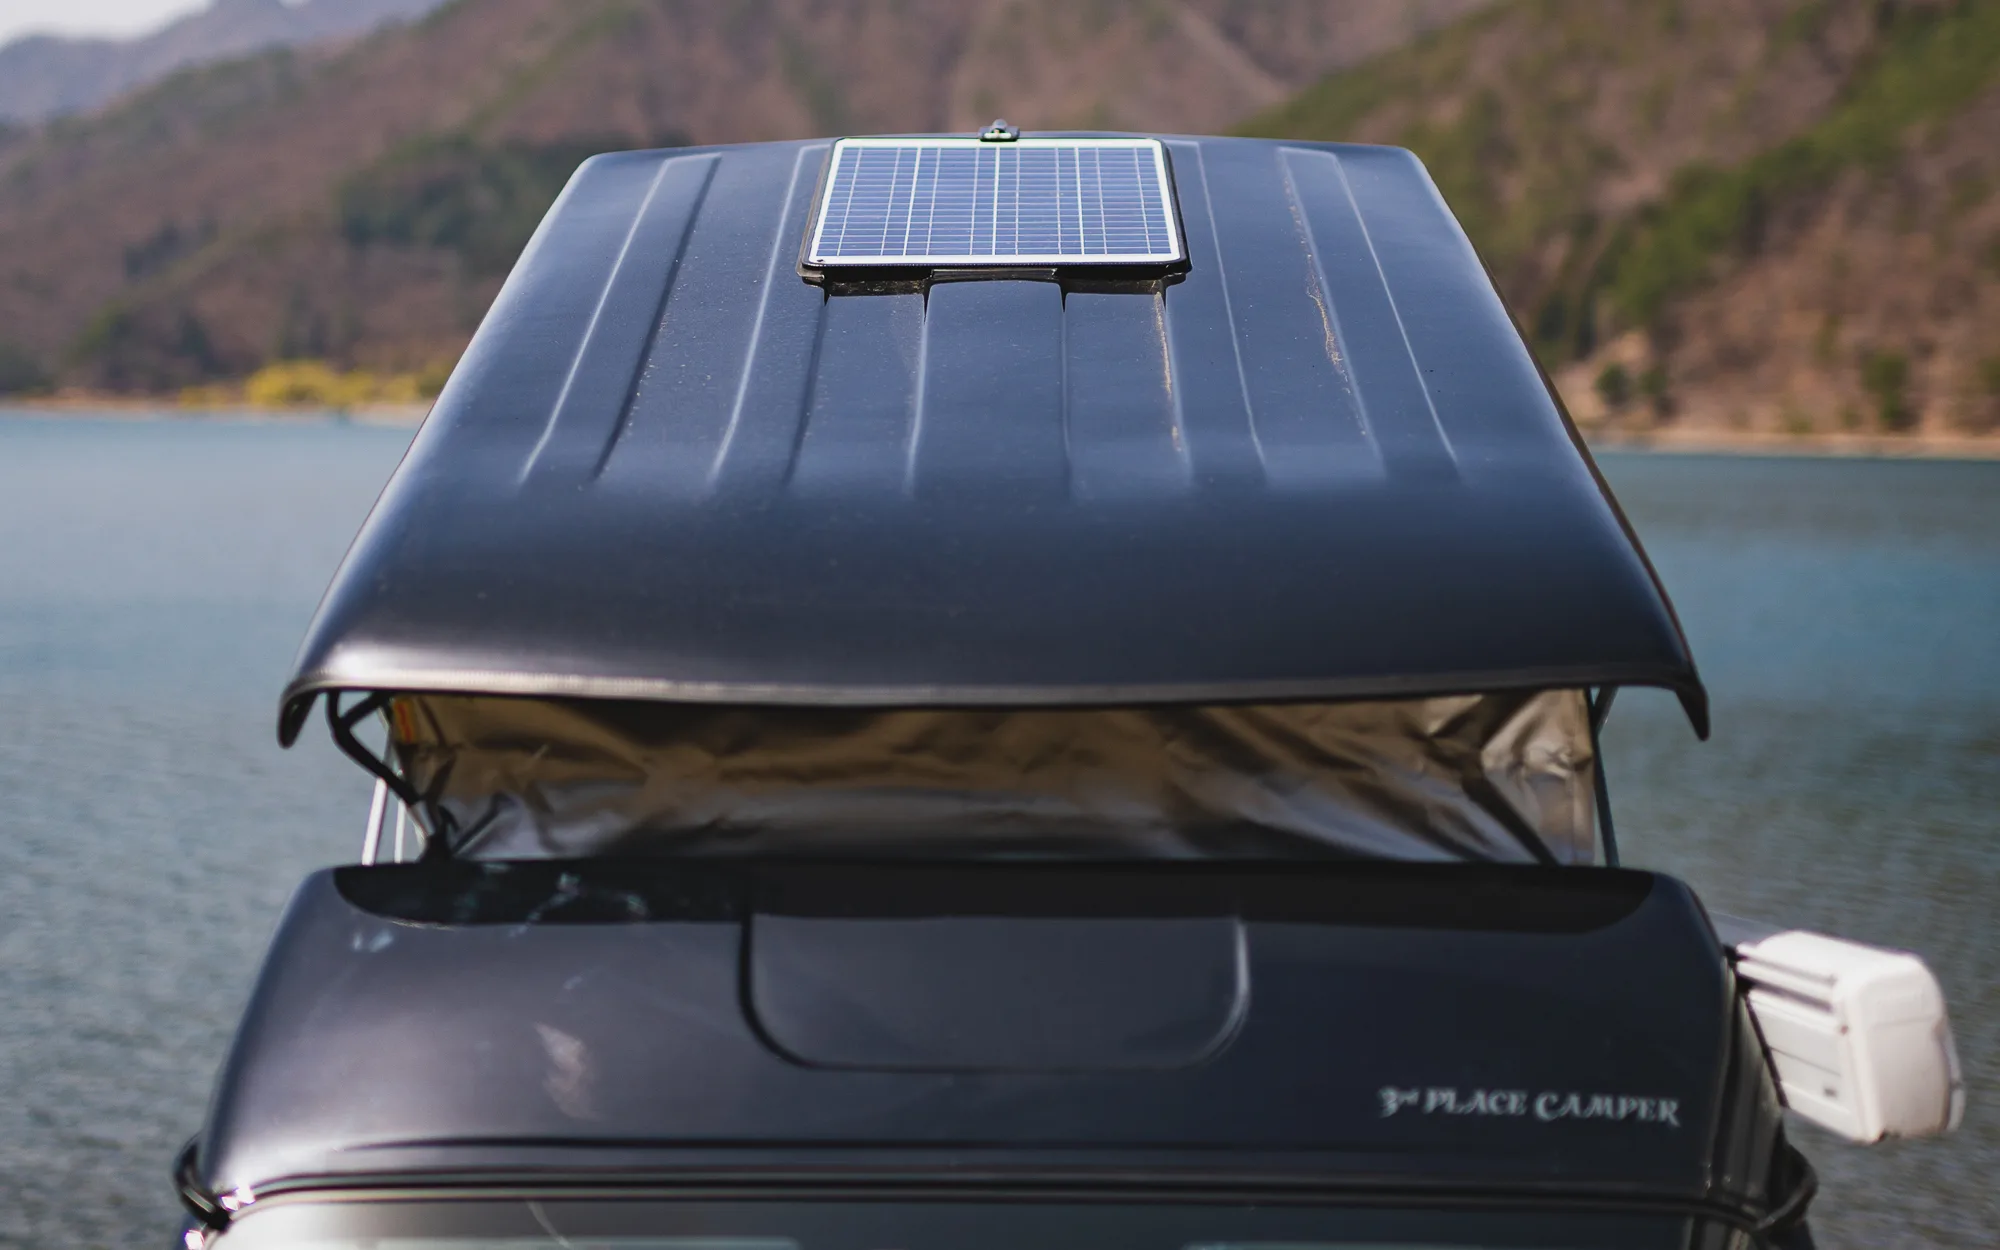
Solar Panel Charging System
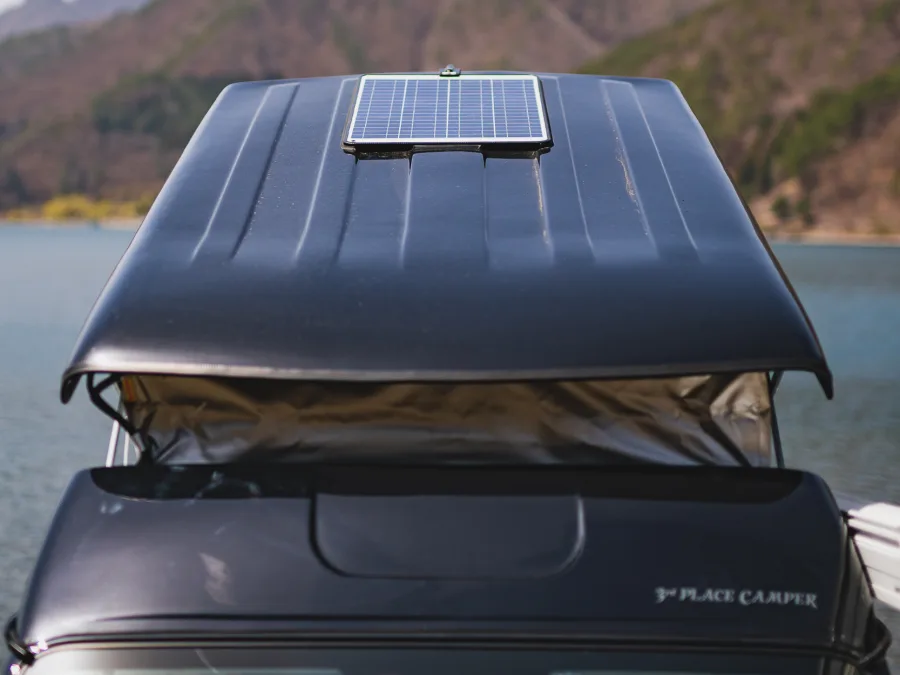

A solar panel is installed on the rooftop. It also supplies charging to the auxiliary battery. You can check the charging status on the meter located inside the retractable galley on the rear left side.
If you want to stop the power supply from the solar panel, please turn off the stop switch located below the DC/AC inverter.
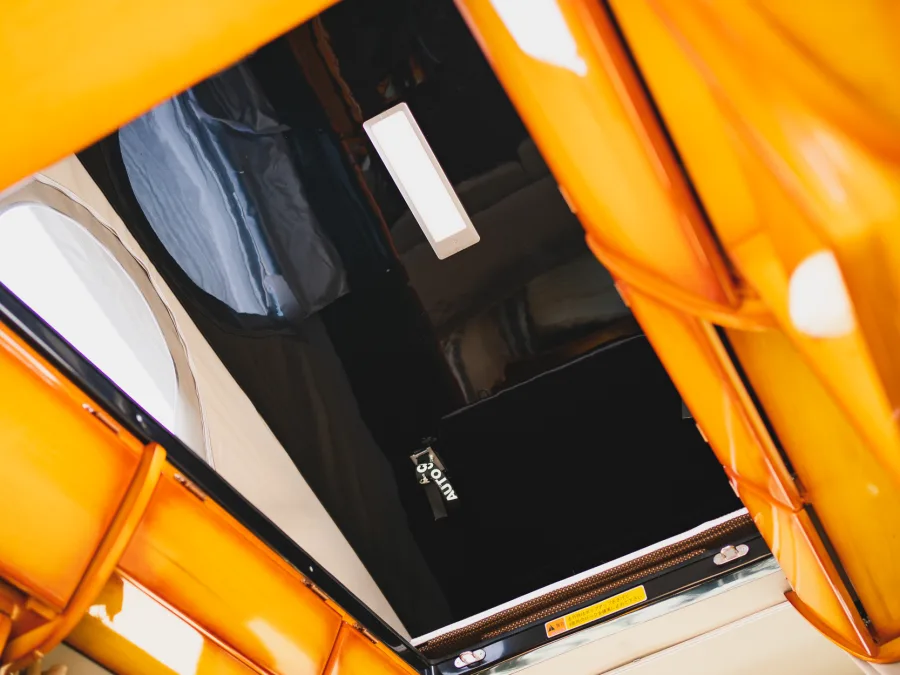
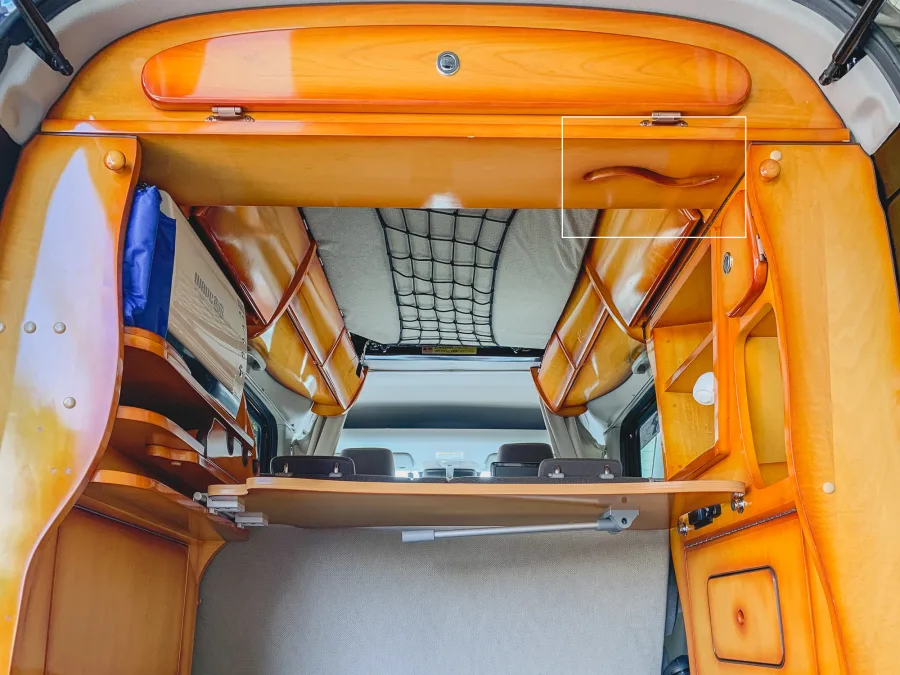
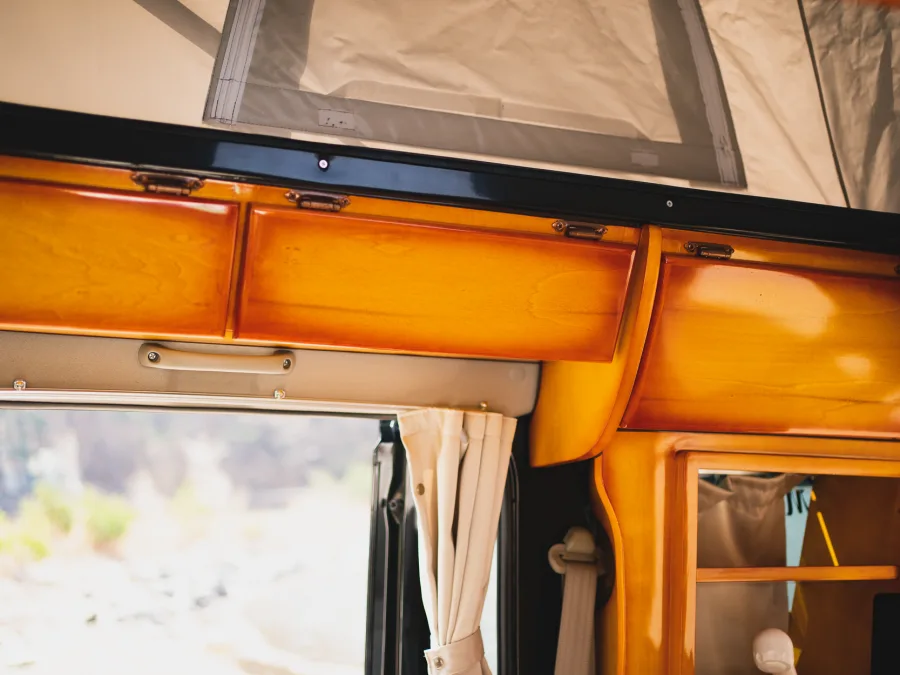
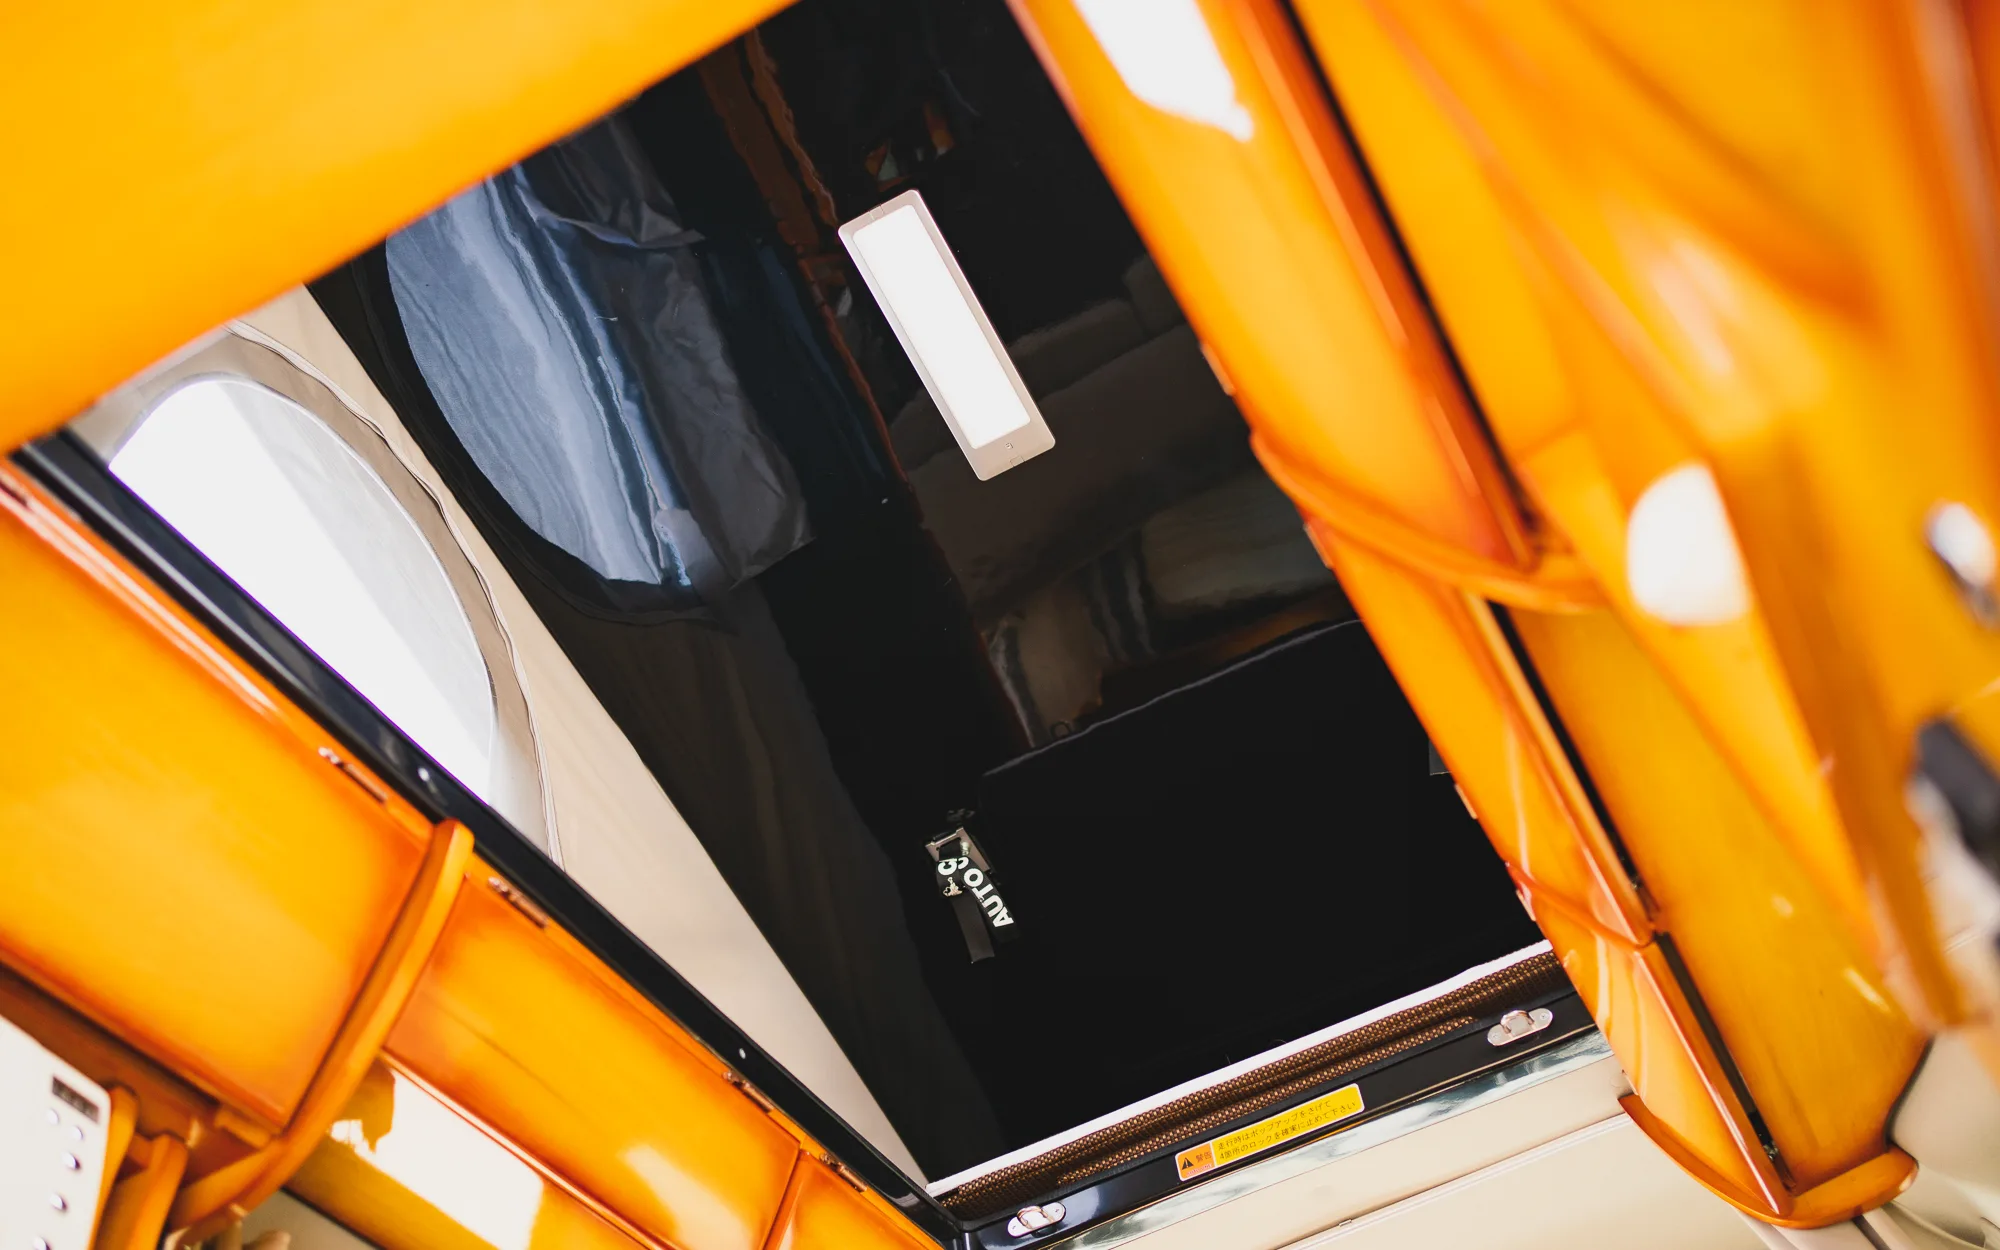
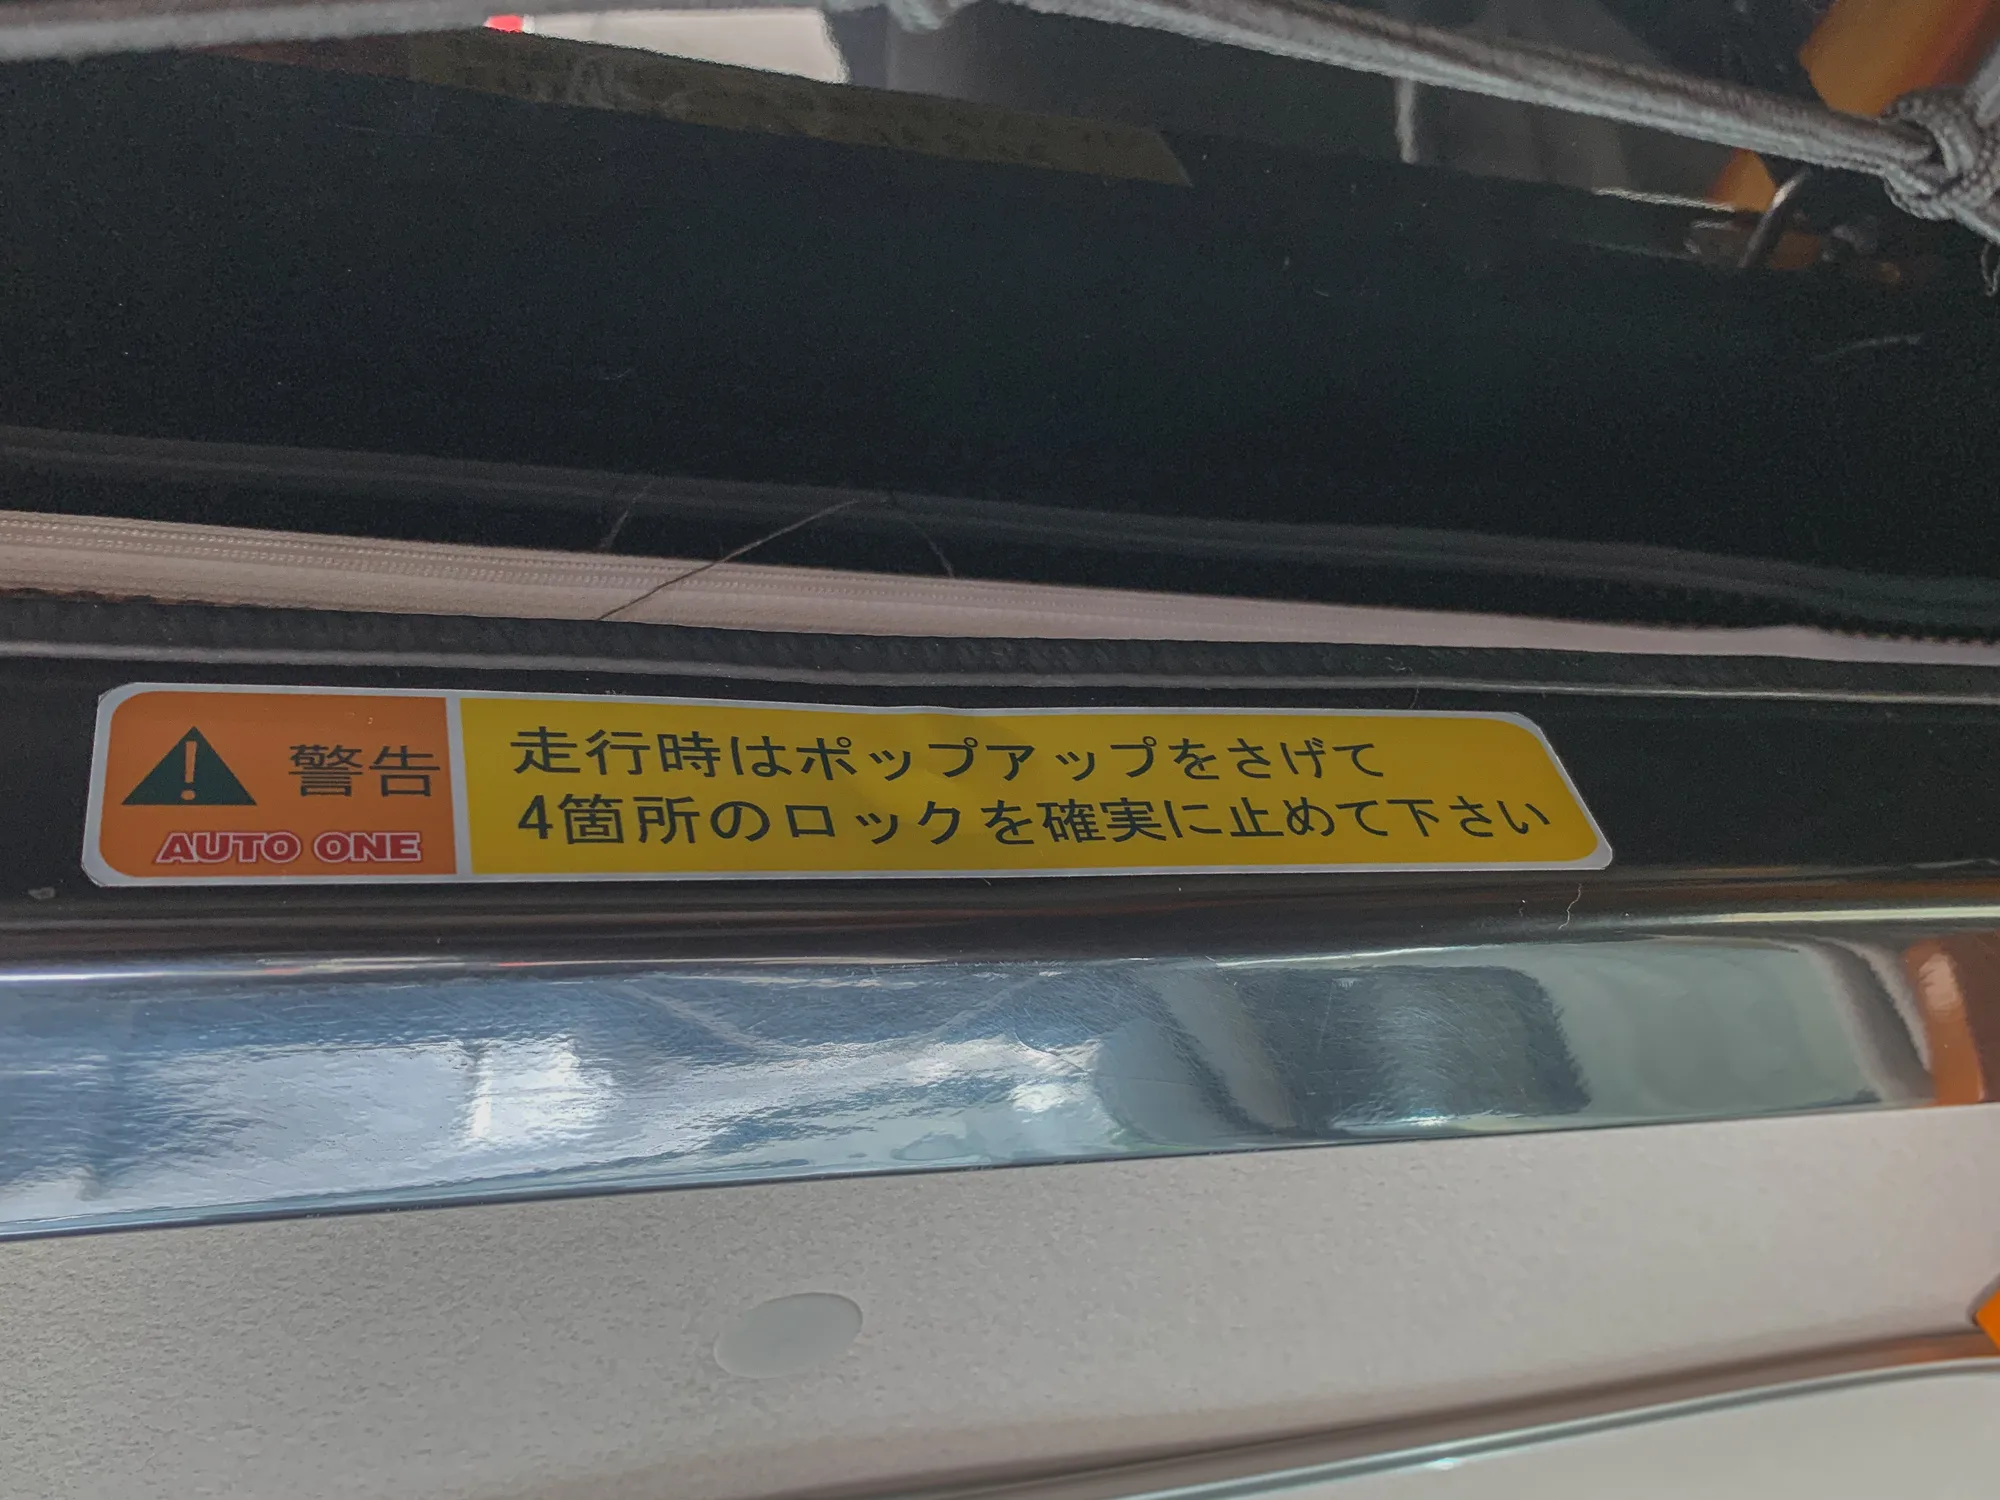
Pop-up Roof
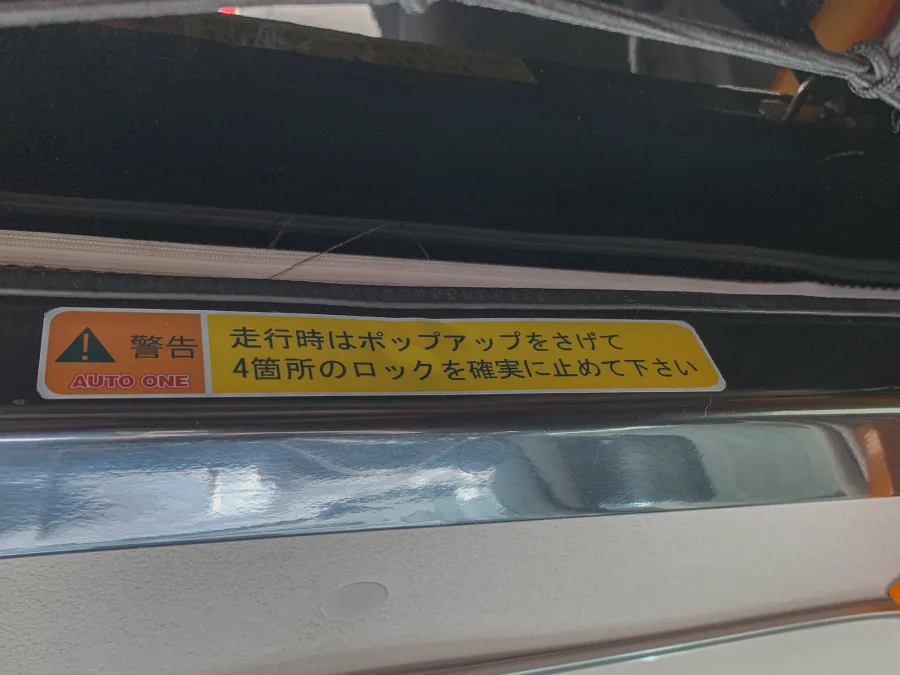
To raise the pop-up roof, release the 4 supporting straps and push upwards in the middle of the roof until it rises. Please note that you will have to push fairly hard to get the roof to rise.
While there is a board on the top shelf that makes the pop-up roof into a sleeping area, we do not recommend actually using it for sleeping. The space itself is quite narrow, and if somebody were to drop down to the bottom area suddenly it could lead to injury.
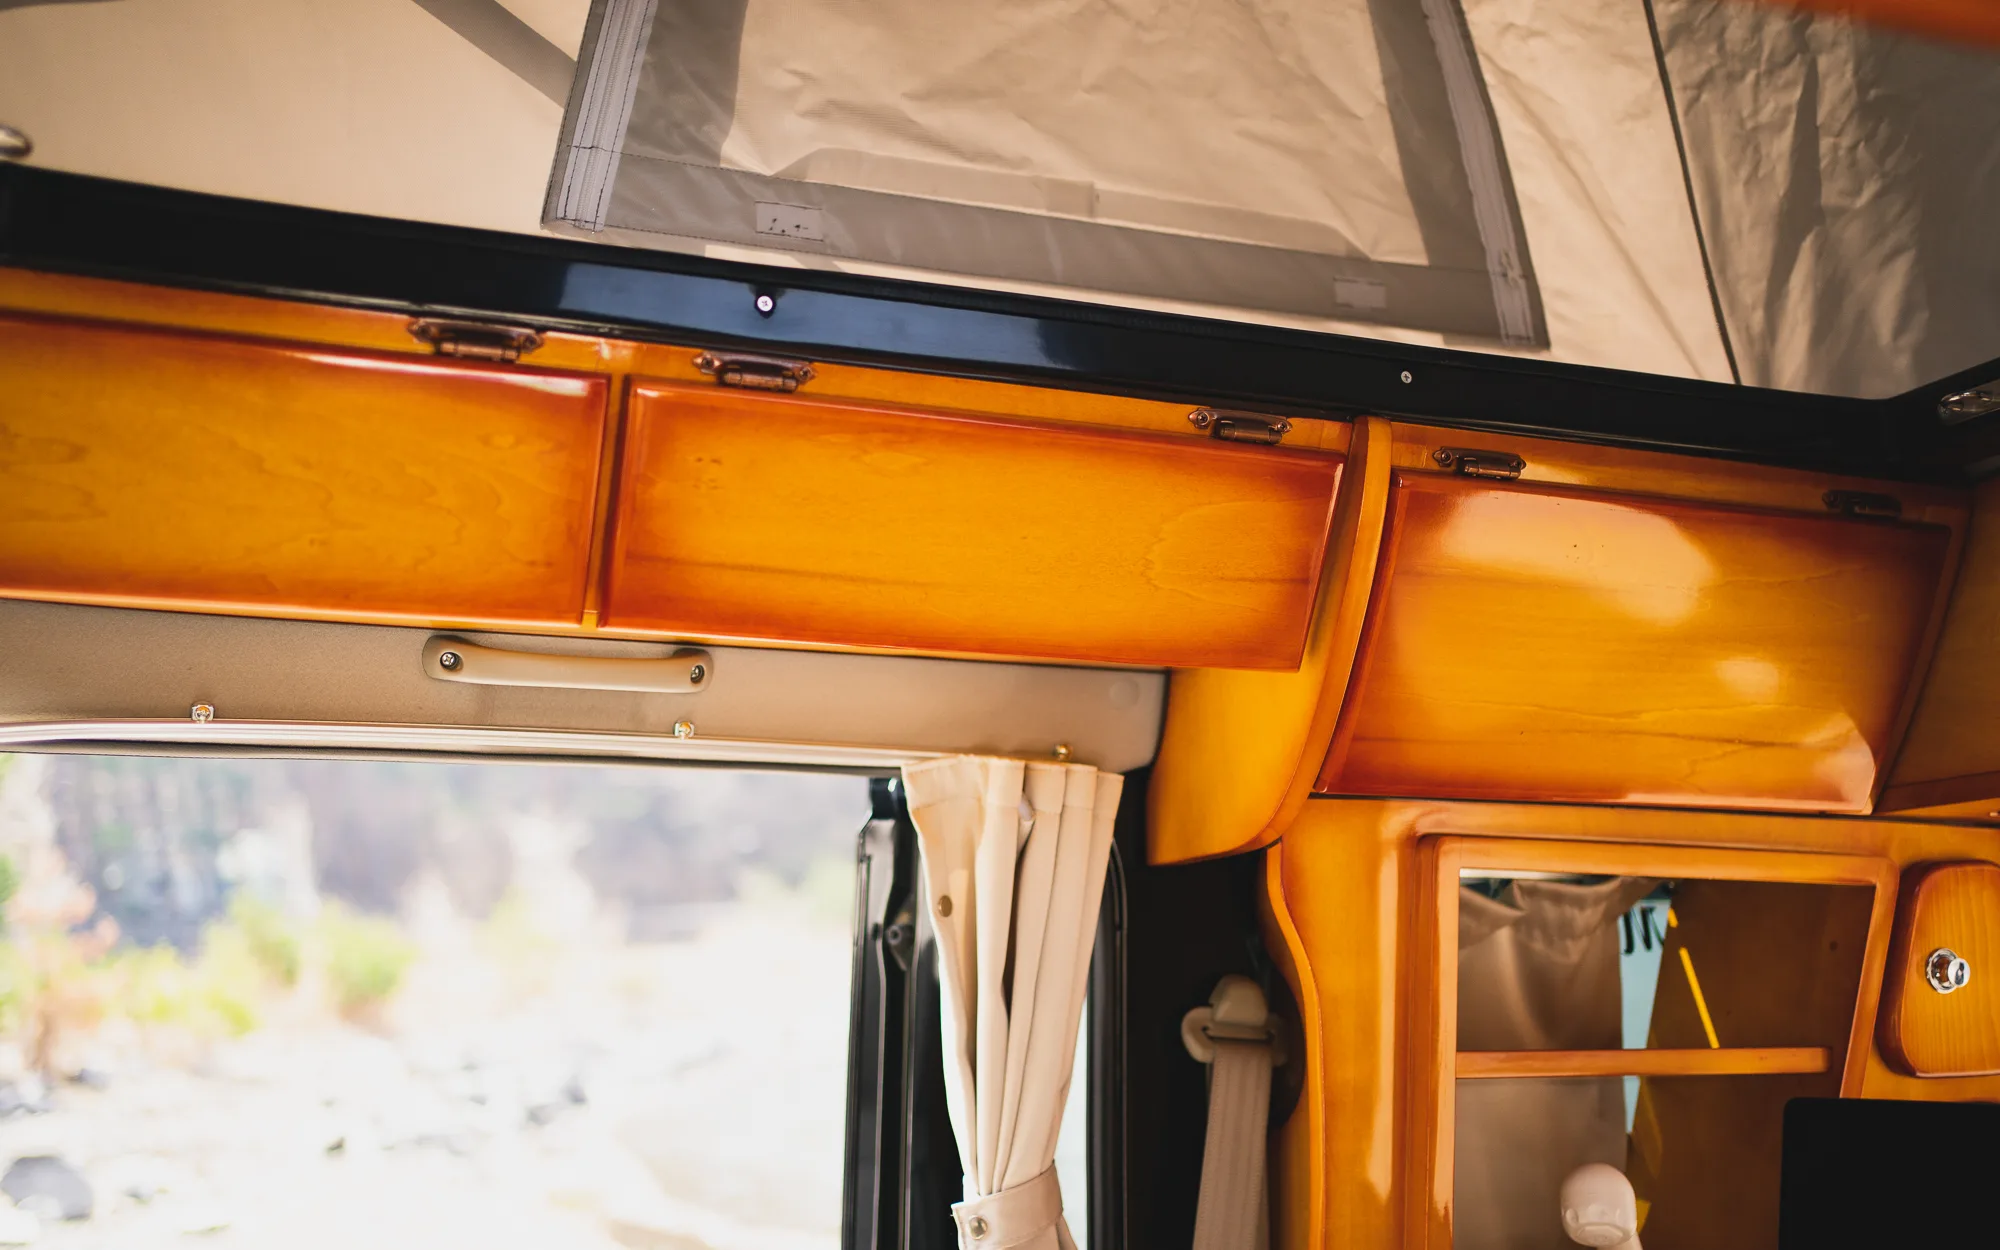
Retractable Galley & Cabinet
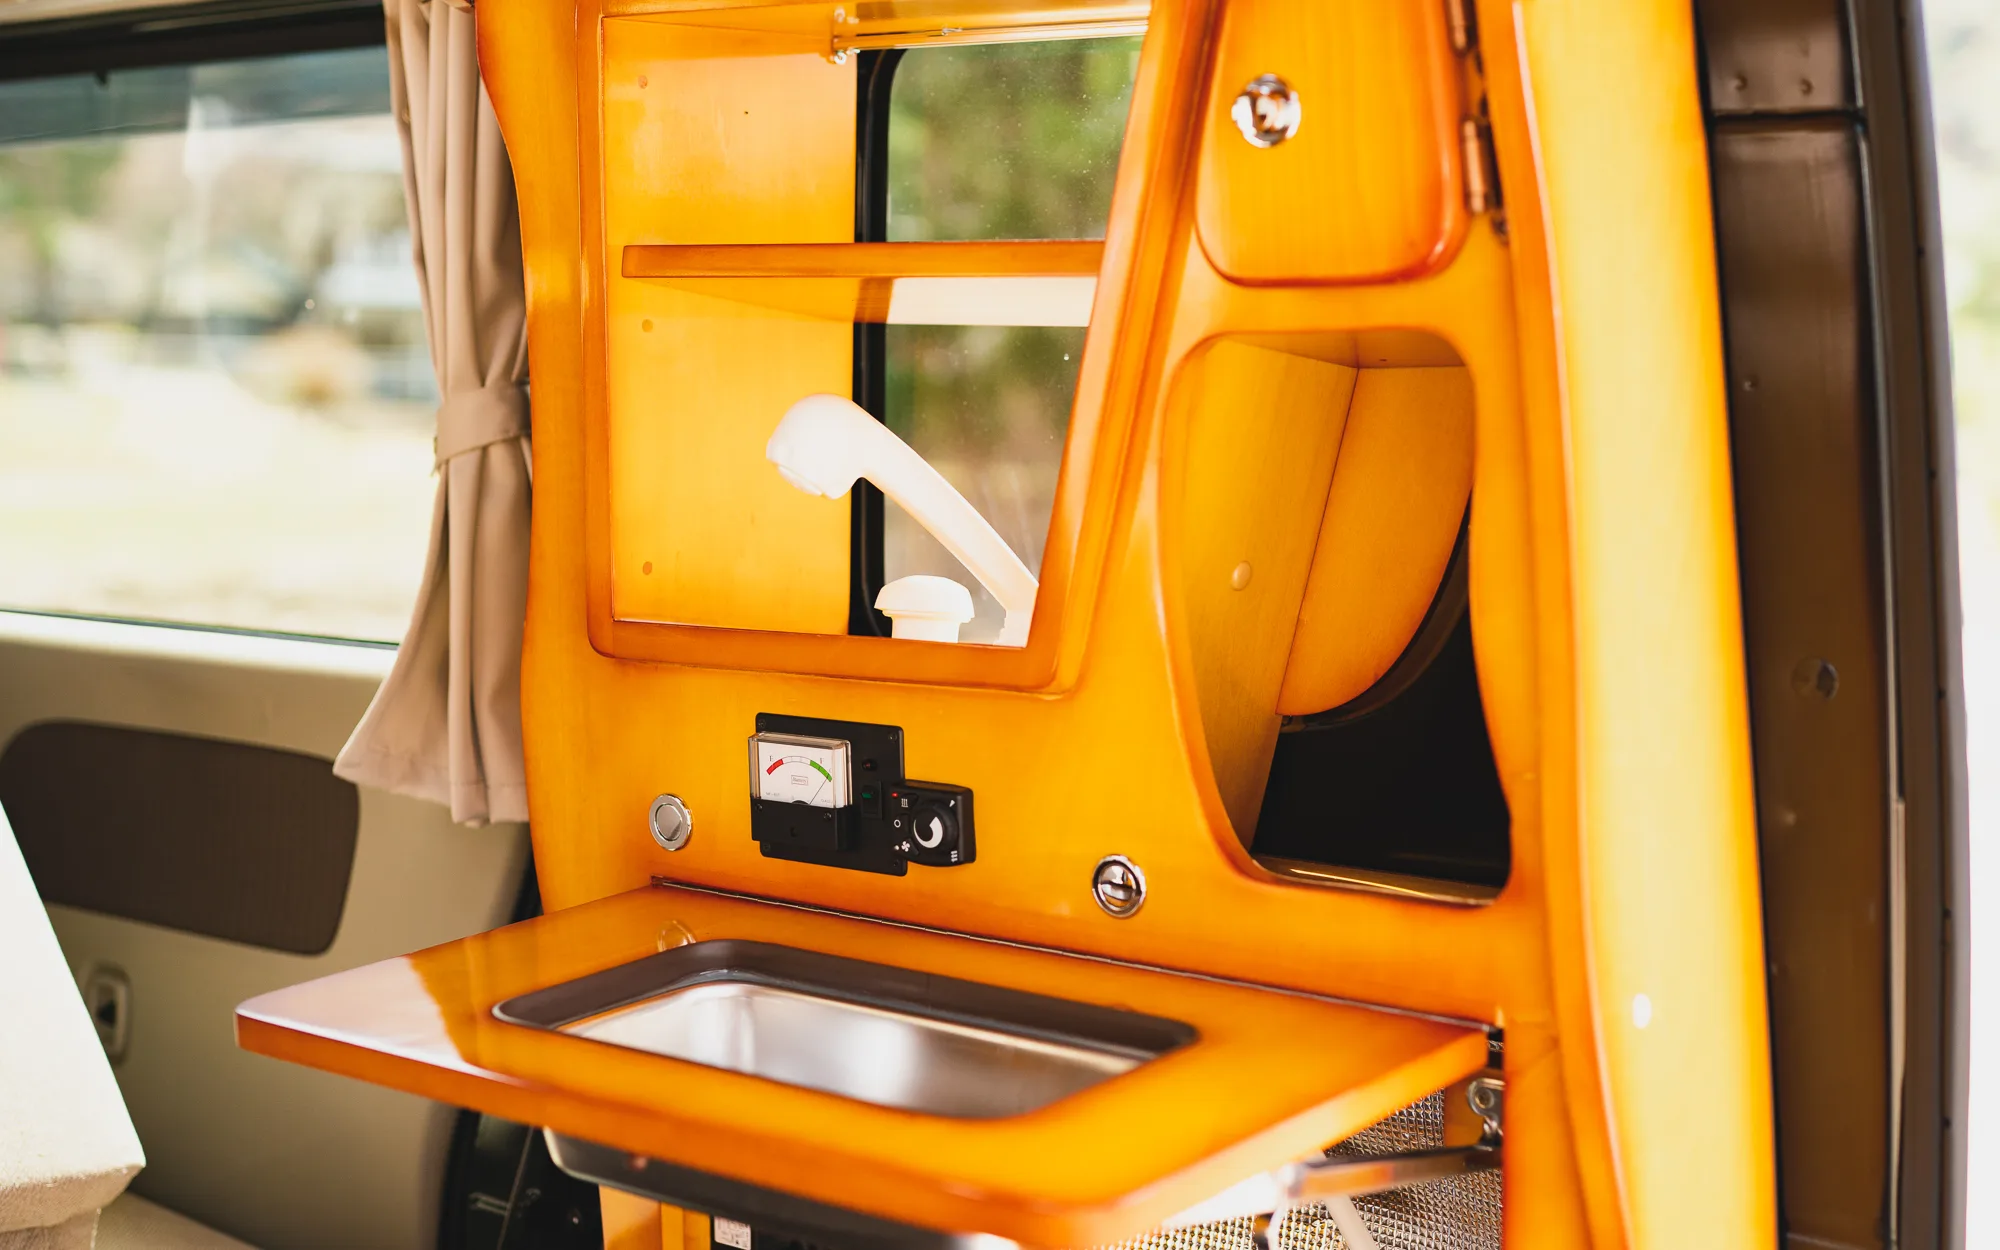
Sink
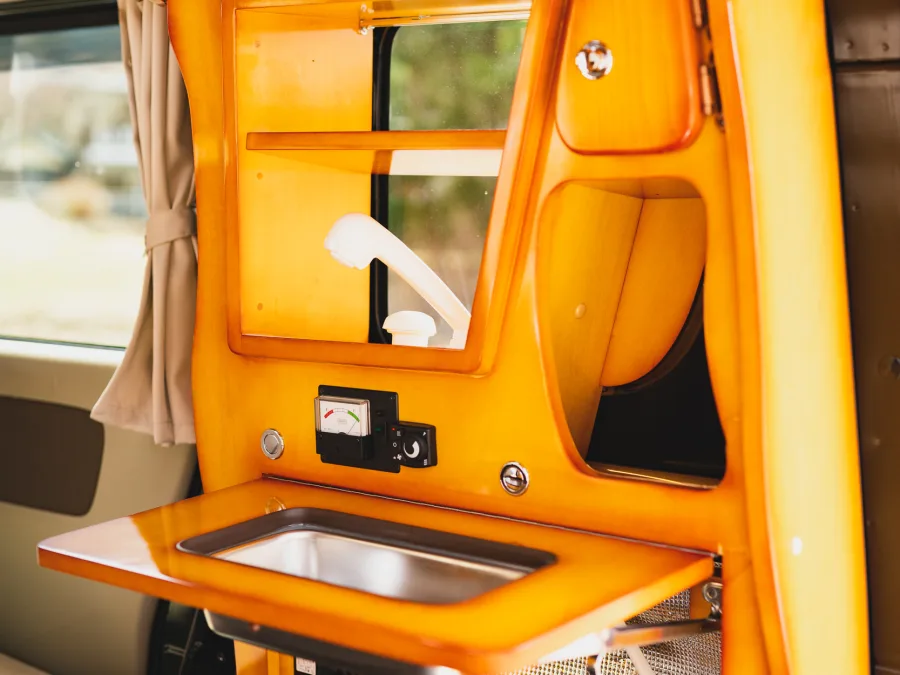


The galley faucet, which has a switch, is powered by the auxiliary battery, so it can be used even when the engine is off. Please avoid placing heavy items on the galley while in use.
To use the galley, fill the water tank (installed under the vehicle floor) through the water inlet located above the rear bumper. Then, attach the drain tank (stored behind the galley) to the drain hose at the lower right rear exterior of the vehicle.
Water will flow when the faucet switch is turned. After use, be sure to turn the switch fully back until you hear a “click.”
If the switch is not fully returned, the motor will continue to run, which will drain the auxiliary battery.
The shower nozzle can be rotated left for a continuous water stream, and right for shower mode.
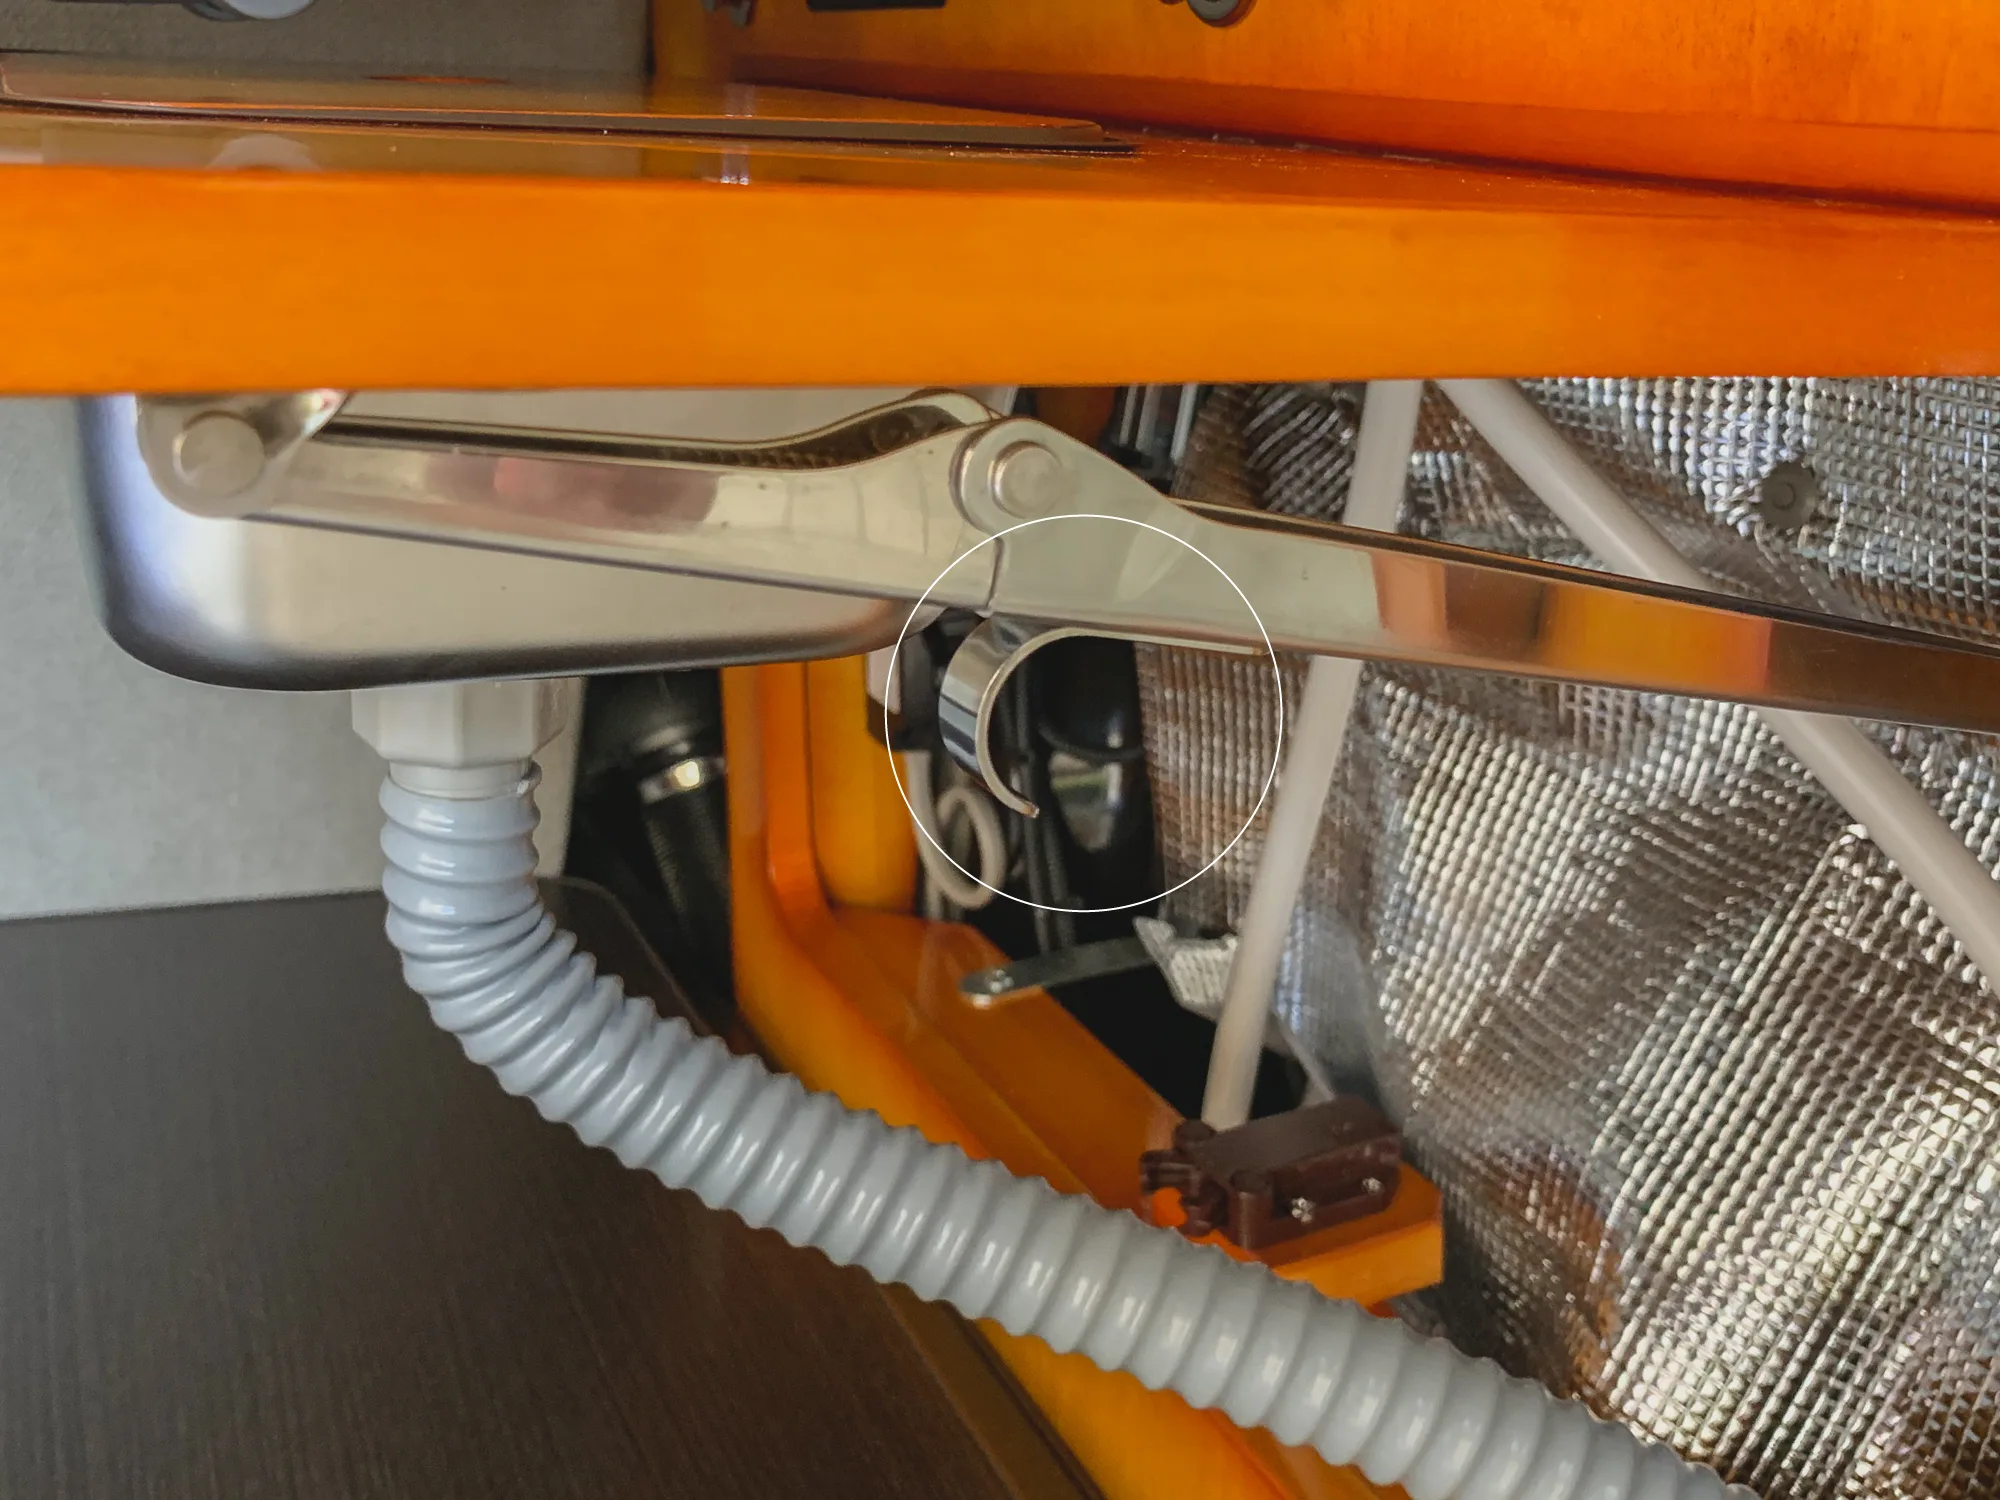
To store the galley, lift it slightly while pulling the center hook of the support bar toward you—this will allow smooth folding. Push it in until you hear a “click” to ensure it’s securely stored.
Note:
Do not operate the faucet switch when there is no water in the supply tank. This may cause the motor to overheat and malfunction.
If you plan to use the water tank for drinking water, be sure to remove the cap on the side of the tank and thoroughly clean the inside before use.
After use, drain all remaining water, wipe the inside dry, and allow it to dry completely before storing.
Failure to dry it properly may cause odor or sliminess.
In such cases, cleaning with a 0.5% to 1% solution of Milton (baby bottle sterilizer) or vinegar can help eliminate odors.
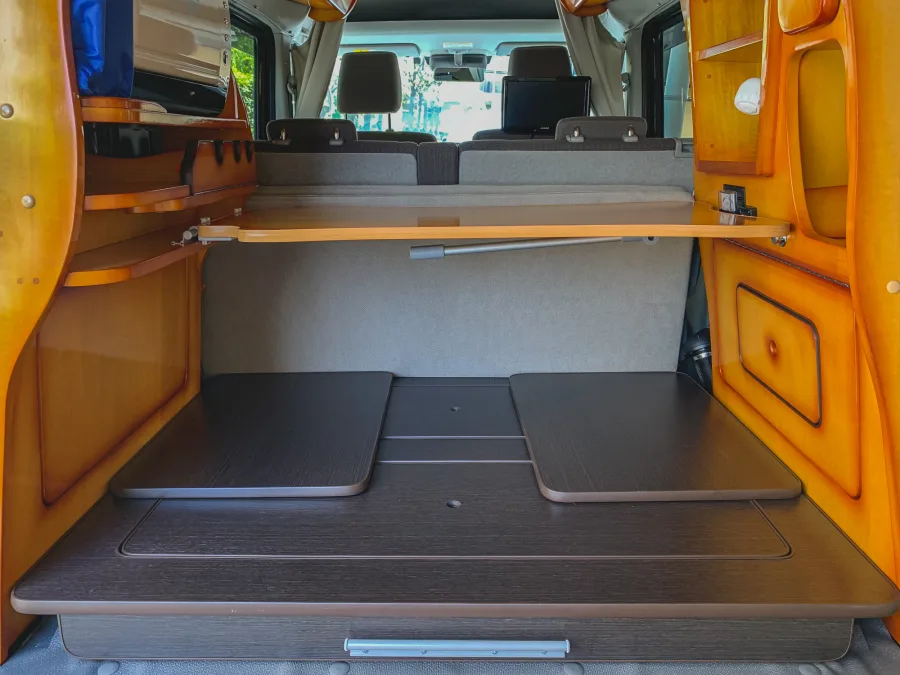
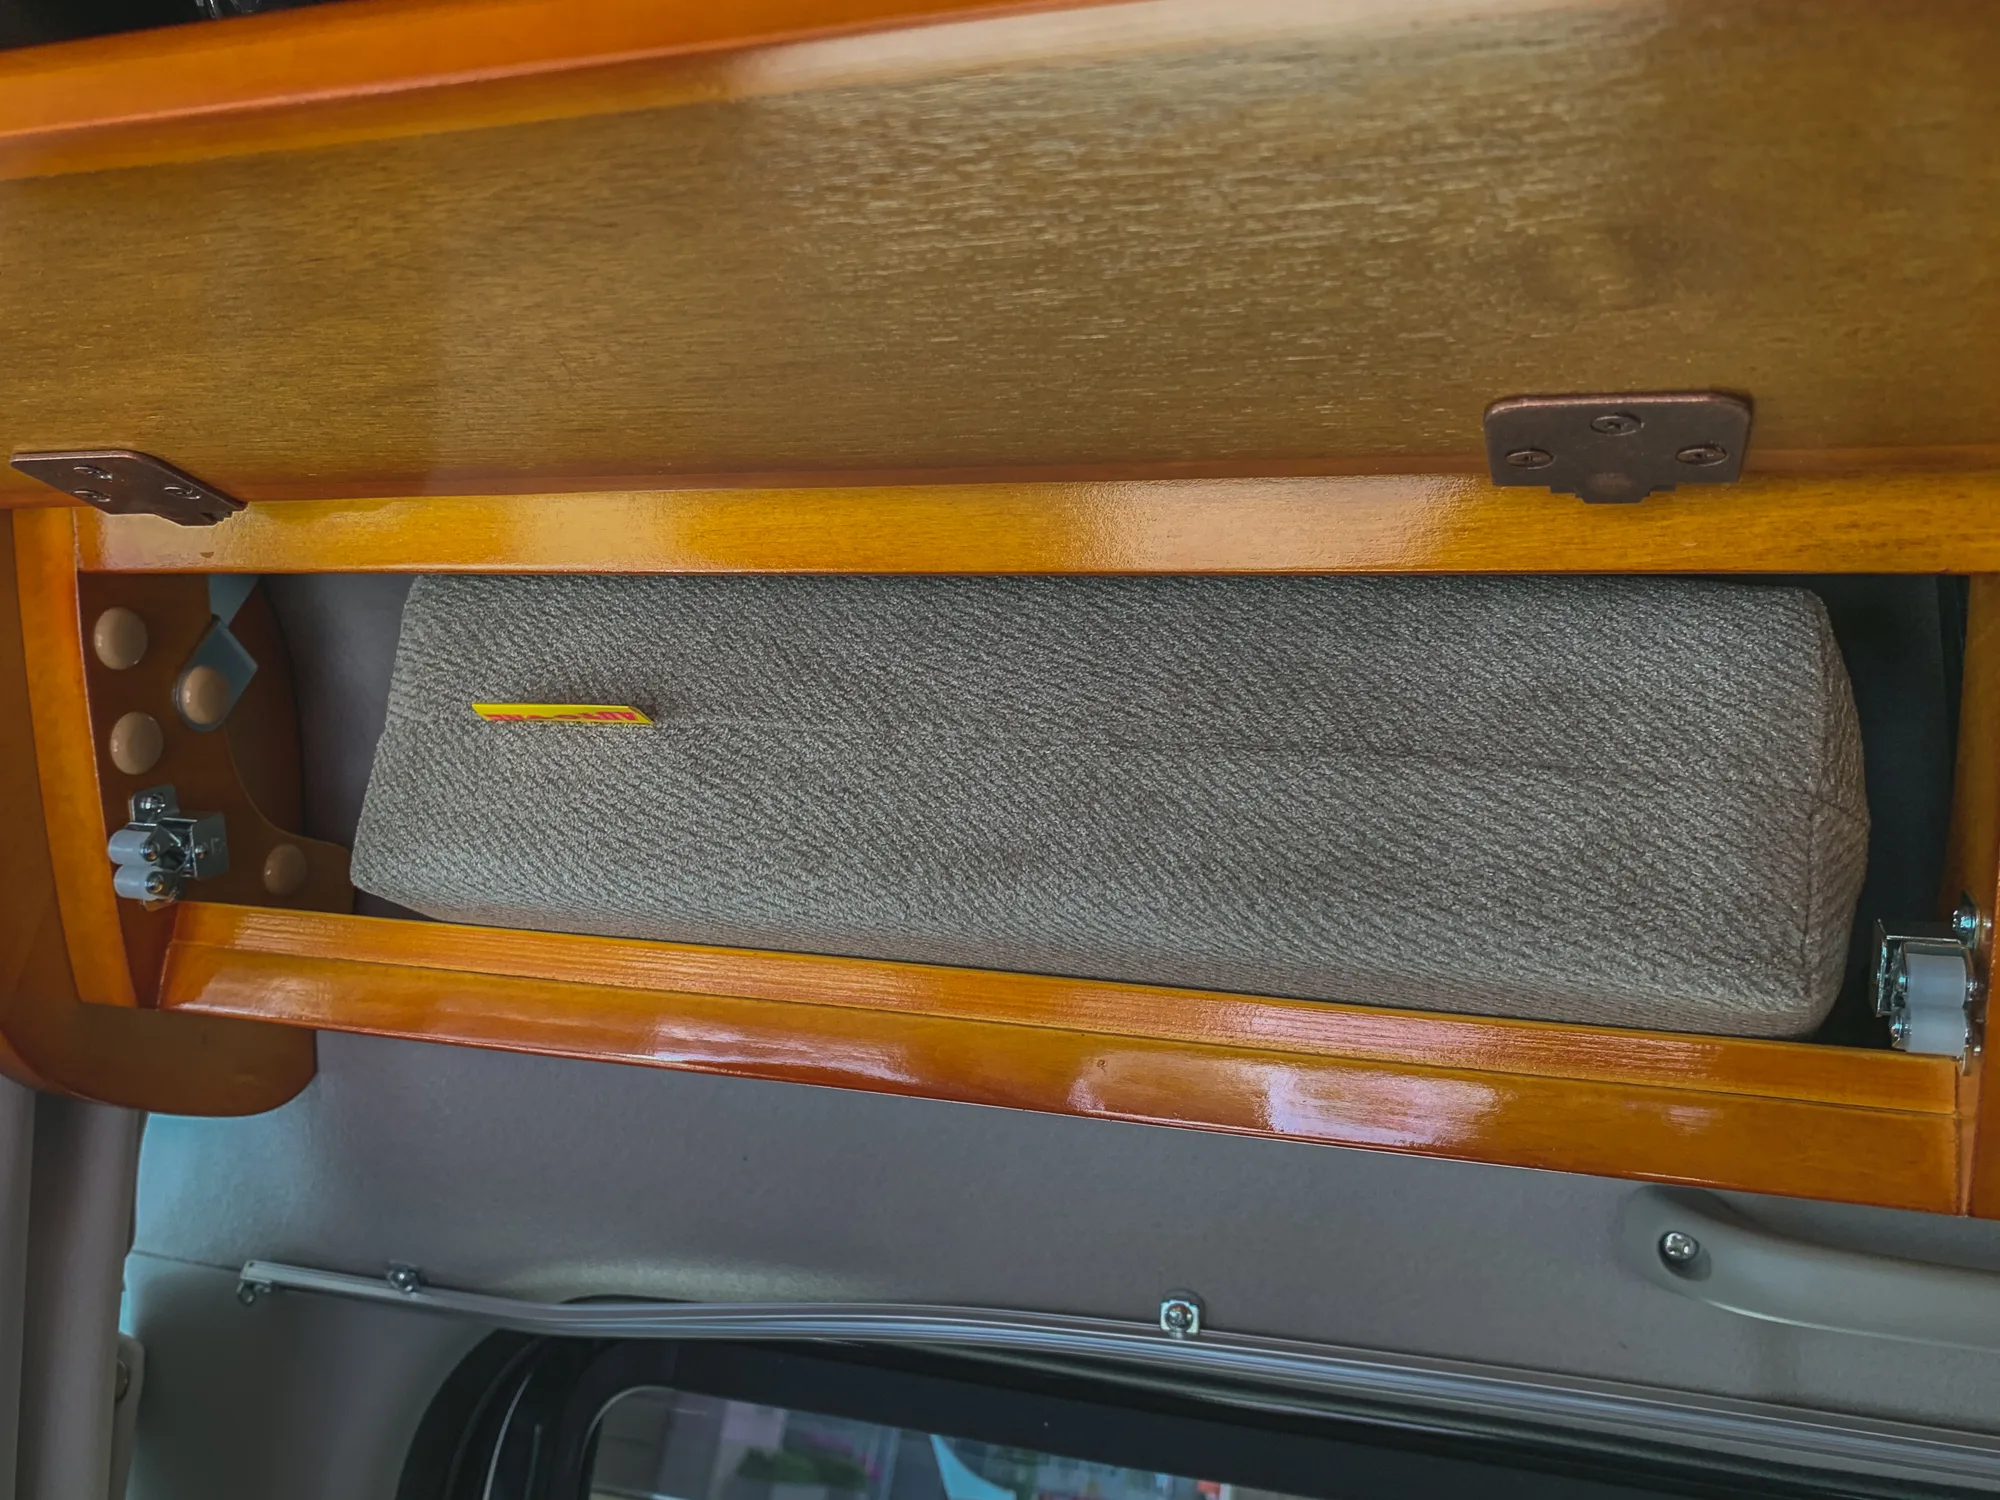
Sleeping Mats・Cushion

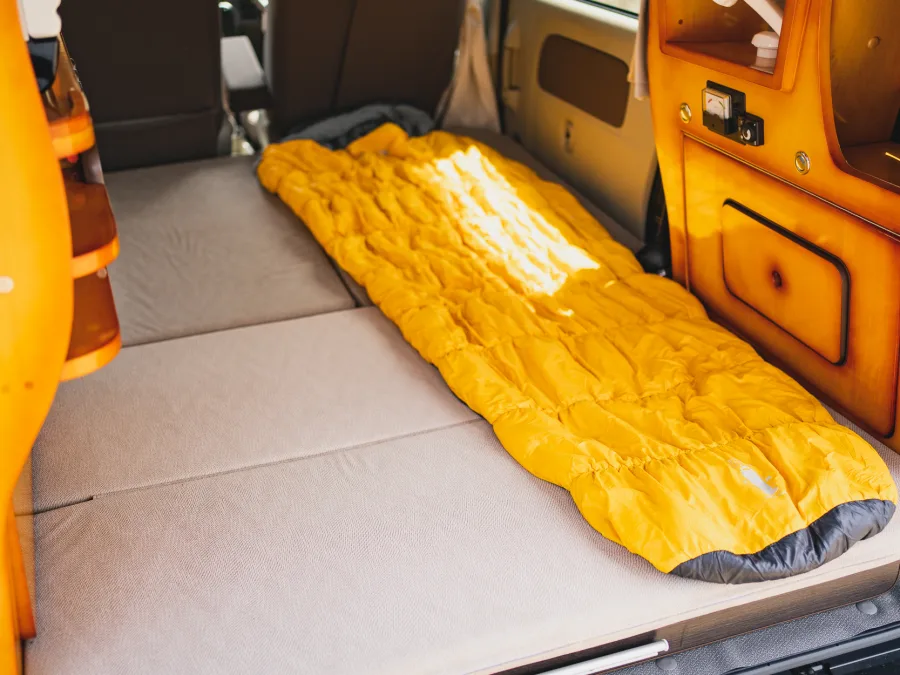
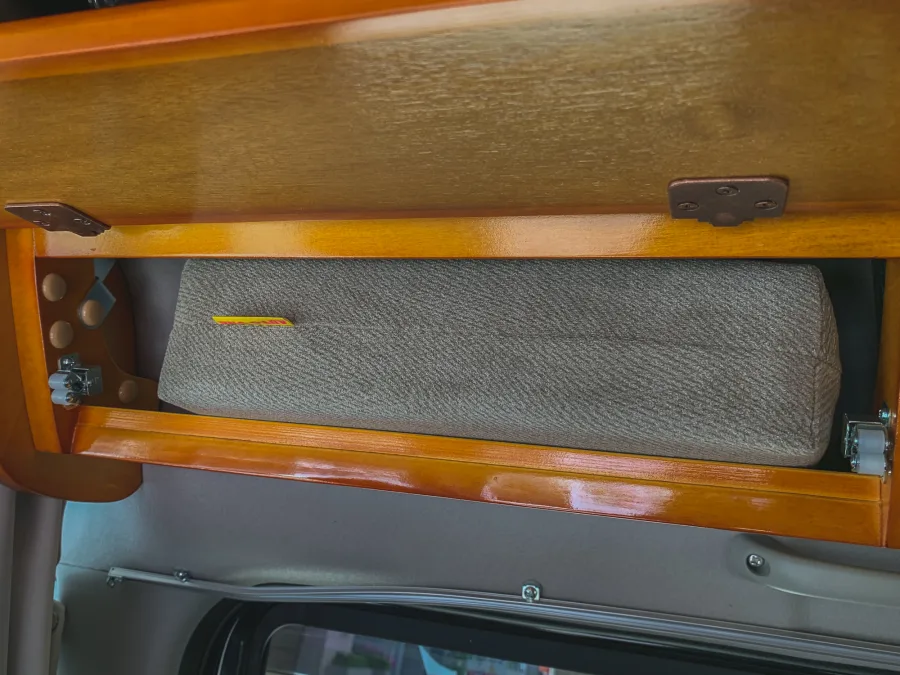
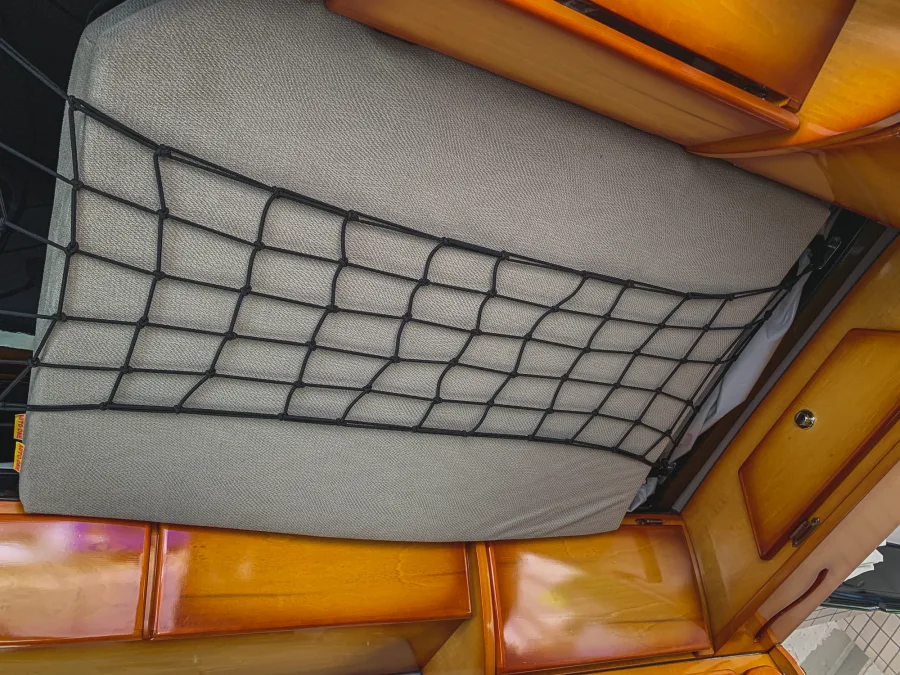
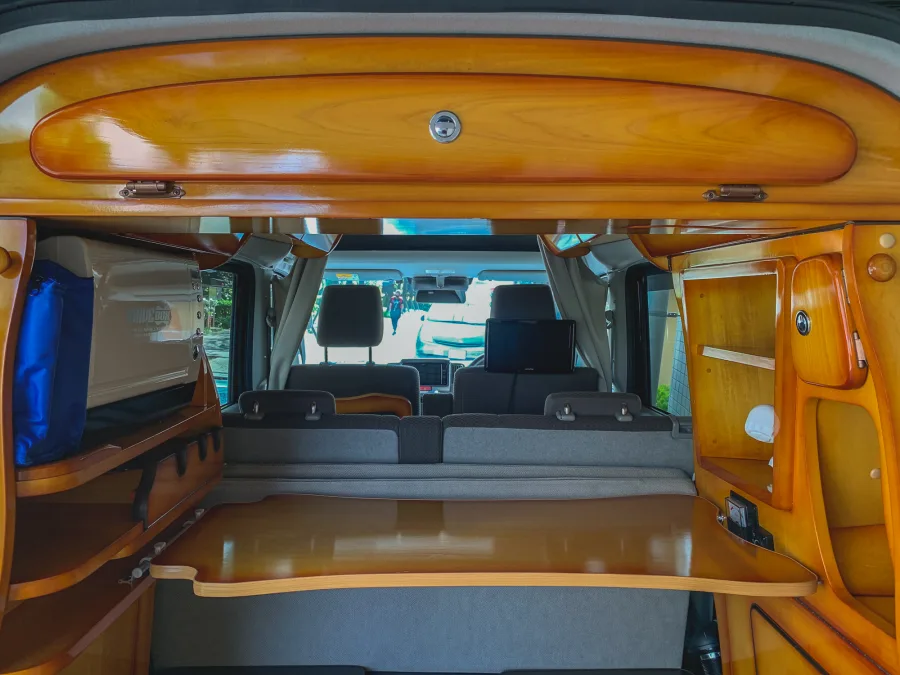
The mat can be stored behind the second seat, secured between the second seat and the left and right cabinets. The pillows are stored in the front left and right sections of the overhead cabinet.
When laying out the mat, please fold the second seat forward (refer to the vehicle manual) to create a flat space. Be careful not to pinch your hands or feet when doing so.
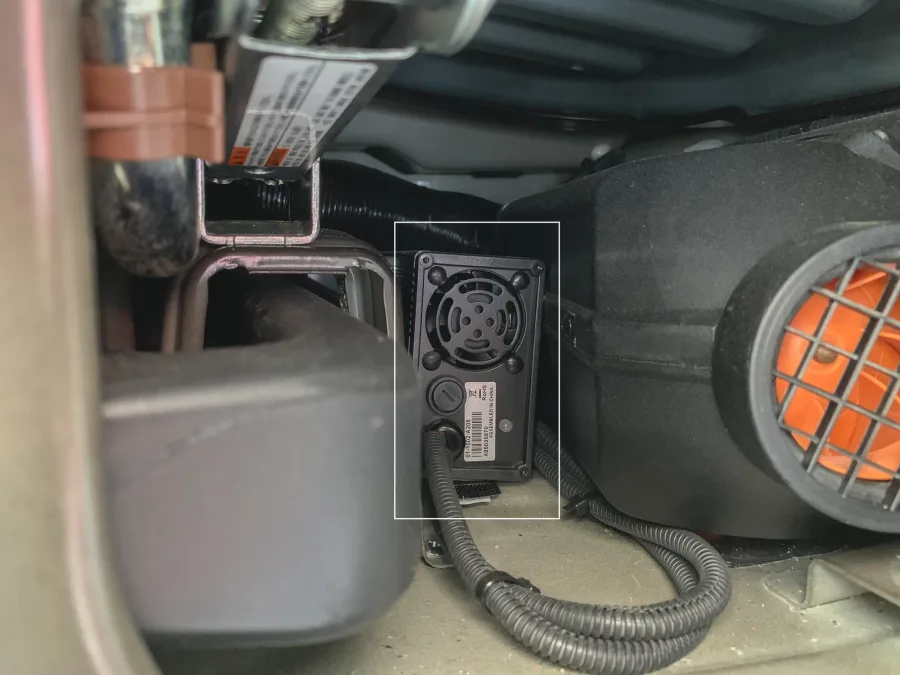
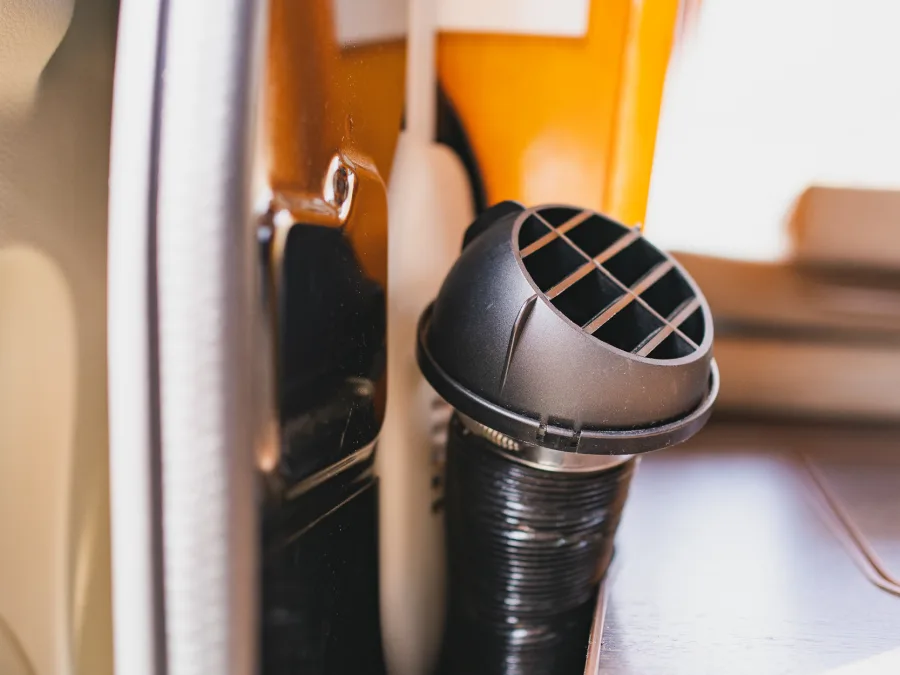
Fan Forced Heater


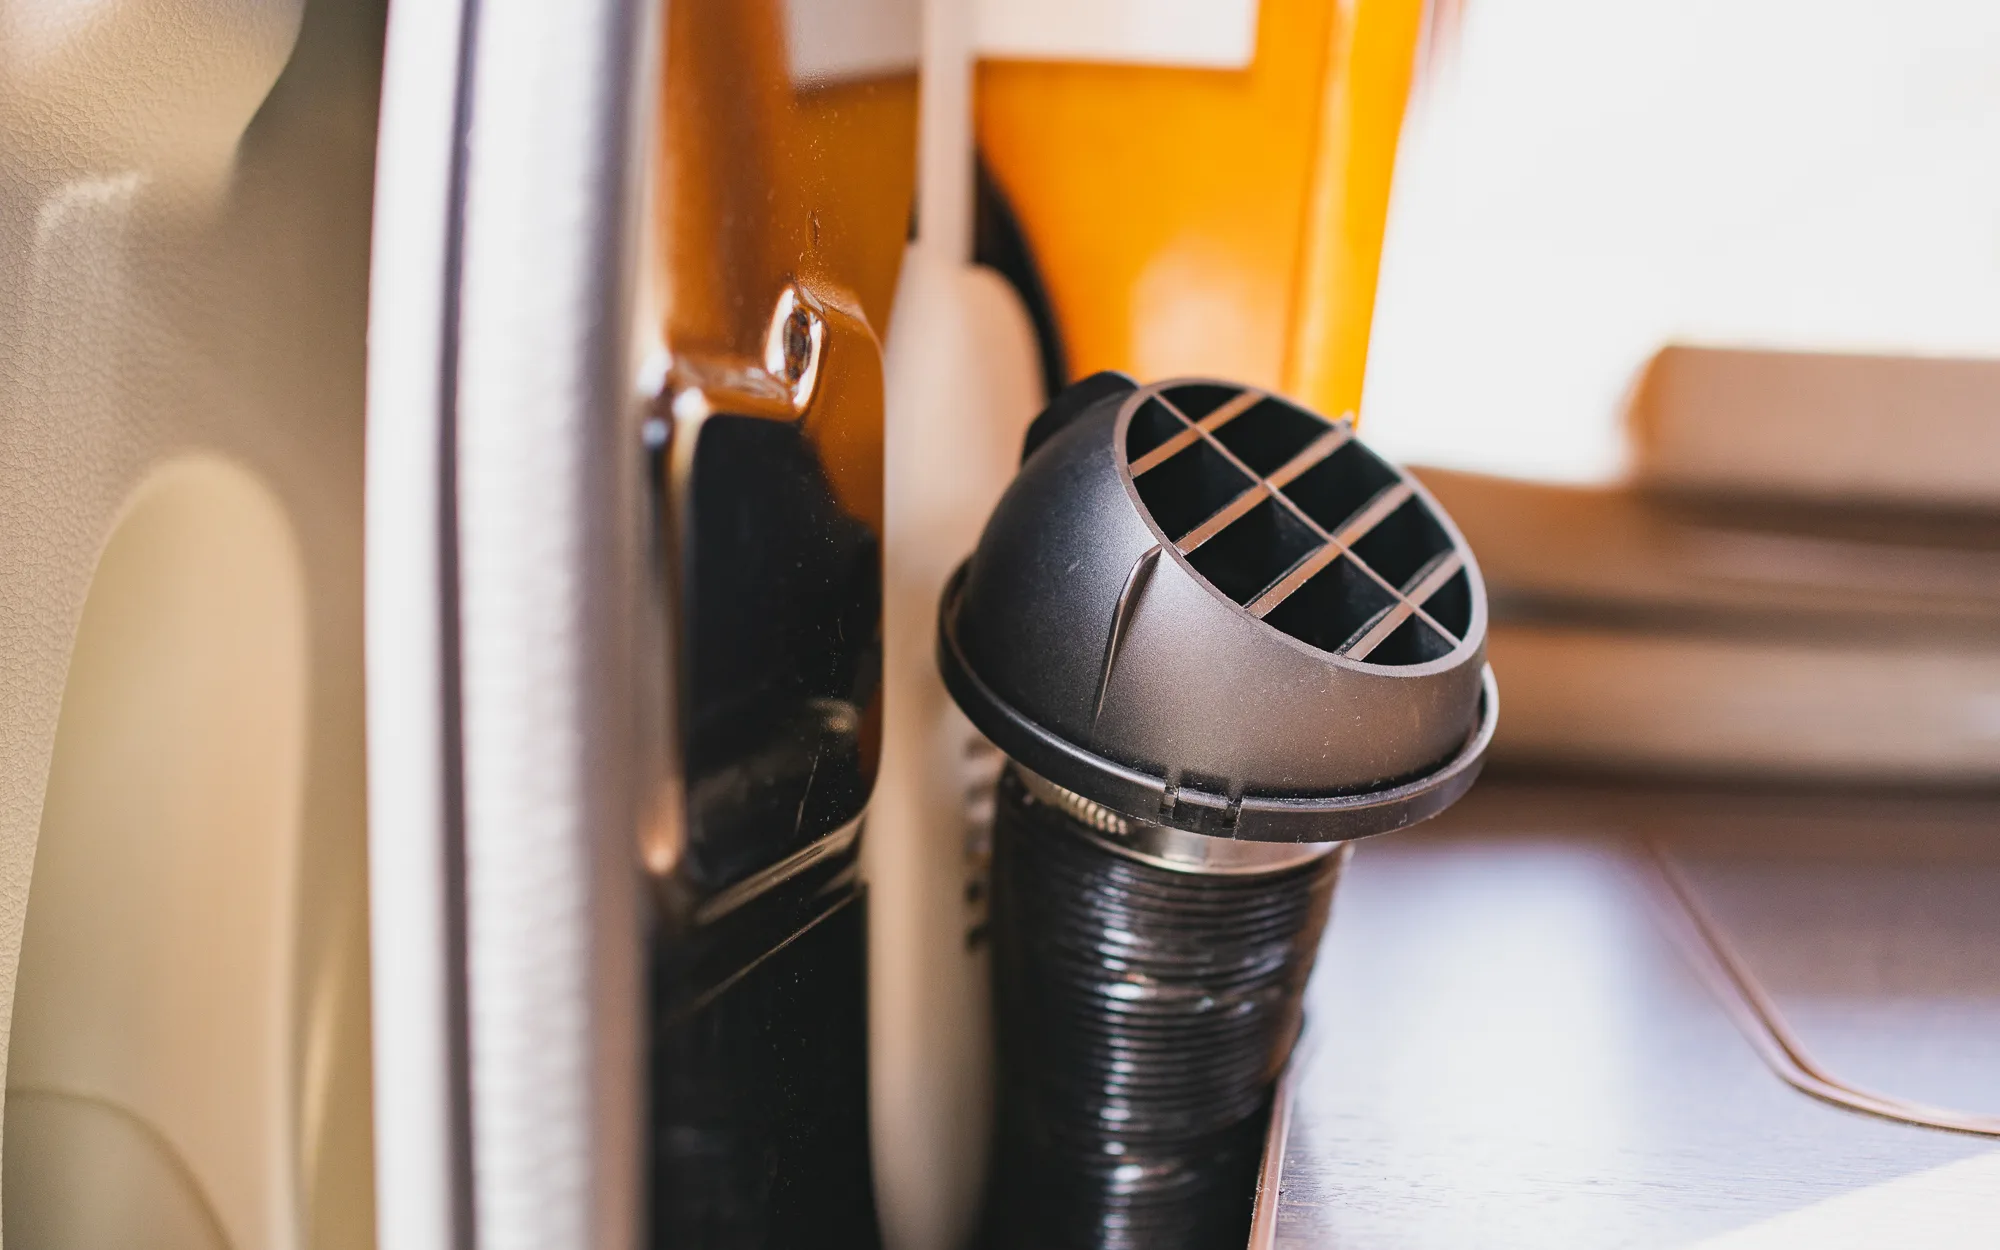
Manufactured by Webasto.
This system, commonly called an FF heater, features intake and exhaust for combustion carried out outside the vehicle, keeping the indoor air clean.
The FF heater switch is installed on the right side of the retractable galley.
To operate, turn the switch knob to the right; when the green lamp lights up, the heater is activated. Warm air will start blowing after about 2 minutes.
Since the power is supplied in small amounts from the auxiliary battery, it can be used for extended periods even when the engine is off.